Thursday, September 19, 2013

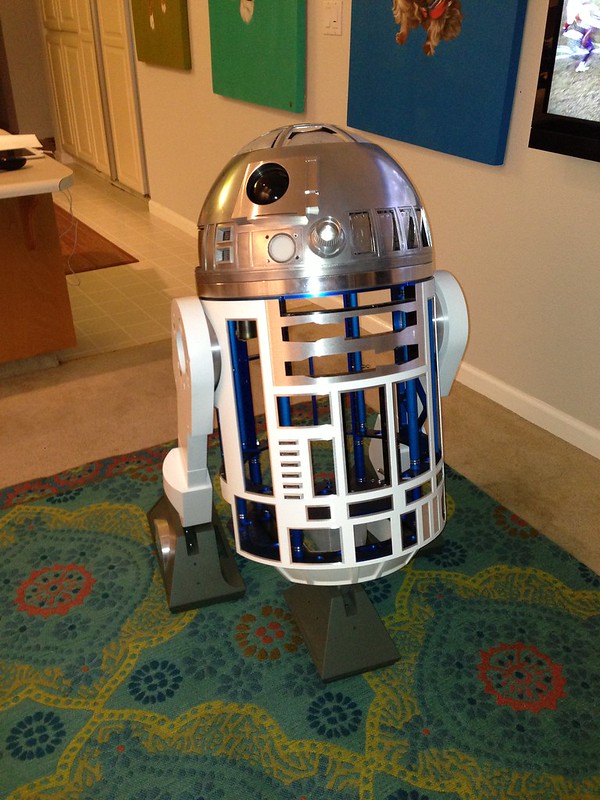
HE STANDS!!!!

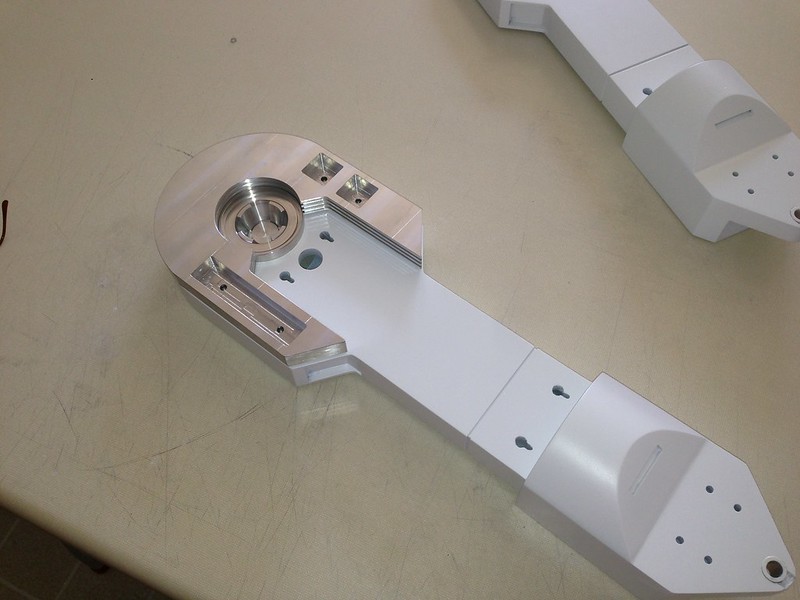
Test fitting some leg parts. 

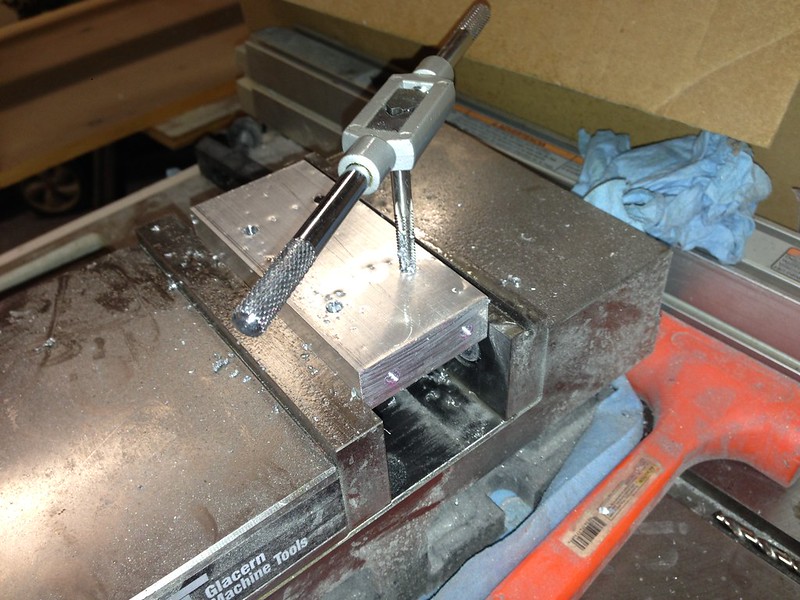
Had to cut, drill, and tap a center ankle addapter.


He Stands for the first time!!!


Battery box continued....

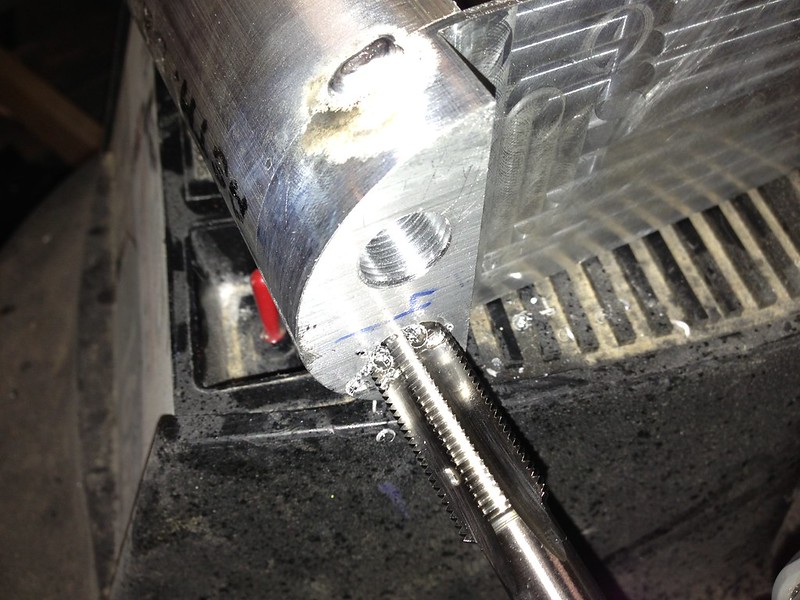
Tapped...

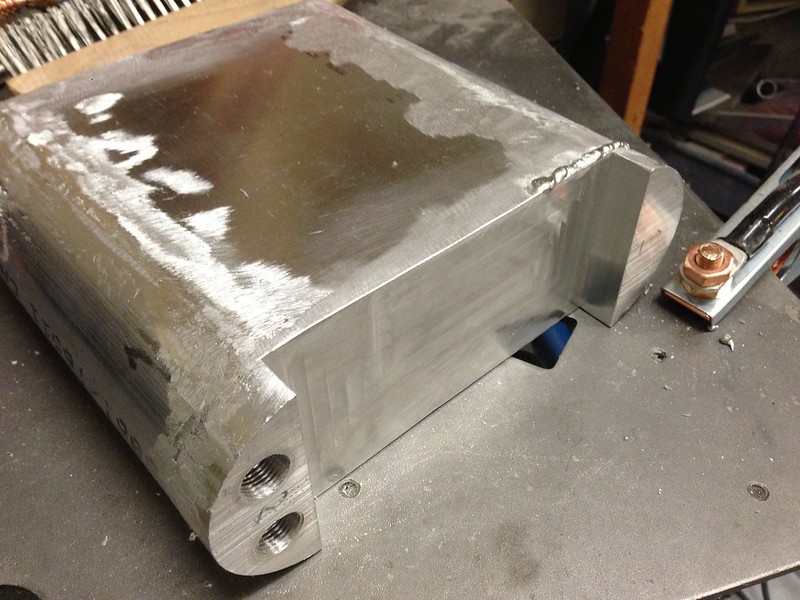
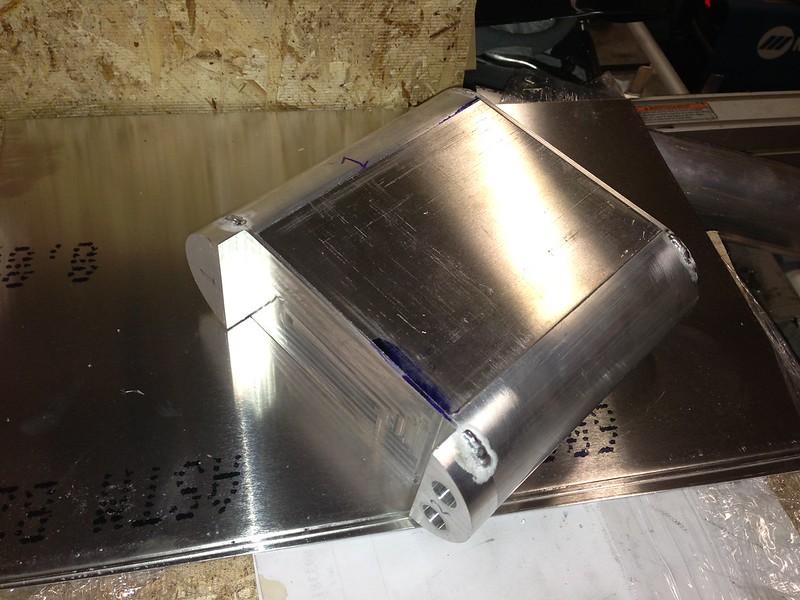
Little grinding after some welding...

Wednesday, September 11, 2013

More Battery Box

Got the 5/8 - 18 tap for the knurled fittings

Started cutting the side plates. 

Monday, September 9, 2013

Aluminum Battery Box

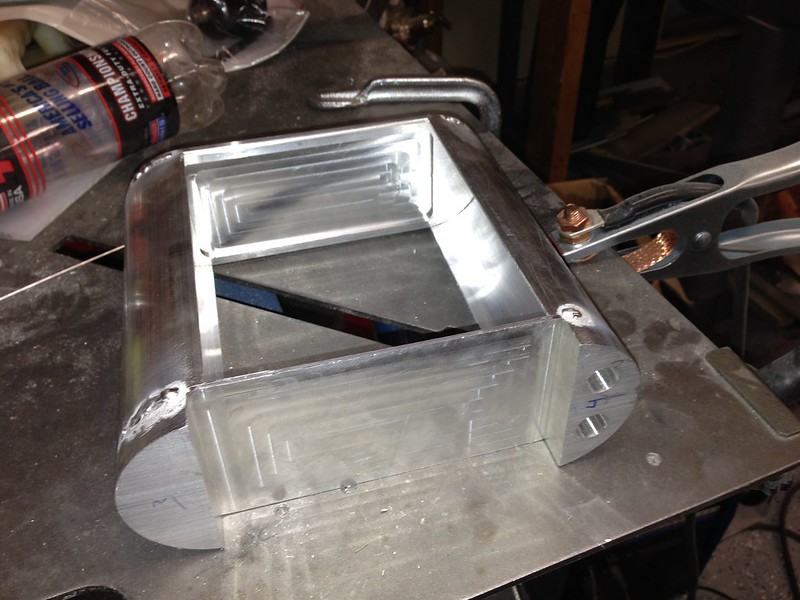
So i decided to make some aluminum battery box's... Other than the battery harnesses this is one of the last parts i need for r2. These are 8.25 Inches tall and should fit my NPC motors.

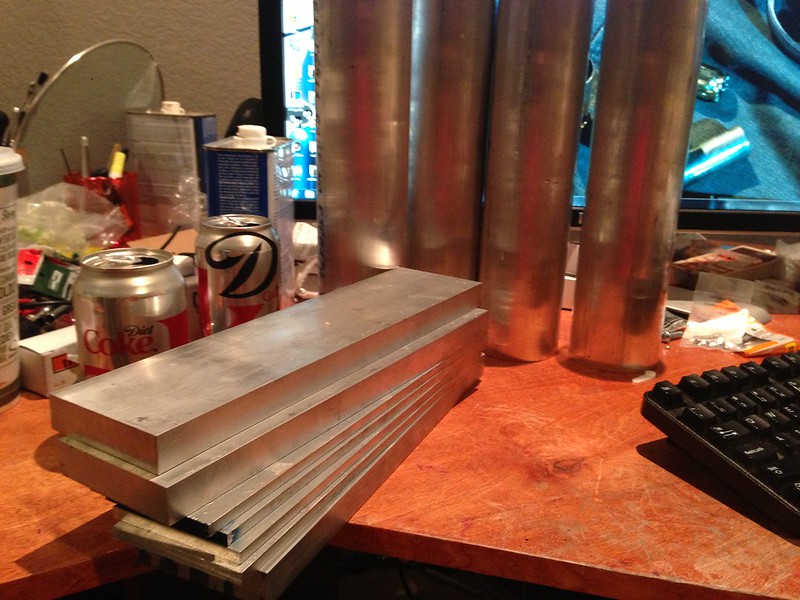
I first designed it out in cad with alibre. I ordered up my aluminum.

Battery box's see em?  I do :)

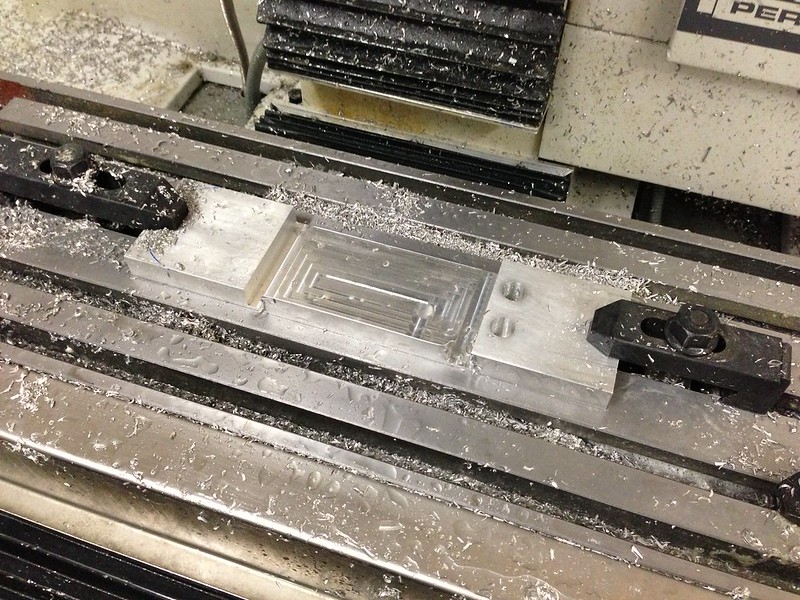
Stock clamped and ready to cut. 

Makin chips.

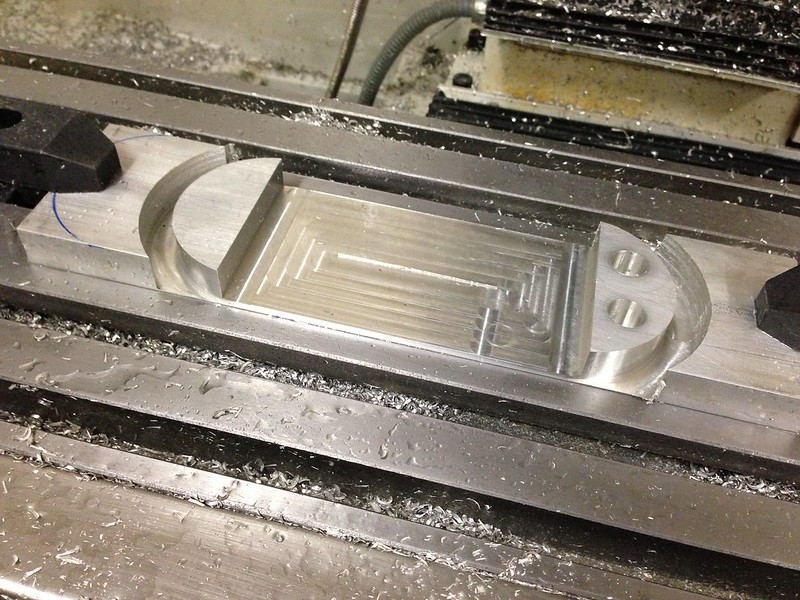
Front done.

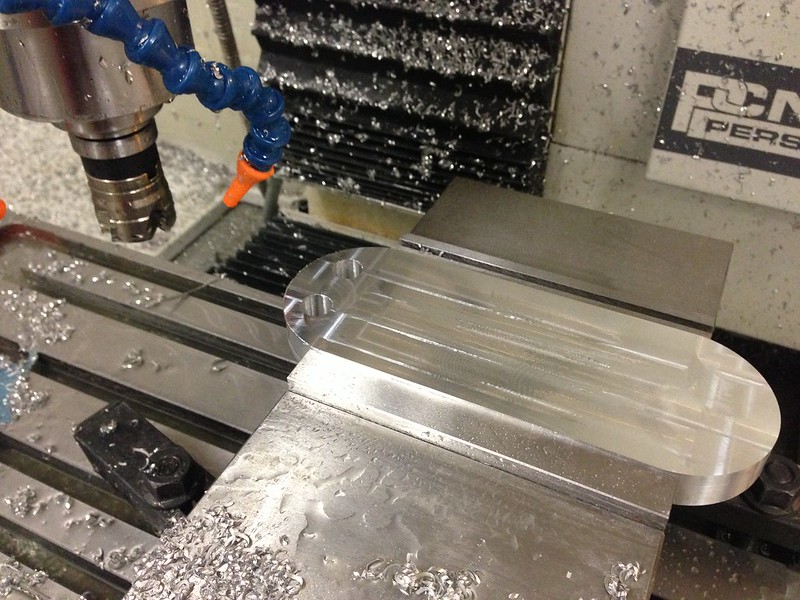
Parting the back.

Heres the back end cap. Milled out a pocket for lightness. If you look close you can see the step around the ends. This makes it very easy to align the skins parts. 

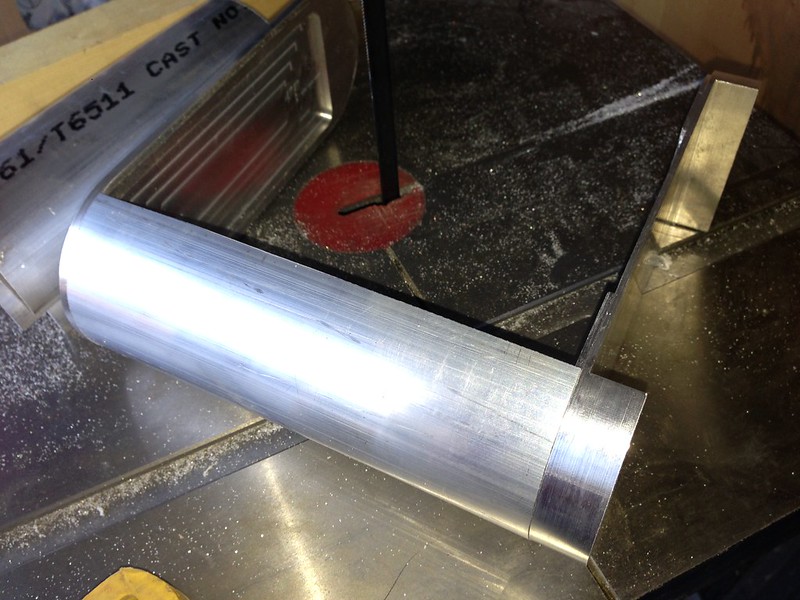
I cut the 3" aluminum tube in half for the top and bottom. Look at that perfect fit! 

Now the ugly :) Im still learning to Tig Weld. Ill grind off these ugly welds once im all done and it should look nice and smooth. 

I had to get some more argon gas so the rest of the welds will have to wait. 

Sunday, September 8, 2013

Sanding Dome Panels

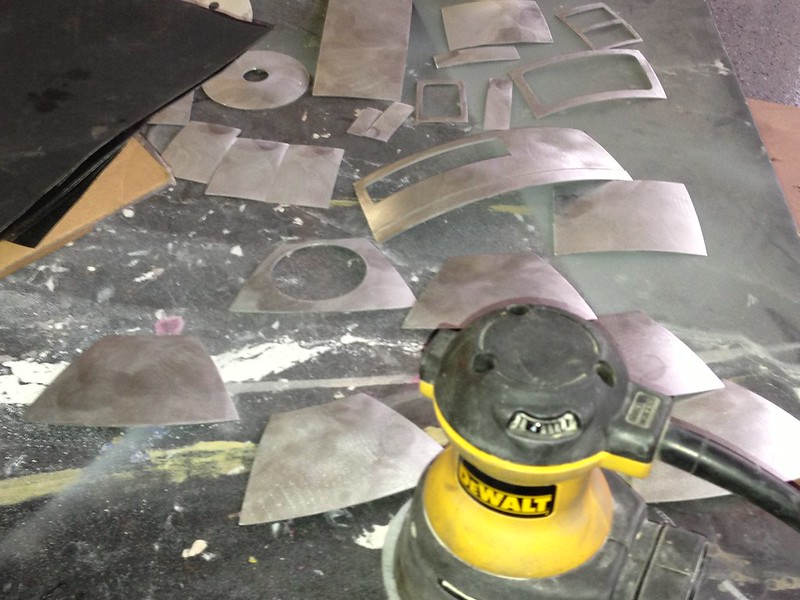
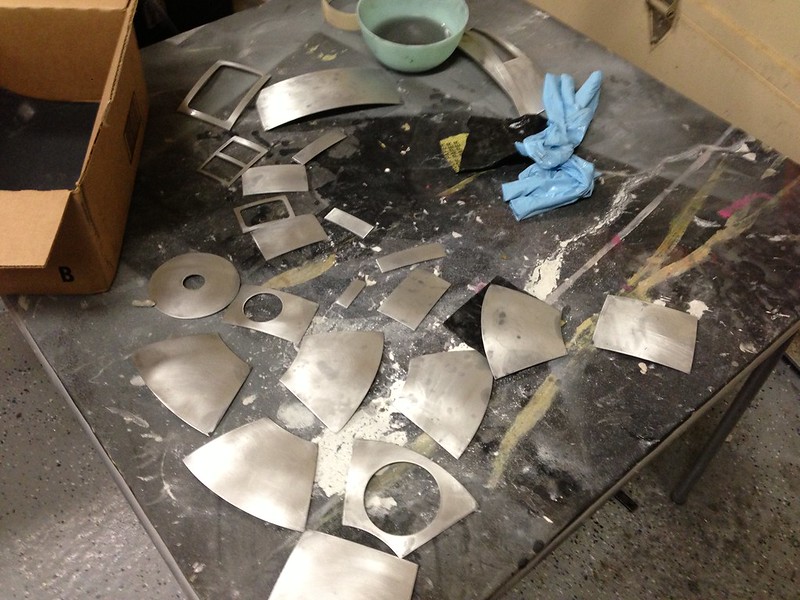
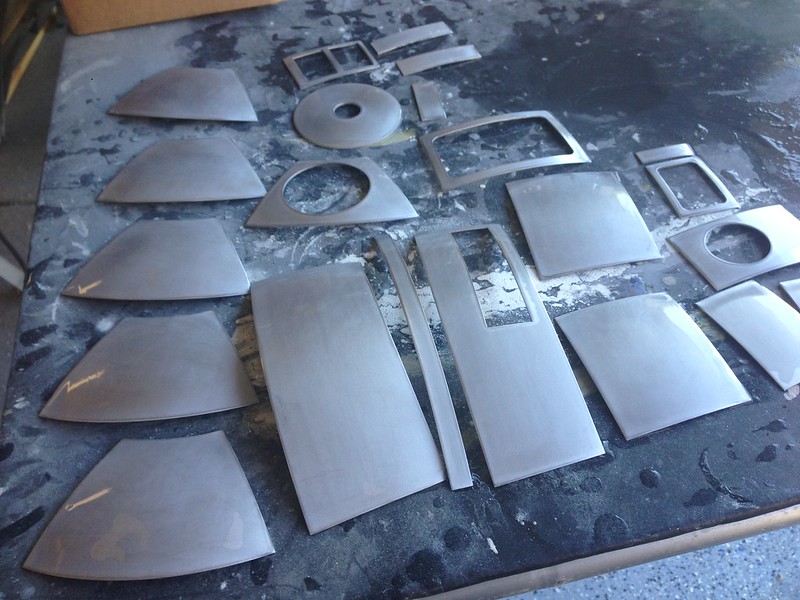
This is pretty straight forward post. I finally got around to sanding all of the dome panels all the way to 2000 grit. I followed the same method as with my dome. Started with 320 on an orbital sander, next 400, 600, 1000, 1200, 1500, and finally 2000.


After 600 Grit

After 2000 Grit

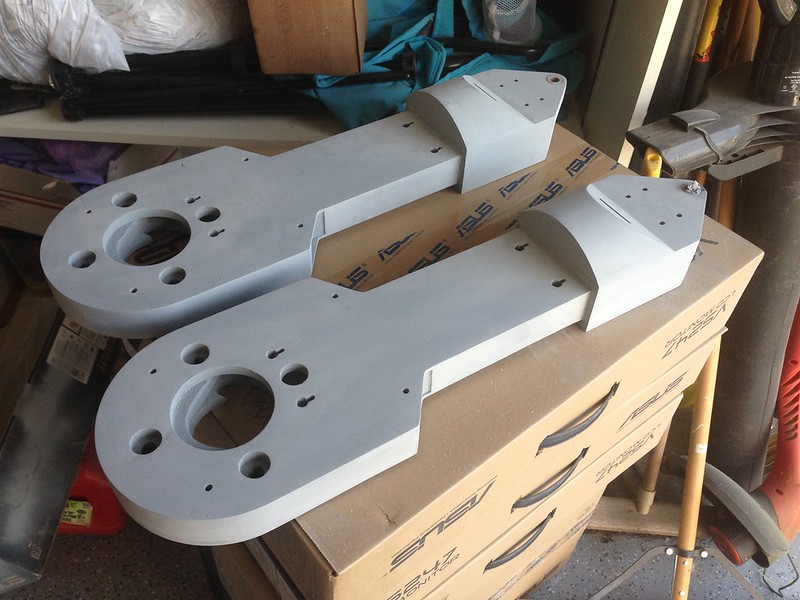
Wood legs.

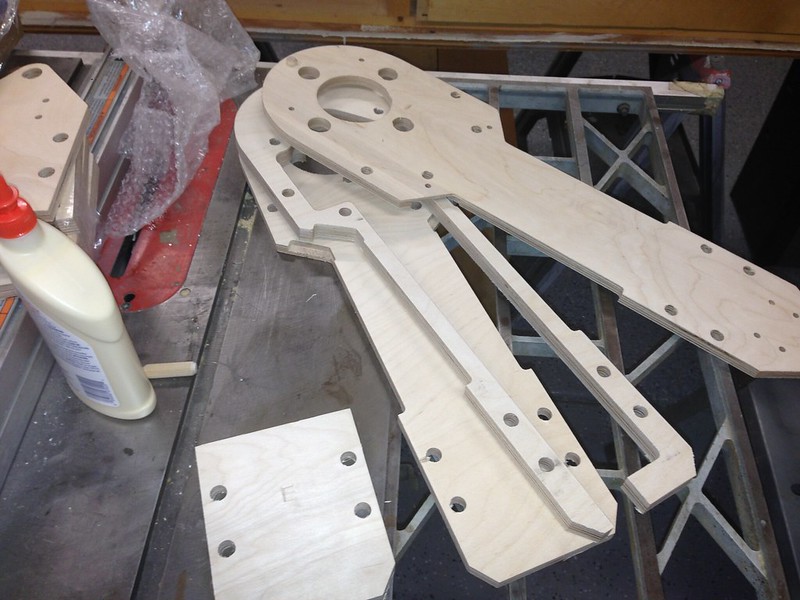
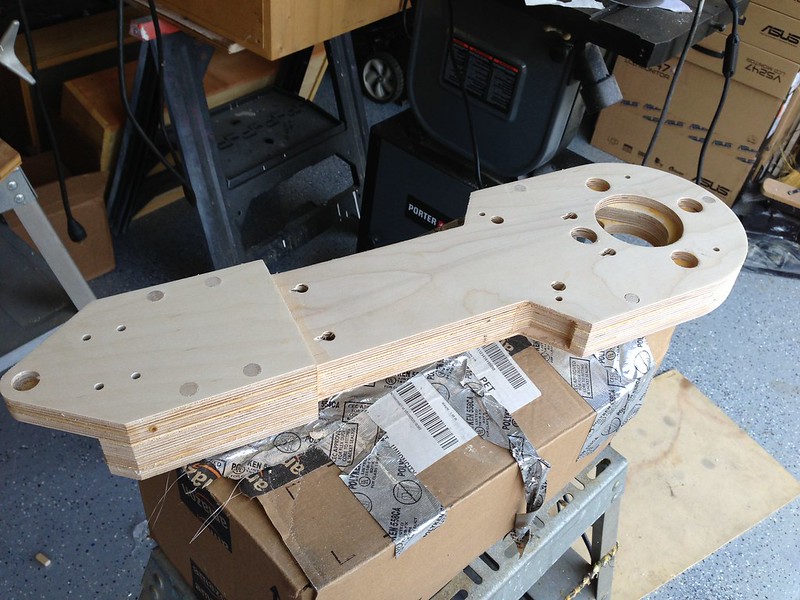
I got some cnc cut legs from R2-ATL run to hold me till i get some alum together. These are great legs and ill stick them on a second droid at some point so they wont go to waste :)


Ready to glue up... Note that slot at the bottom for wires goes to the back.


All glued up with a little sanding.


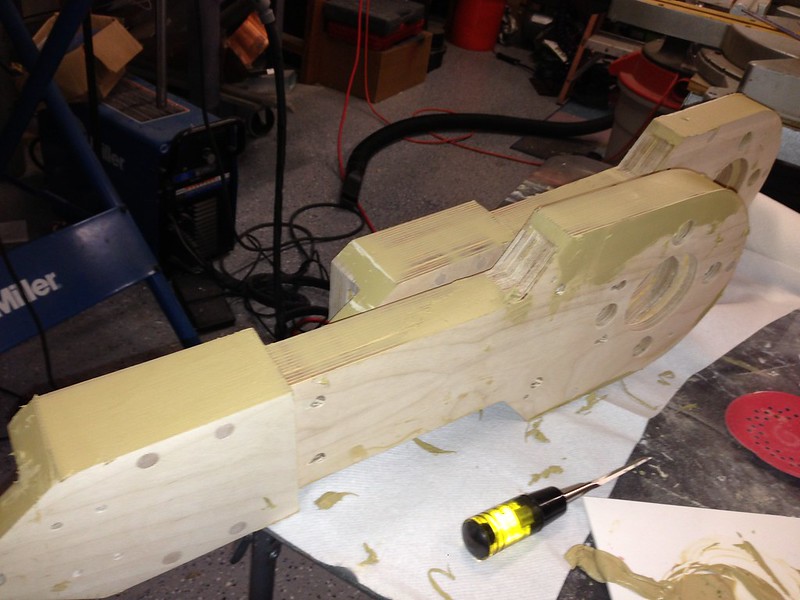
Time for some bondo. Most recommend evercoat instead but i didn't want to wait for shipping. However i used the higher quality bondo gold. It goes on much smoother than regular bondo.

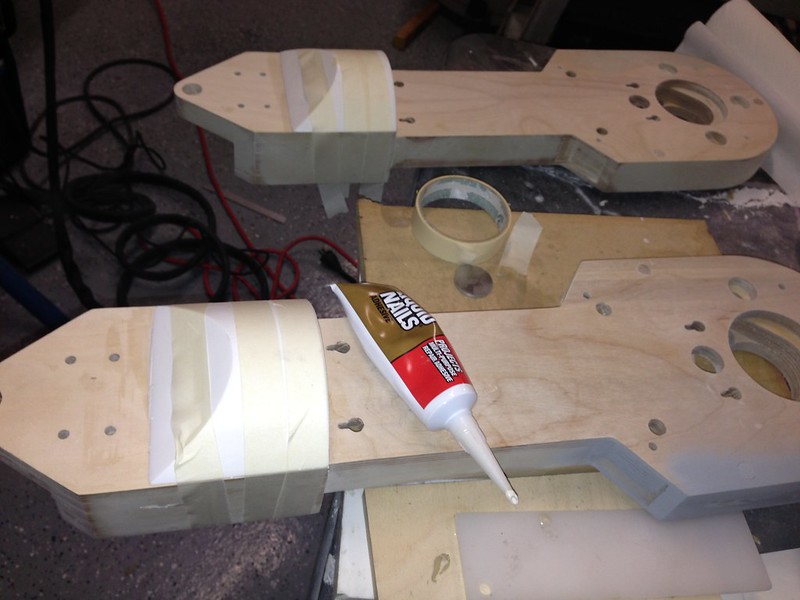
Next glued on the beefy ankles with some liquid nails. I just used tape to hold it overnight. Seems pretty strong. I have a full set of jag ankles and  I was tempted to just cut off the wood ankles and secure them to the alum ankles but this way when i get my aluminum legs together ill have two full sets of legs and ankles.


Little more bondo and some primer... Then i hit it with some 400 grit and painted white. Don't have pics of that yet tho.

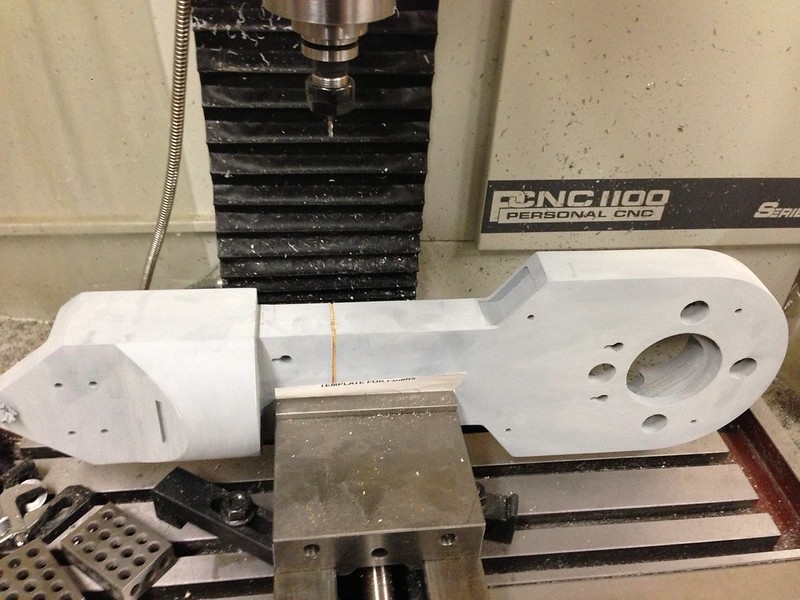
Oops also had to cut the slots in the legs. I used the milling machine for this. 


Monday, September 2, 2013

Middle Foot and Caster

Its time to mount the caster to my middle foot. I have a Jag foot shell and the mounting kit for casters. I ordered one of the gladiator casters from McMcaster and wow its huge and heavy.

Part number:
22455T28

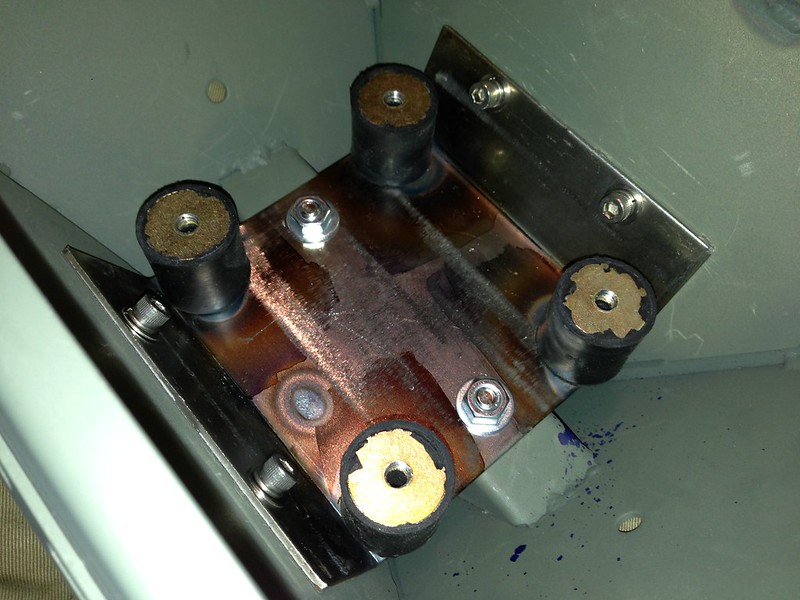
I also ordered some of those rubber vibration isolating mounts from mcmaster car. I ordered 4 of the 1/2 and 4 of the 1" mounts as i wasnt sure how i was gonna secure this caster yet. I belive these are these as curiousmarc's is using for his casters.

Part number:
Now first thing i noticed is using the jag mounting plate and the 1" rubber isolation spacers the gladiator caster is pretty much the exact same height as the wheels protruding from my senna drives. The hole locations are a bit problematic but there is plenty of metal left to drill holes that line up with the gladiator caster. 

As you can see i just marked the locations out and away from the standard holes. 

I then just drilled those holes and I tig wleded a couple nuts on the back side of the bracket. Then just thread on spacers. The gladiator lines up perfectly just secure with some 1/4-20 screws, washers, and nuts. 


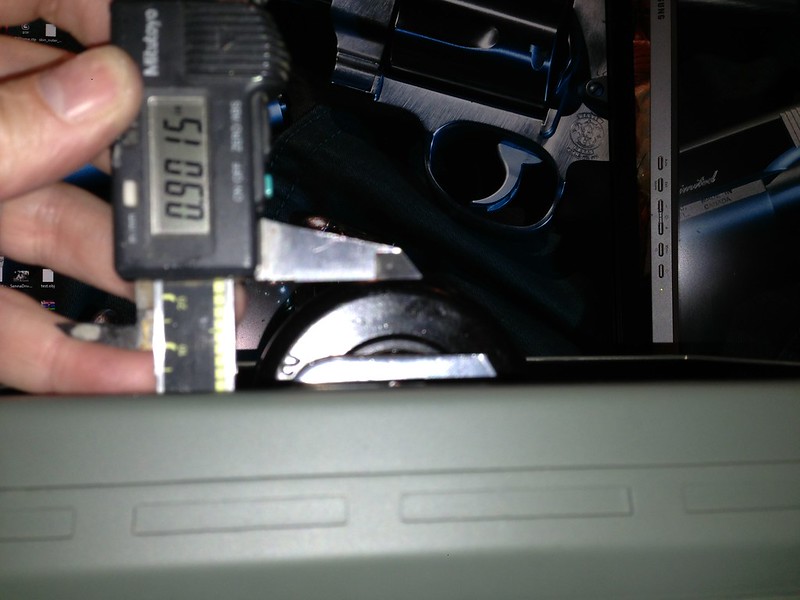
As i mentioned its about the same as the stick out from my senna drives. Perspective is weird here. 

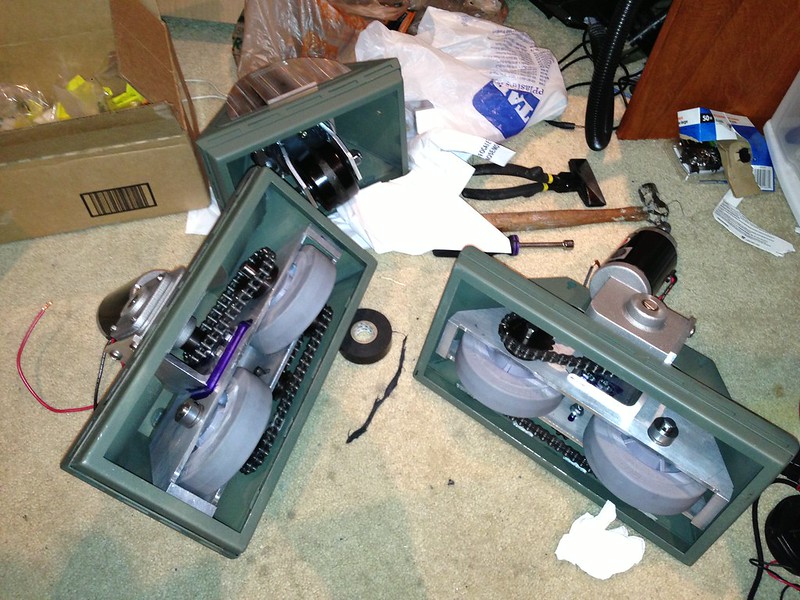
All the feet together.