Monday, September 30, 2013

First Blue Parts (Dykem)

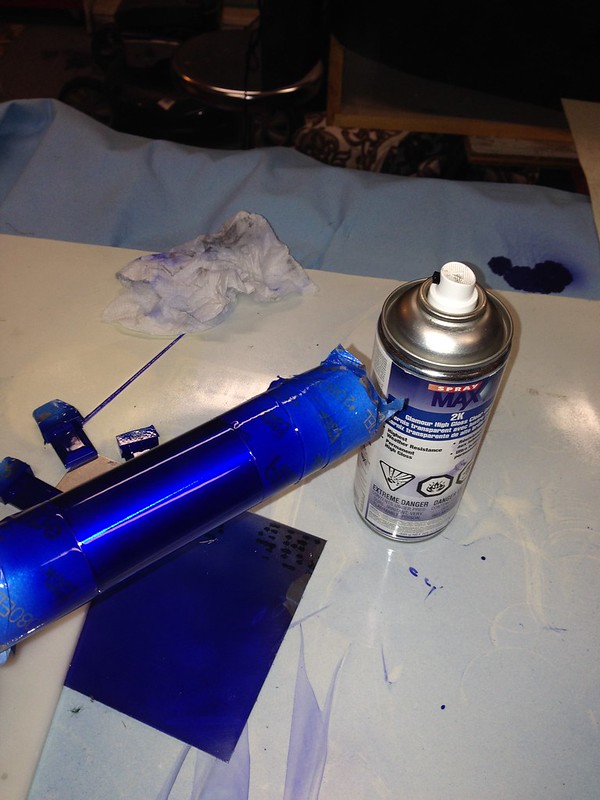
Well i really love how dykem looks. Im pretty much following the great examples of those before me such as curiousmarc.

However im using spray max 2k, 2 part clear coat. These are special paints that when when activated mix internally and the cans only last 48 hours. My first try with it and it rules. SUPER clear nice thick clear coat!

Im using an iwata single action airbrush to apply the dykem. Then using the duplicolor metalcast anodized blue to knock down the purple some in the dykem followed by the uv clear coat.

Here's my first few pieces. I need to polish the rest of the parts more before i spay them.


Couple odds and ends

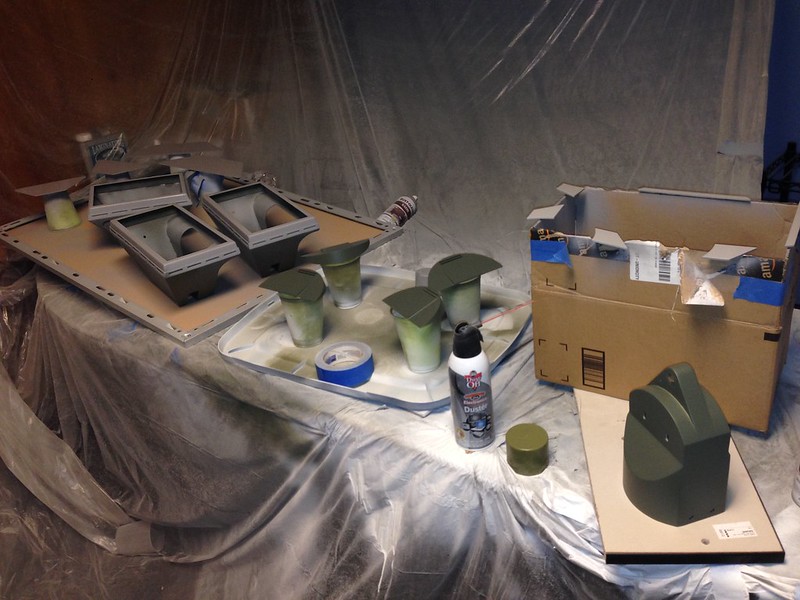
Final painting on the feet parts started

Some paint on the shoes

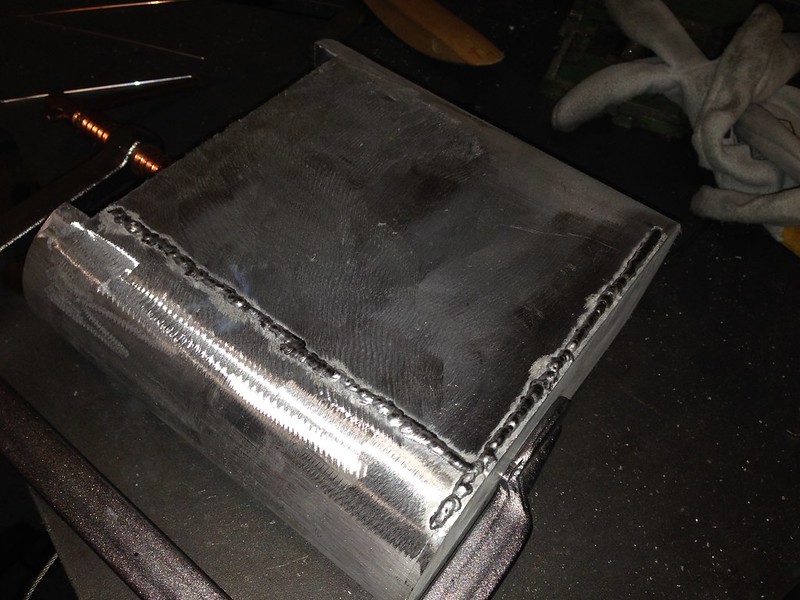
a little more welding on the battery box's (still learning)


First Steps

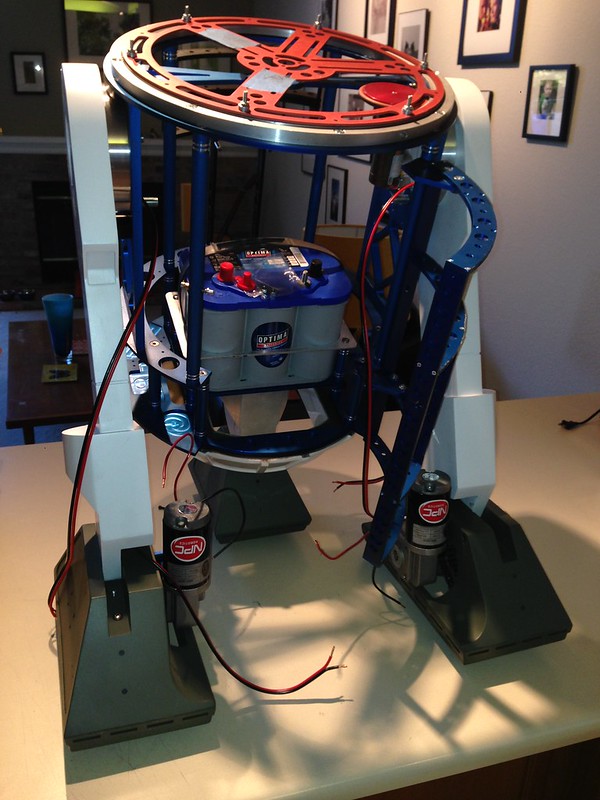
Well R2 took his first steps!


They were a little sketchy which is why i decided to move the center caster in the last post.

Friday, September 27, 2013

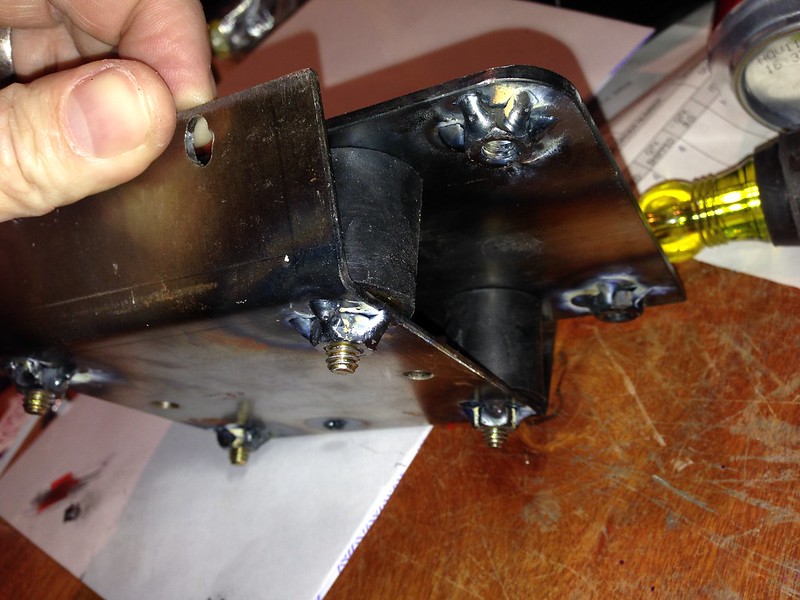
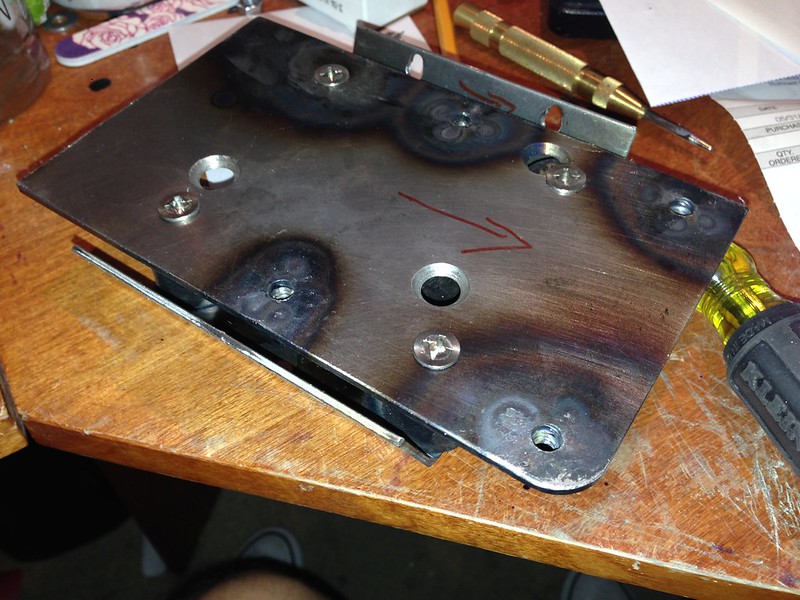
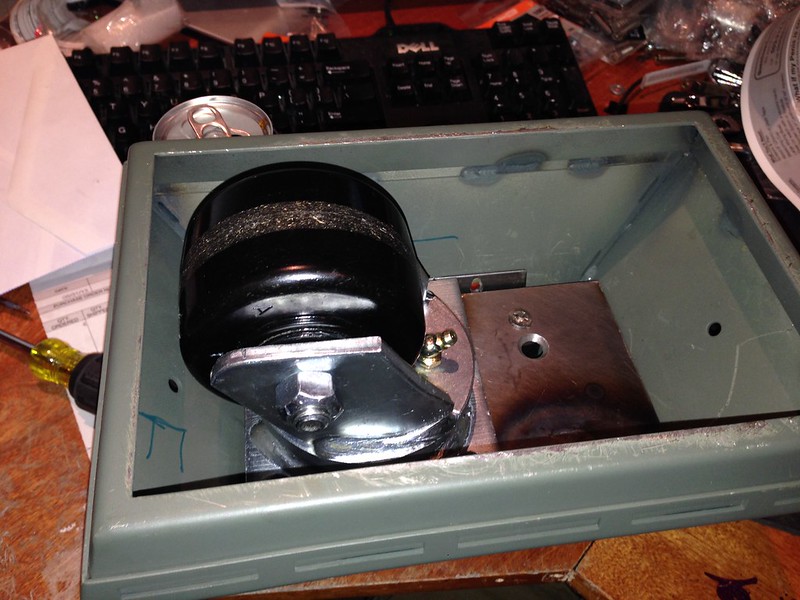
Decided to move my caster forward in the center foot. I just took the metal plate i got with my jag bracket and cut it to fit. Then just used the same plate i already had and bolted it right to it. I counter sunk the screws so the caster would sit flush. Then i welded some nuts on the back so i could secure the caster easily. The whole thing bolts together in a couple stages from the bottom so no tricky screws to reach etc. The caster is moved fwd as far as possible.
Heres the pics


caster position when reversing...

caster position when moving forward


Monday, September 23, 2013

Electronics Panel

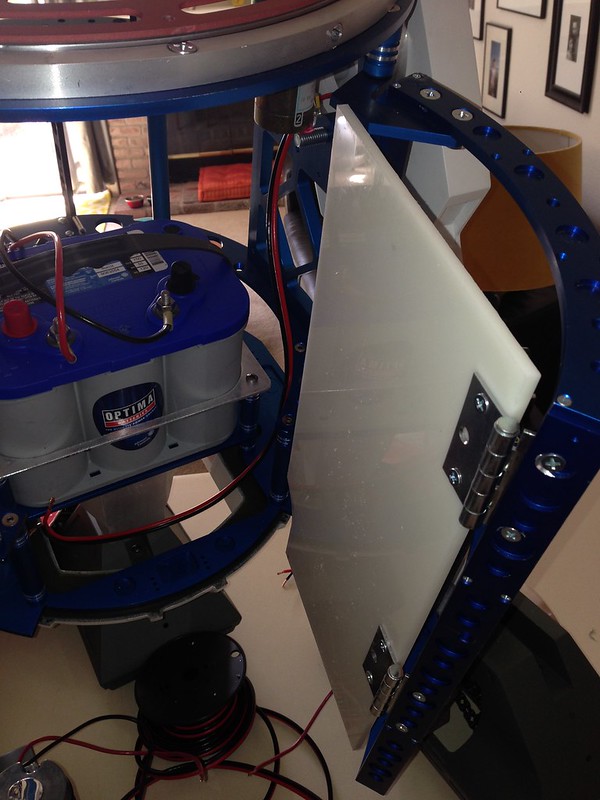
Next i needed somethin to mount the electronics too. I had a big chunk of delrin and cut it to size. I decided to make a folding electronics panel and mount it to the door. This way it it will fold out and provide easy access to both sides of the panel.


Heres a vid of how it folds out.


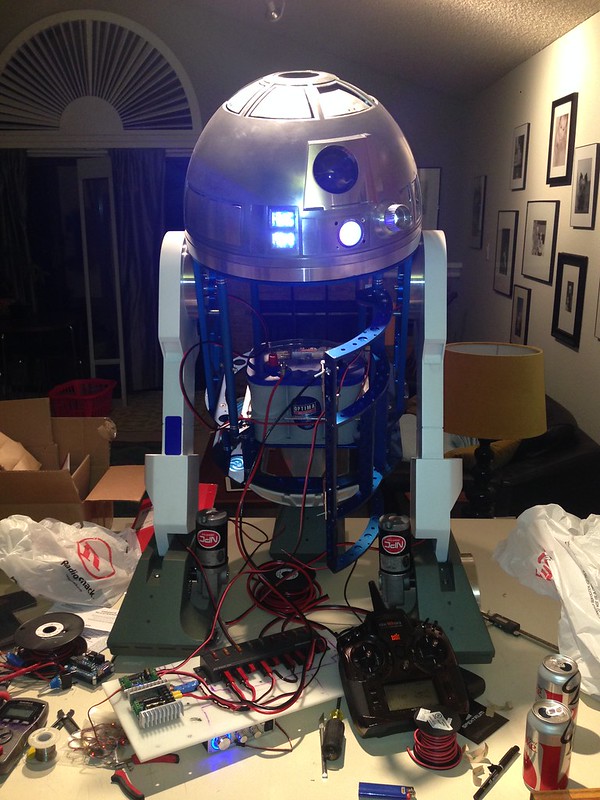
Testing the electronics.

Battery Mounting

We'll since i got legs on this little guy i figure he needs some power. I planned to go 2-3-2 at some point and ordered a frame upgrade to do so... However I wanna get him done before holloween. So i decided to go with an optima blue top batter.... HEAVY but as many say i wont have to worry about running out of juice.

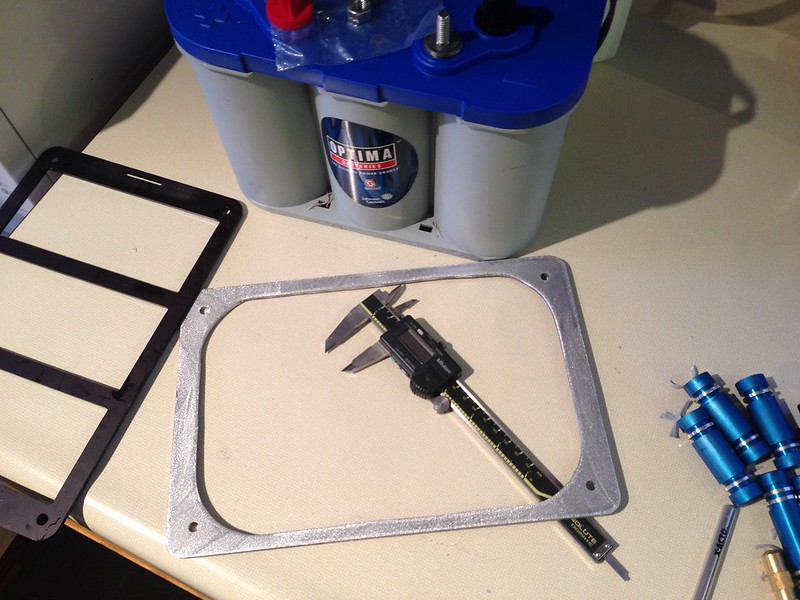
The first prob is i didnt have a way to mount it. My frame had the 3 slots for the smaller sla batteries. No worries pulled out the jig saw and cut out a new plate to fit the optima. I also sanded off the lip on the bottom of the battery.


Here is is with the battery inserted.


Thursday, September 19, 2013

Ankle Locks

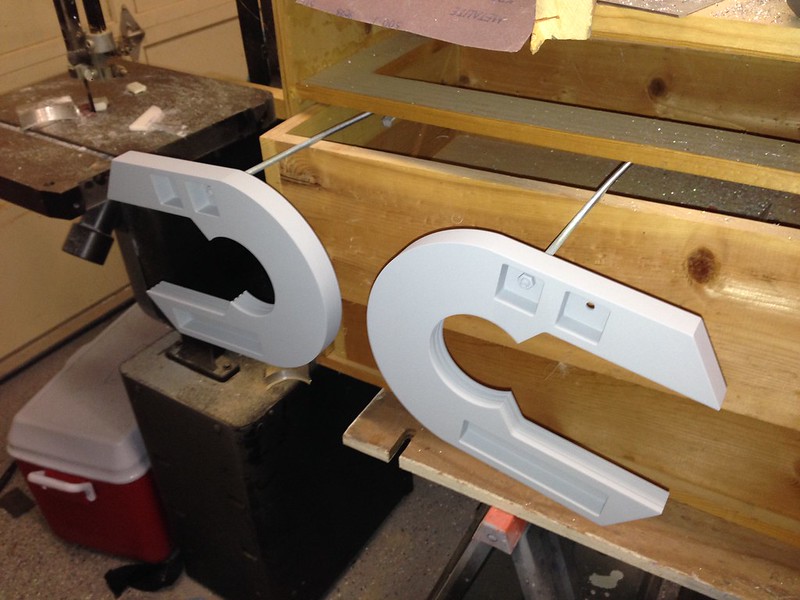
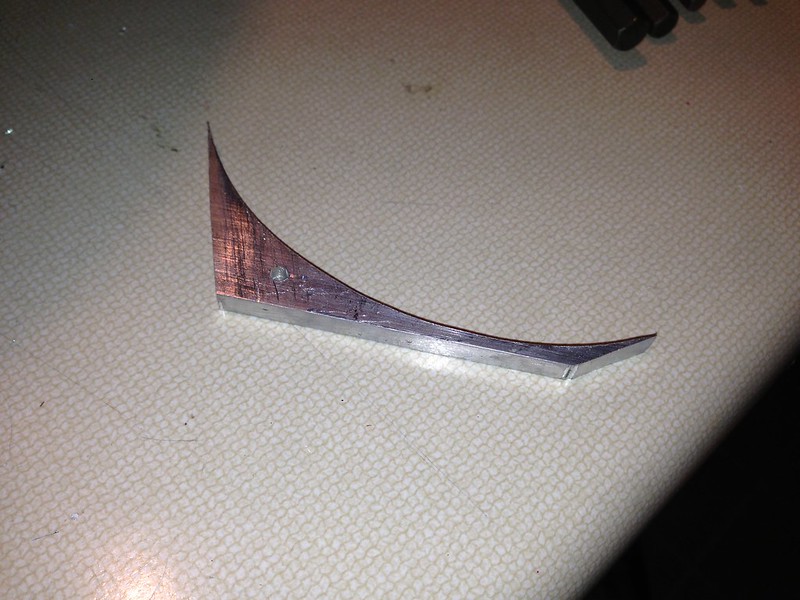
Since Im using a single caster on the middle foot i need to lock it from pivoting. I just took some 1/4" aluminum and cut out some wedges to lock it in place.

To make the template i held up a piece of card stock level with the top of the foot and took a pencil and rubbed along the edge of the ankle radius. This transferred the curve perfectly. Then cut and traced that onto the aluminum and cut with a band saw. Next i smoothed and adjusted with belt sander.


Then i just tapped a hole in the ankle and attached. Seems to work quite nicely. No play either way.

Ill do a little more trimming to make it pretty.