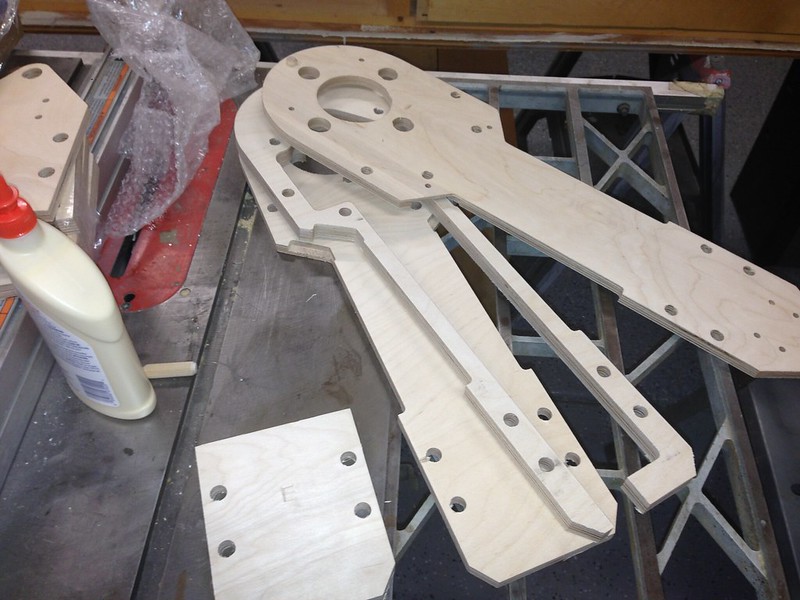
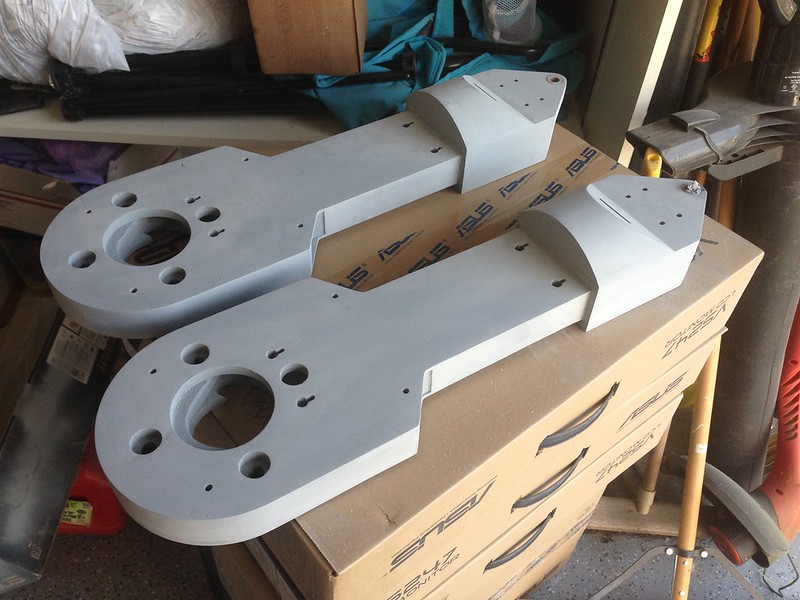
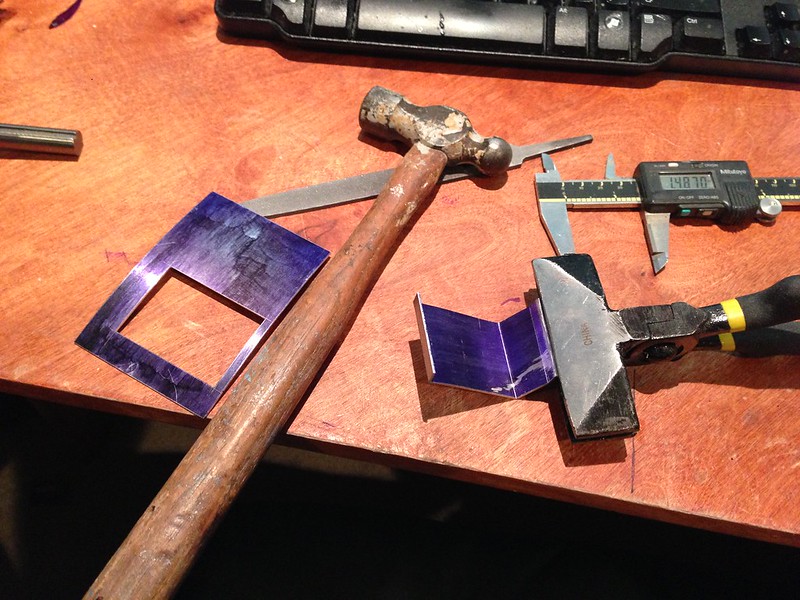
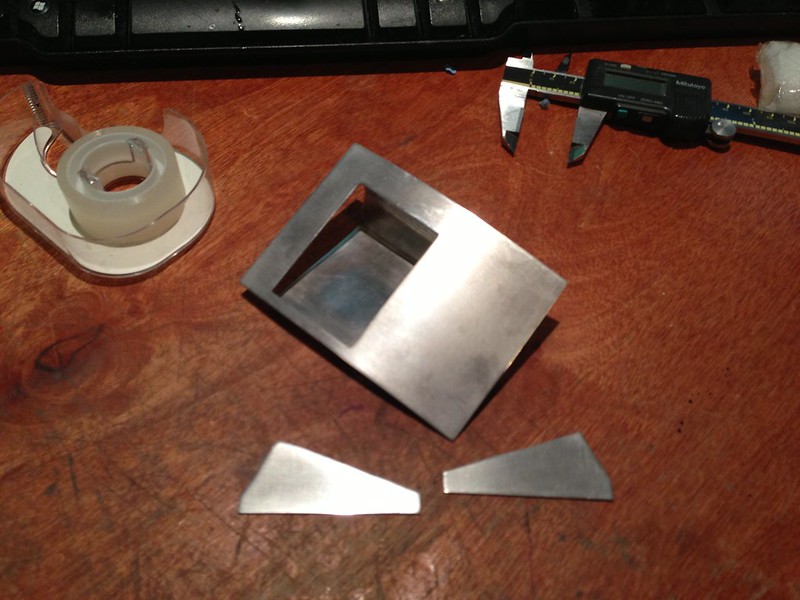
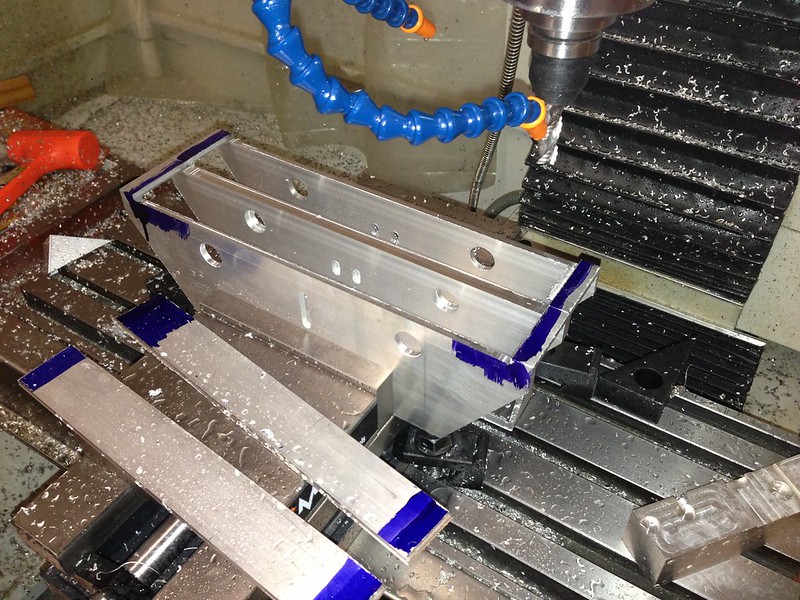
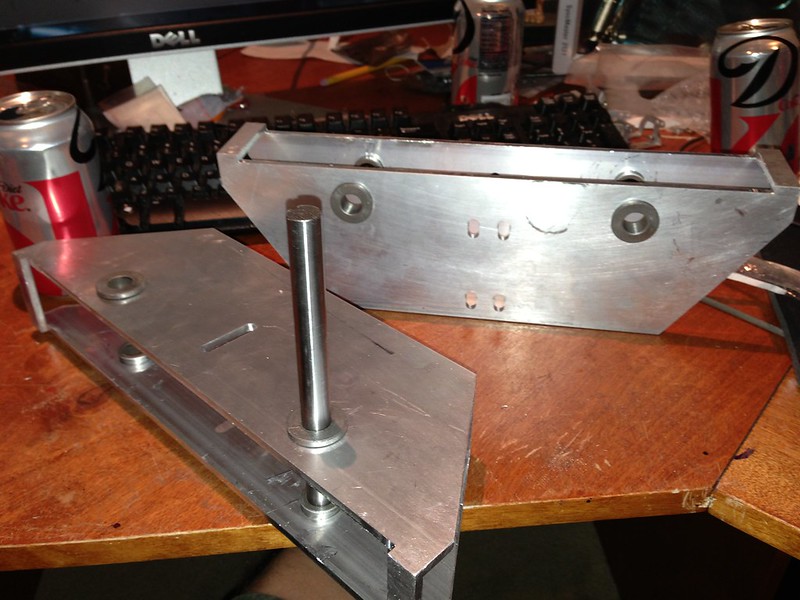
I got some cnc cut legs from R2-ATL run to hold me till i get some alum together. These are great legs and ill stick them on a second droid at some point so they wont go to waste :)
Ready to glue up... Note that slot at the bottom for wires goes to the back.
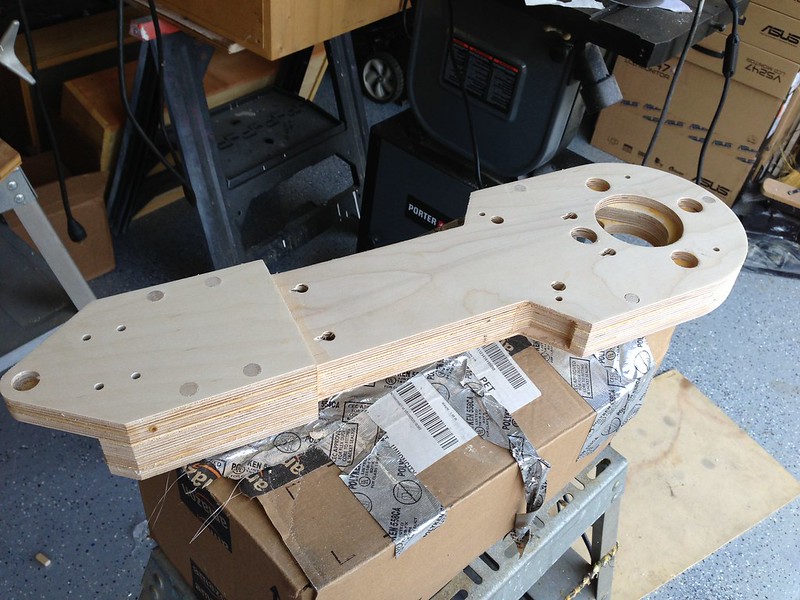
All glued up with a little sanding.
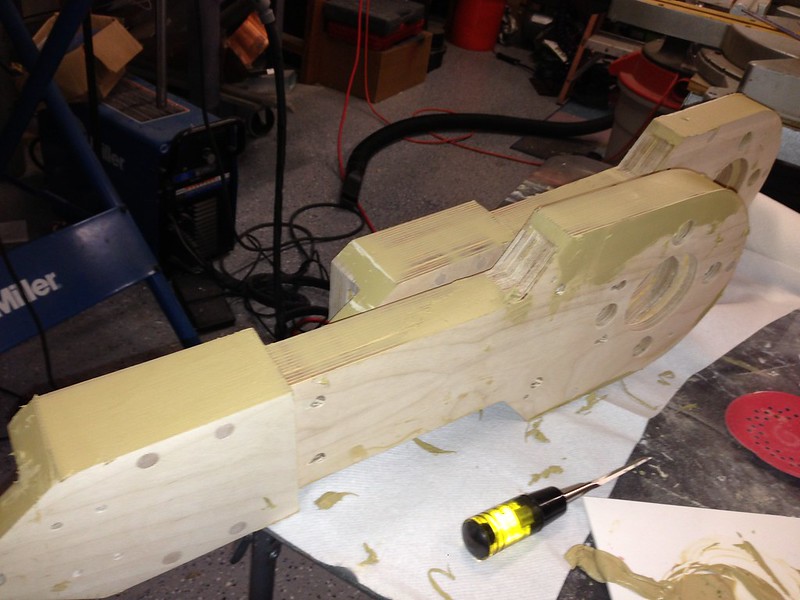
Time for some bondo. Most recommend evercoat instead but i didn't want to wait for shipping. However i used the higher quality bondo gold. It goes on much smoother than regular bondo.
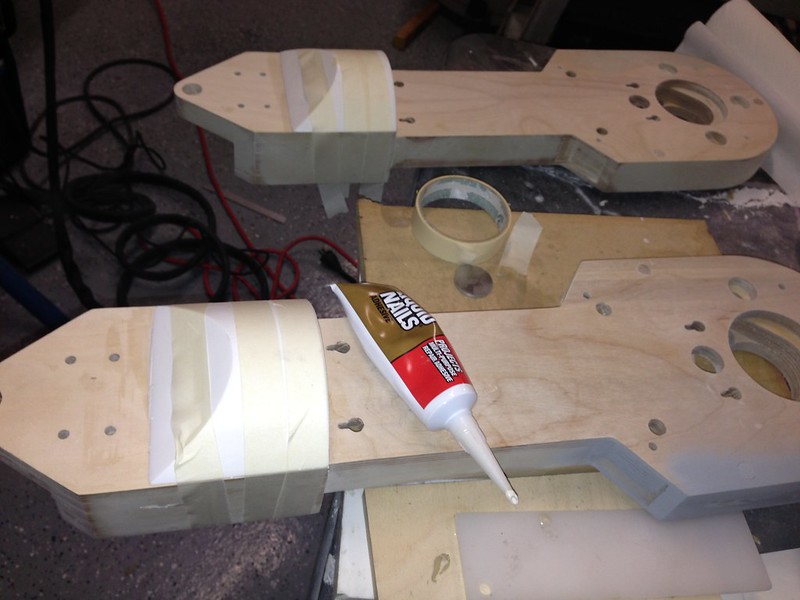
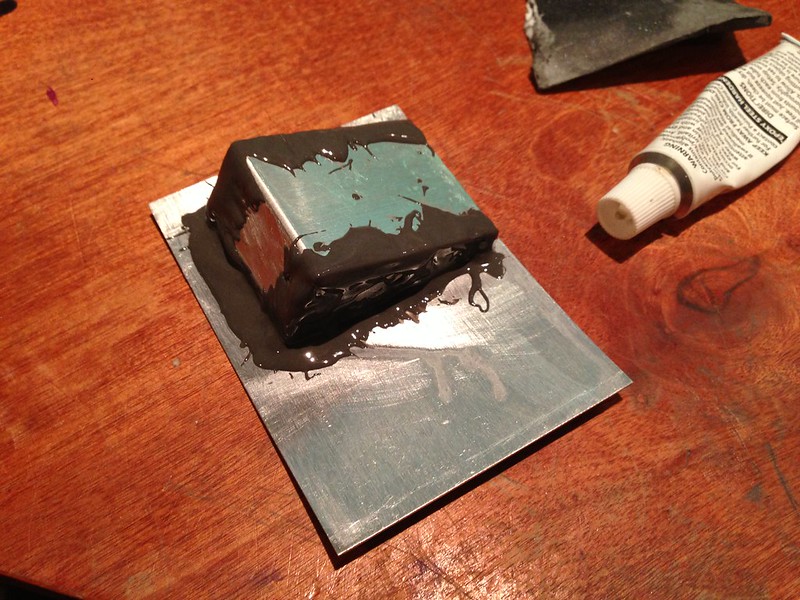
Next glued on the beefy ankles with some liquid nails. I just used tape to hold it overnight. Seems pretty strong. I have a full set of jag ankles and I was tempted to just cut off the wood ankles and secure them to the alum ankles but this way when i get my aluminum legs together ill have two full sets of legs and ankles.
Little more bondo and some primer... Then i hit it with some 400 grit and painted white. Don't have pics of that yet tho.
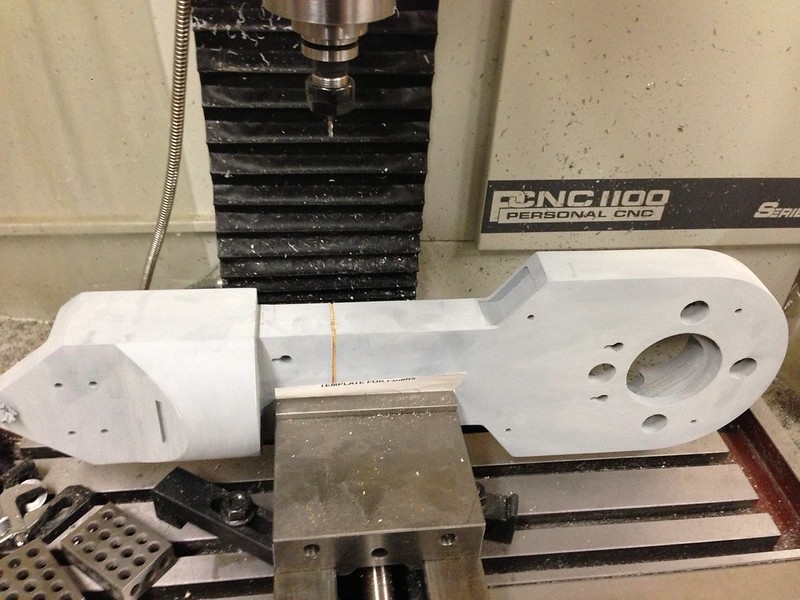
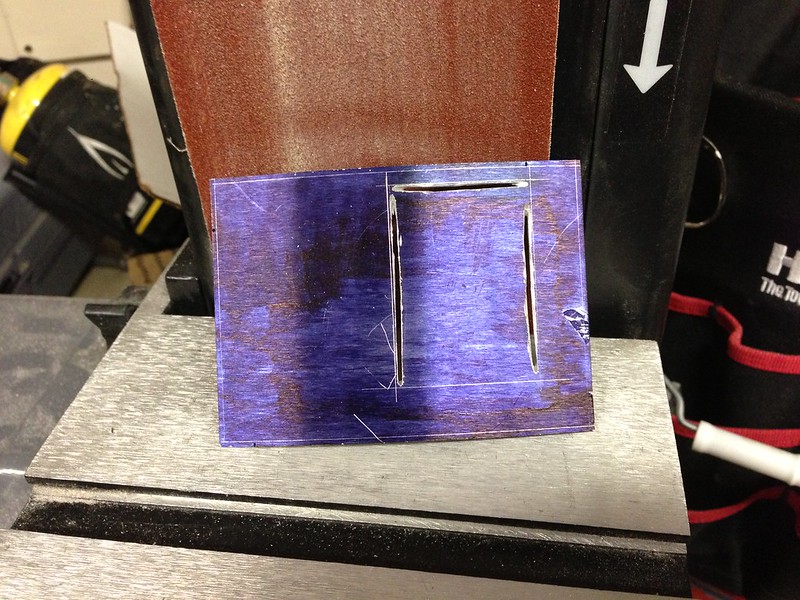
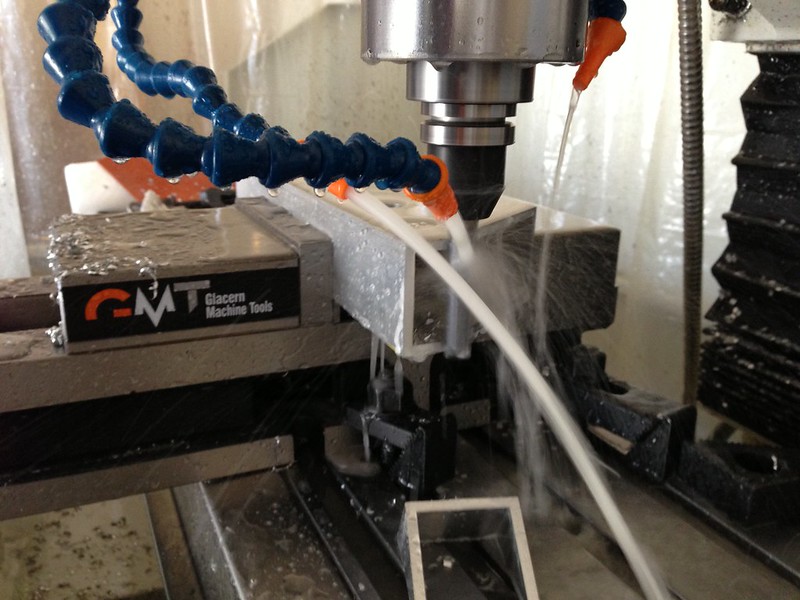
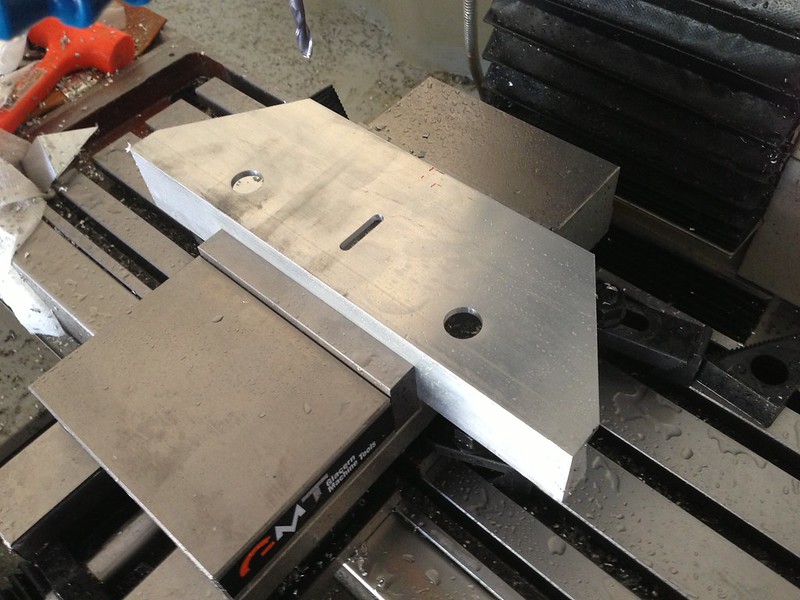
Oops also had to cut the slots in the legs. I used the milling machine for this.
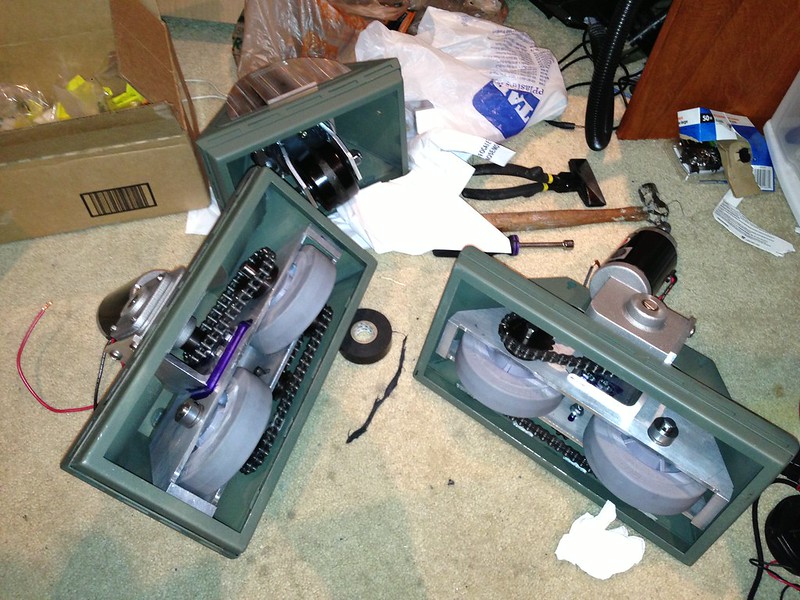
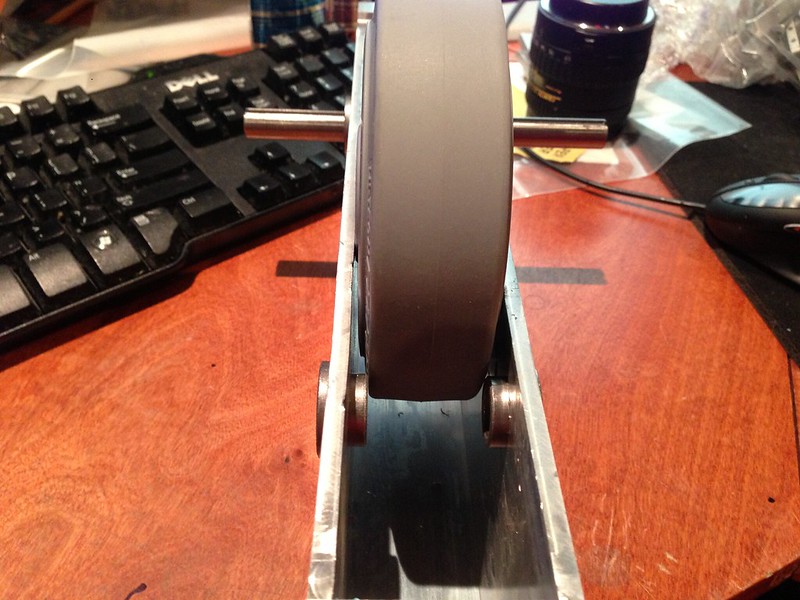
Its time to mount the caster to my middle foot. I have a Jag foot shell and the mounting kit for casters. I ordered one of the gladiator casters from McMcaster and wow its huge and heavy.
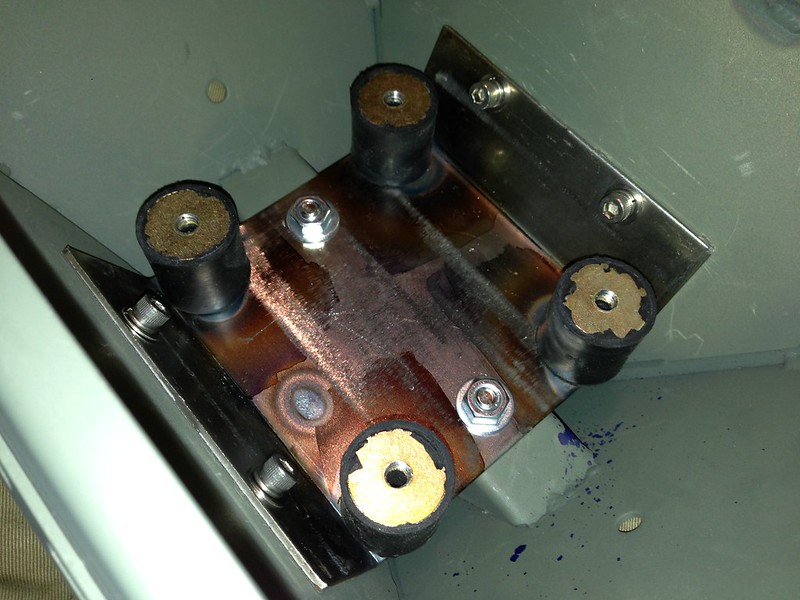
I also ordered some of those rubber vibration isolating mounts from mcmaster car. I ordered 4 of the 1/2 and 4 of the 1" mounts as i wasnt sure how i was gonna secure this caster yet. I belive these are these as curiousmarc's is using for his casters.
Now first thing i noticed is using the jag mounting plate and the 1" rubber isolation spacers the gladiator caster is pretty much the exact same height as the wheels protruding from my senna drives. The hole locations are a bit problematic but there is plenty of metal left to drill holes that line up with the gladiator caster.
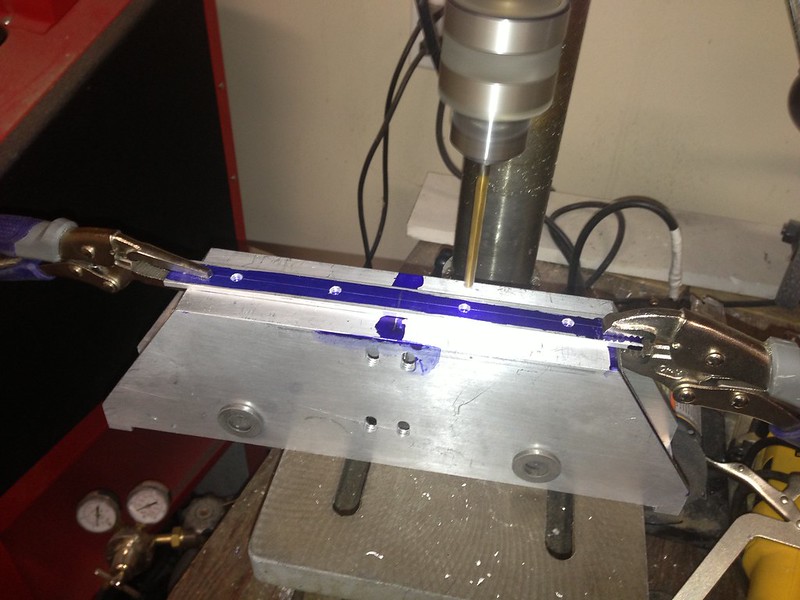
As you can see i just marked the locations out and away from the standard holes.
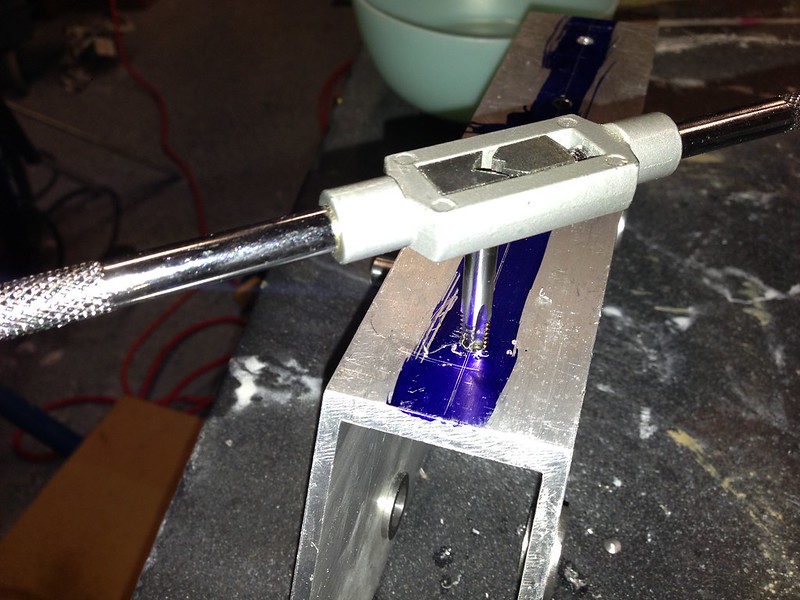
I then just drilled those holes and I tig wleded a couple nuts on the back side of the bracket. Then just thread on spacers. The gladiator lines up perfectly just secure with some 1/4-20 screws, washers, and nuts.
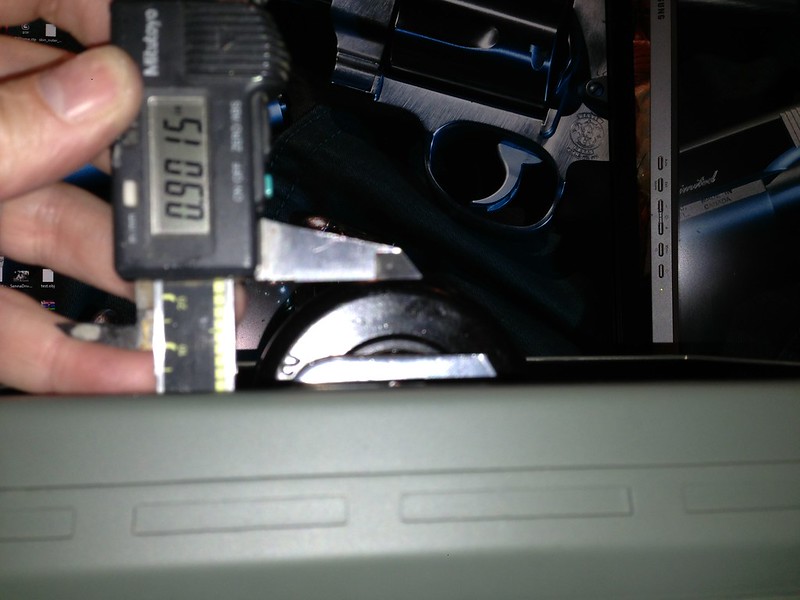
As i mentioned its about the same as the stick out from my senna drives. Perspective is weird here.
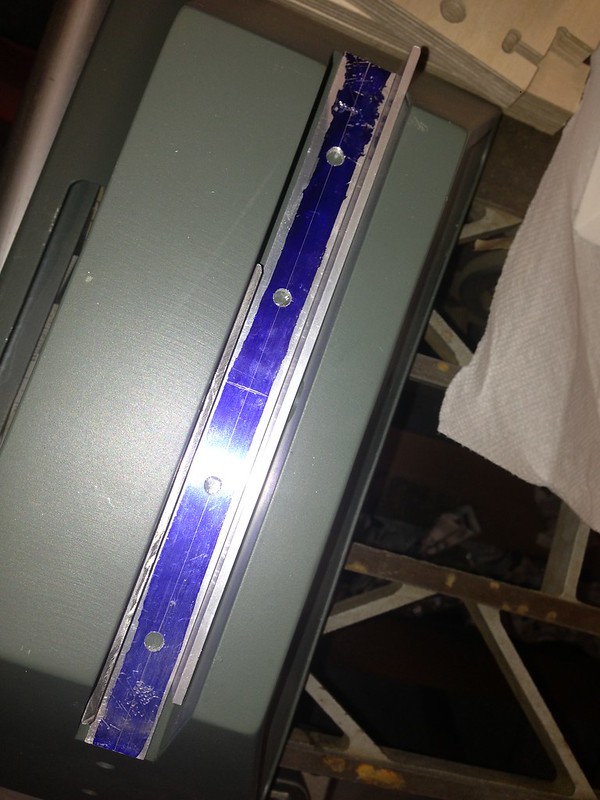
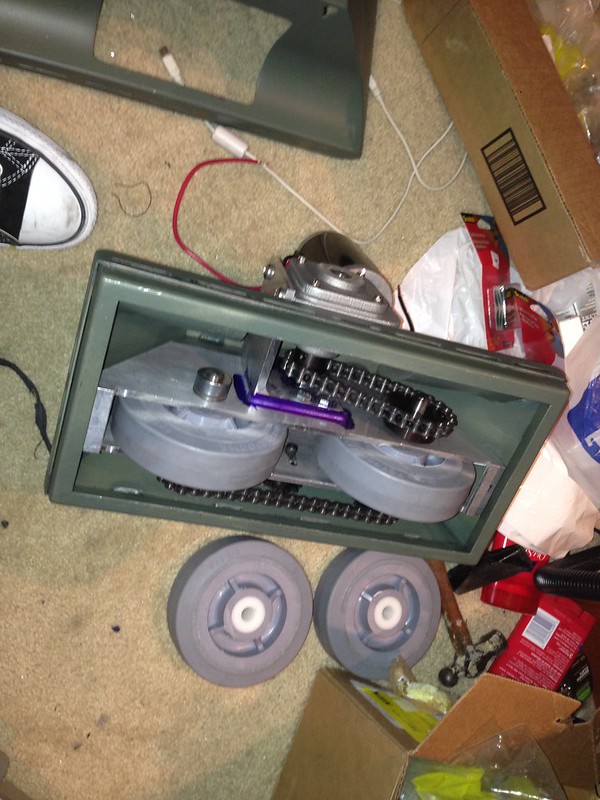
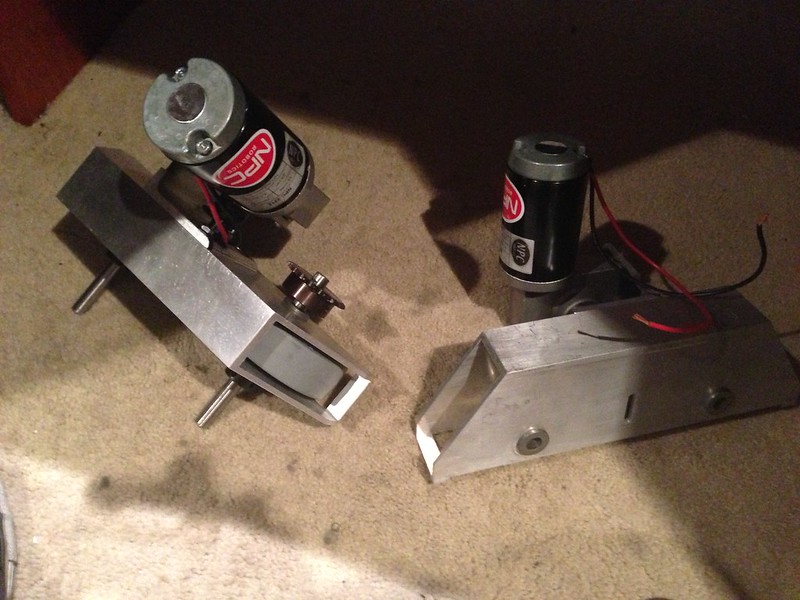
Well now its time to mount the drives to the foot shells. To do this i decided to use 1/4 - 20 screws. In order to make sure they lined up correctly i made a template. I used some vice grips to secure it for drilling.
Next I used a little vhb tape to secure the template to the foot shell and drilled them out.
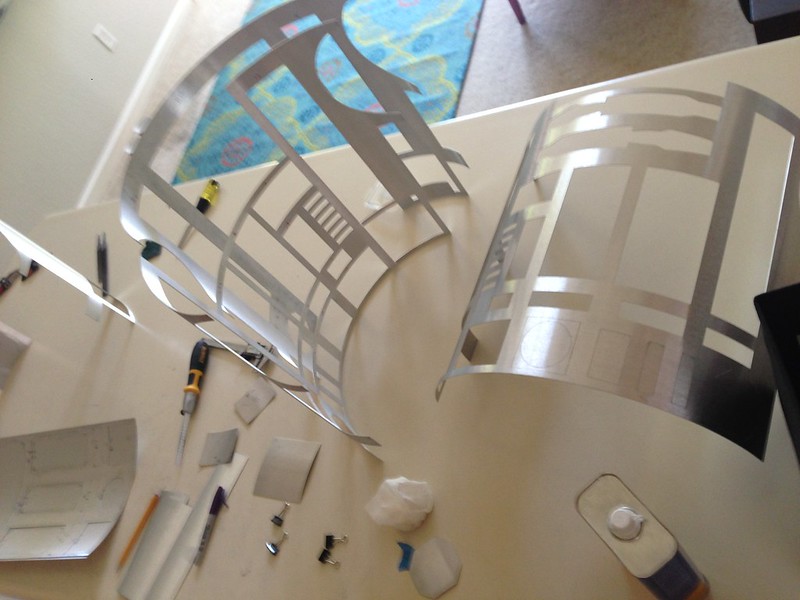
First step is to mark and cut out all the panels. I used a hacksaw blade for all the easy to access panels and a sharp chisel for the really tight panels. Thanks for the tip guys!
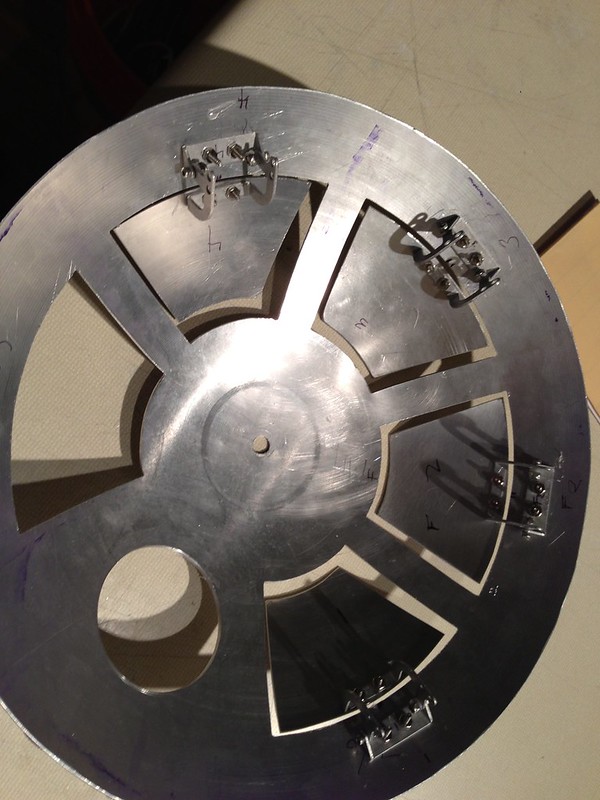
Here is a shot of the skins as panels are being cut. Make sure to number all the panels first.
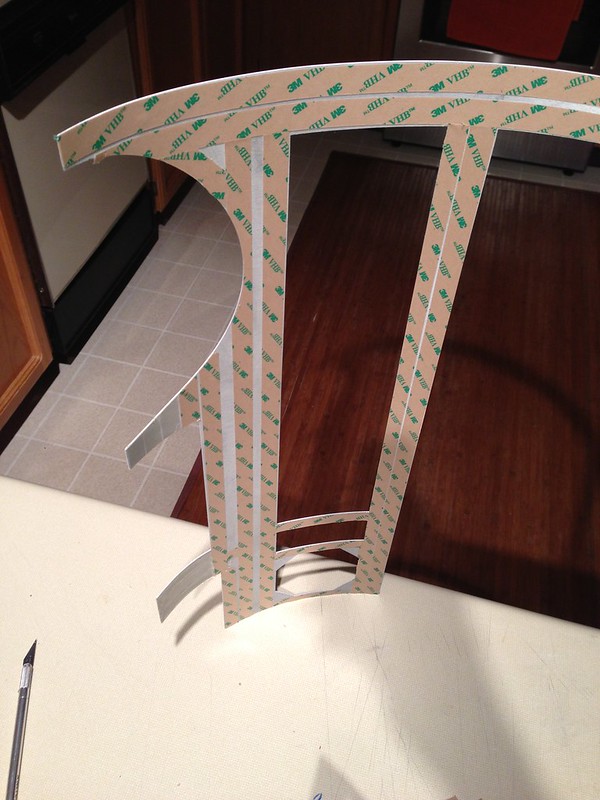
Next i had to bond all the panels together. I used 3M VHB tape. I did a tutorial on this as well and ill link the video here. Its a bit boring :)
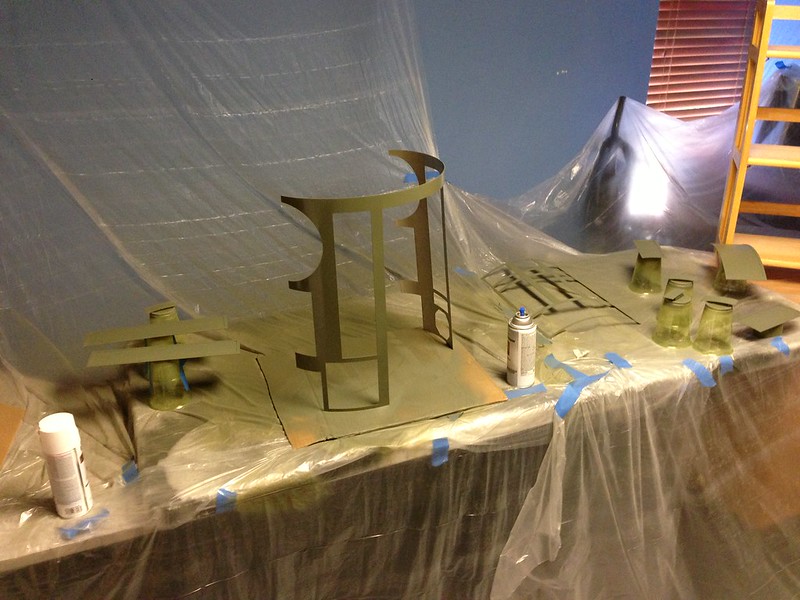
Next i prepared my Dexter set for some painting. First like many other members, i started with Duplicolor self etching primer. I did about 2 - 3 coats.
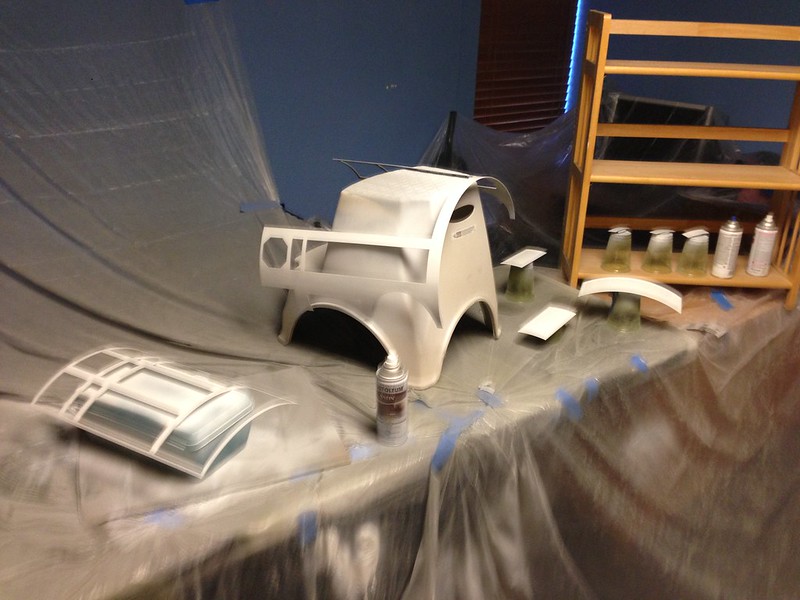
Then about 3 or so coats of rustoleum auto primer and last i did 4 coats of Rustoleum Satin White. Its important to read the can. You can do a second coat within 1 hour or AFTER 48 hours. If you dont follow you'll get orange peal.
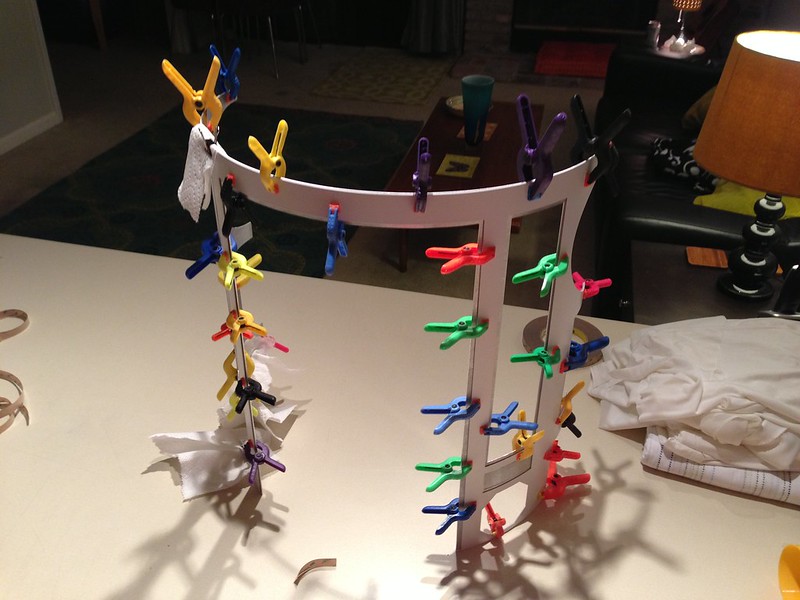
Once that fully dried it was time to bond the skins together. I was nervous but decided to just go for it. I used 5mil 3M VHB tape for this as well. I didnt want to try to clean a mess of jb weld or silicone off the nicely painted skins.
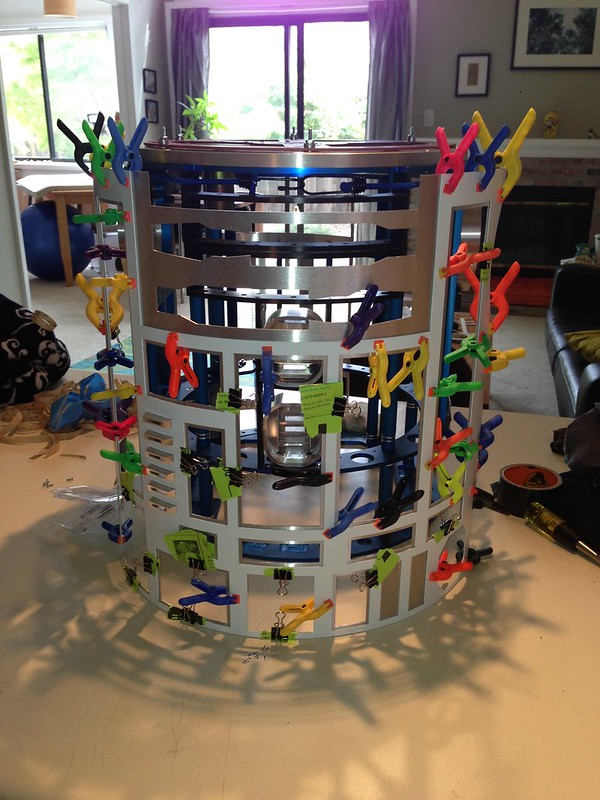
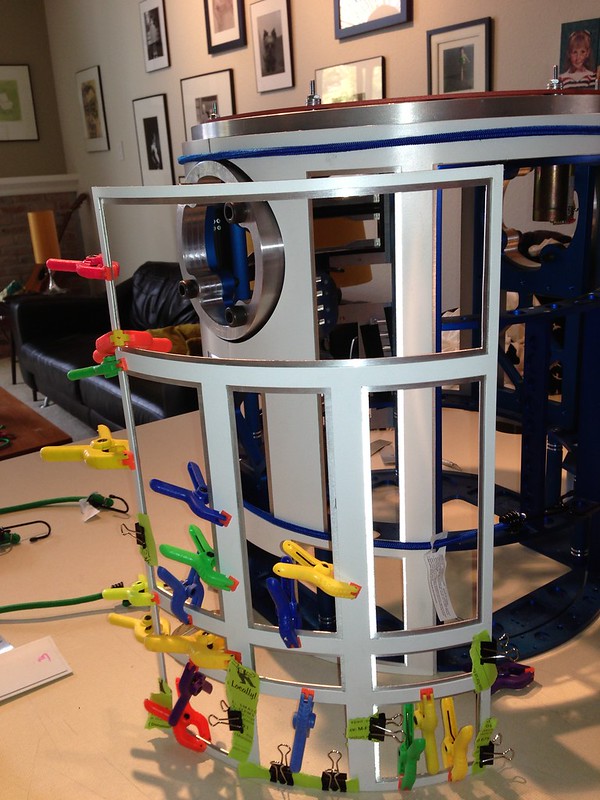
I tried lining them up as best i could. This would be easier with 2 people. My back skins were a tiny off but nothing noticeable. I pressed them tight and held them with cheap clams from Harbor Freight.
Same for the front panel. This was a lot easier to line up because you can use the coin slots as a jig to hold them true.
Lastly the back door. I didn't cut my inner skins properly. I had to do a lot of filing to get it to fit :) But its all good now.
I was excited to automate the dome panels for a while. I already had the panels all cut and the hinges mounted.
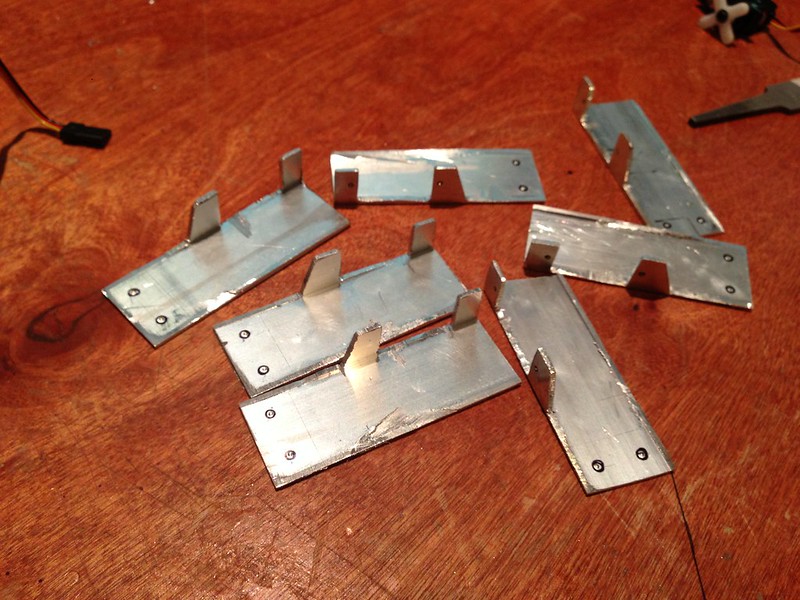
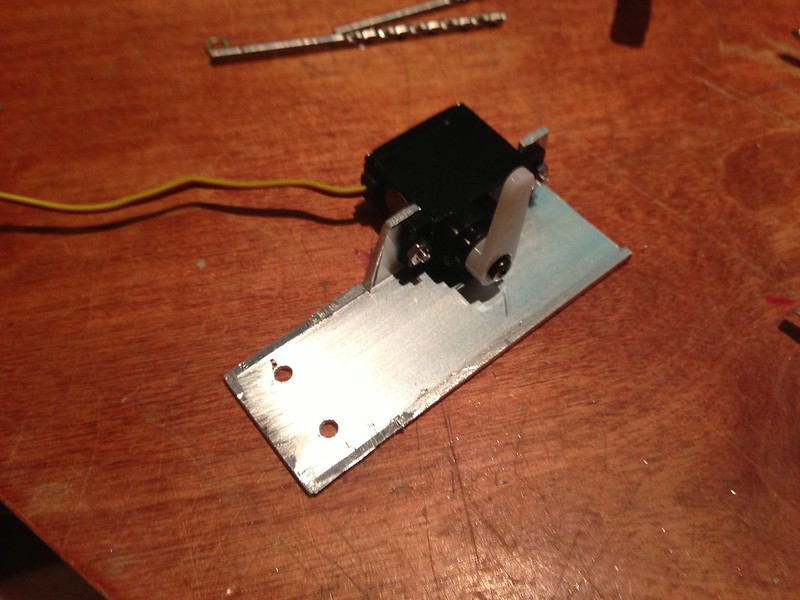
The next step was to mount the servos securely. Since i cut my dome in 2 pieces, there wasn't really a way to just stick the servo to the inner dome. I saw on Chris's blog over at http://www.artoo-detoo.net that he made little servo mounts from angled aluminum. I basically used the same idea but i only had square tube in hand. I just hacked it in half and made some angle out of it. A little ugly but works.
And with a servo mounted. I'm using HS-65 MG servos. These are sub micro with metal gears and the seem pretty good.
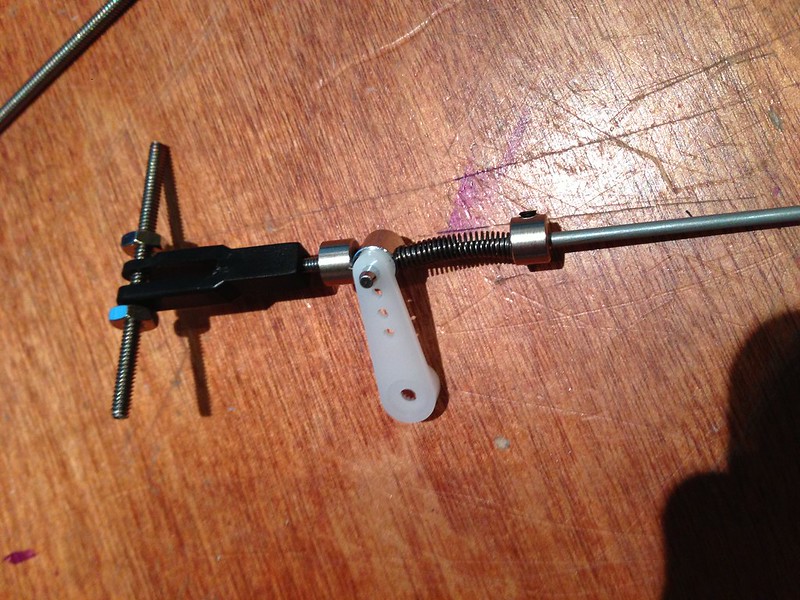
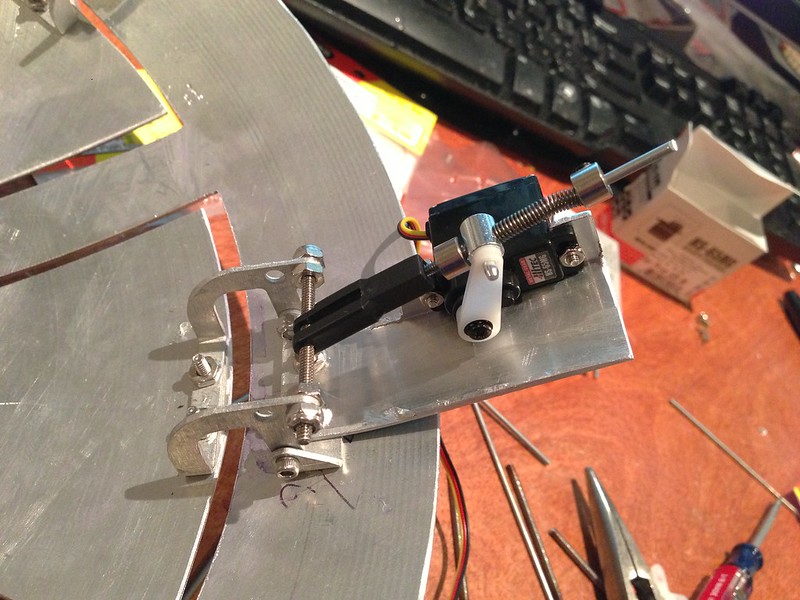
Next I had to build the linkages. This was pretty easy i just bought some parts on hand at the local RC car shop.
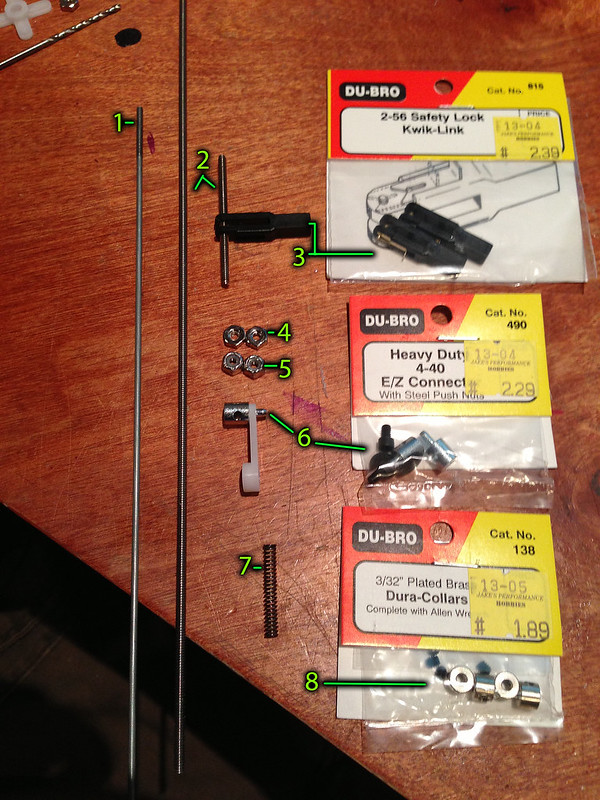
Here is the part breakdown. If your interested in using the same linkages.
1. 2-56 Threaded Rod ---------------------------------------------------------------------$1.20
2. 4-40 Threaded Rod ---------------------------------------------------------------------$1.20
3. 2-56 Safety Lock Kwik -Link Linkages DU-BRO #815---------------------------------$2.39
4. 4-40 Nut---------------------------------------------------------------------------------$0.02
5. 4-40 Lock Nut---------------------------------------------------------------------------$0.10
6. DU-BRO heavy duty 4-40 E/Z Connect #490-------------------------------------------$2.29
7. Spring from assorted spring pack from home depot (one box will do whole dome---------$4.40
8. 3/32 Plated Brass Dura-Collars #138----------------------------------------------------$1.89
Instructions:
-Cut the threaded 4-40 Rod so that a nut will fit outside of the hinge.
-Remove the pin and lock from the 2-56 Safety lock kwik-links and drill the hole larger to fit the 4-40 make it kinda snug.
-Expand the hole in your servo arm just big enough to fit the E/Z Connects through.
-Assemble rest as seen here. Trim off the extra 2-56 rod.