Saturday, July 6, 2013

Dome Panel Automation

I was excited to automate the dome panels for a while. I already had the panels all cut and the hinges mounted.

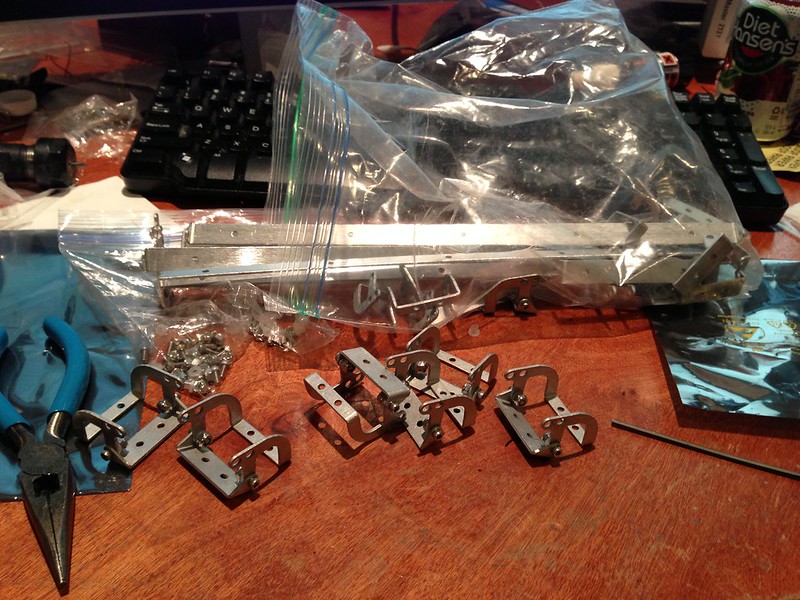
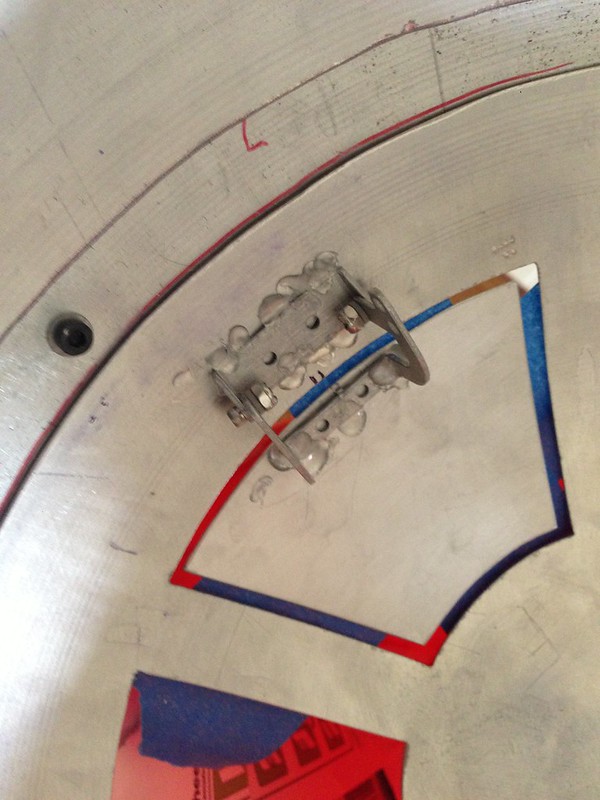
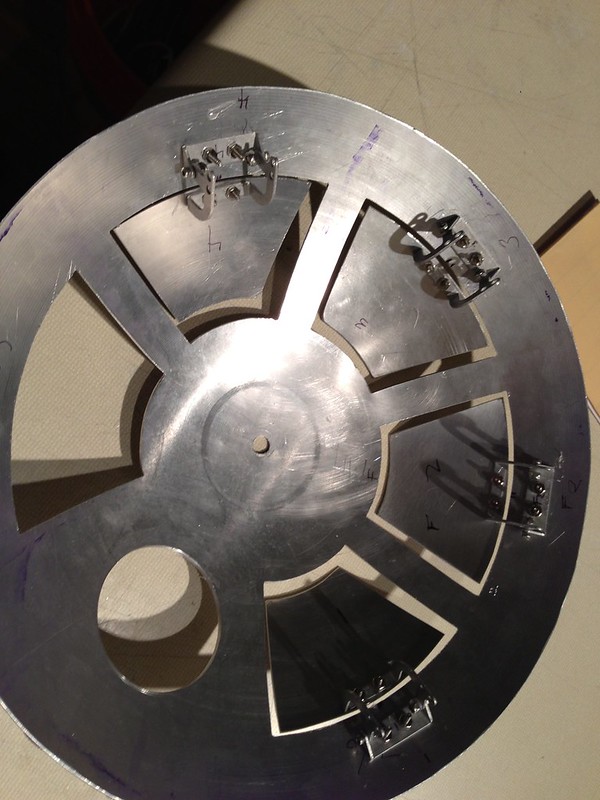
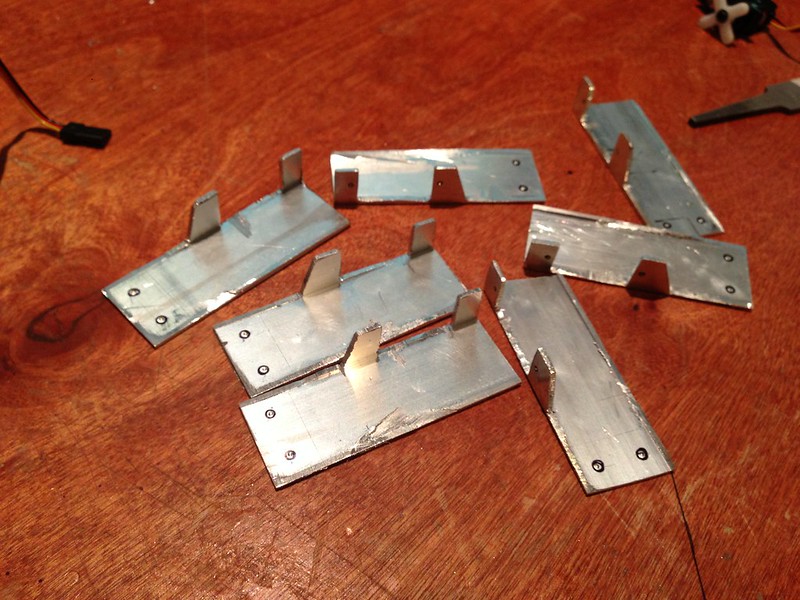
The next step was to mount the servos securely. Since i cut my dome in 2 pieces, there wasn't really a way to just stick the servo to the inner dome. I saw on Chris's blog over at http://www.artoo-detoo.net that he made little servo mounts from angled aluminum. I basically used the same idea but i only had square tube in hand. I just hacked it in half and made some angle out of it. A little ugly but works.
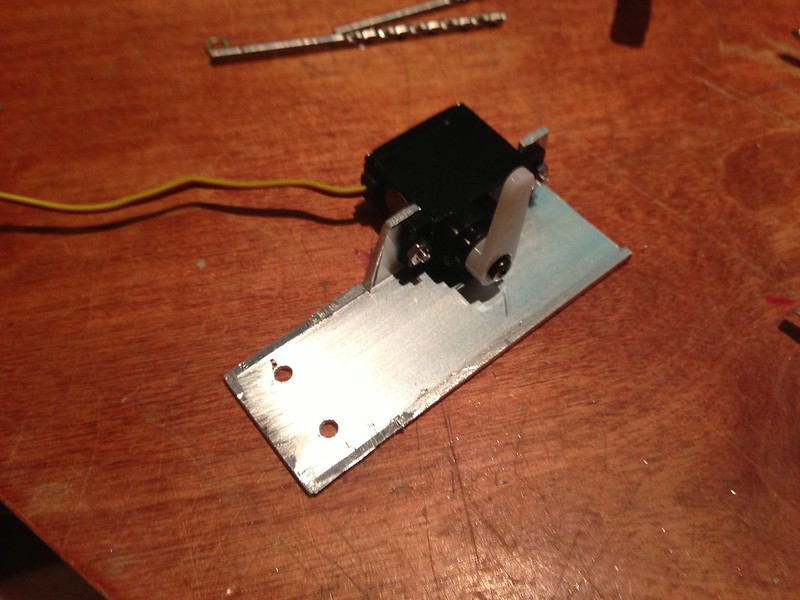
And with a servo mounted. I'm using HS-65 MG servos. These are sub micro with metal gears and the seem pretty good. 
Next I had to build the linkages. This was pretty easy i just bought some parts on hand at the local RC car shop.
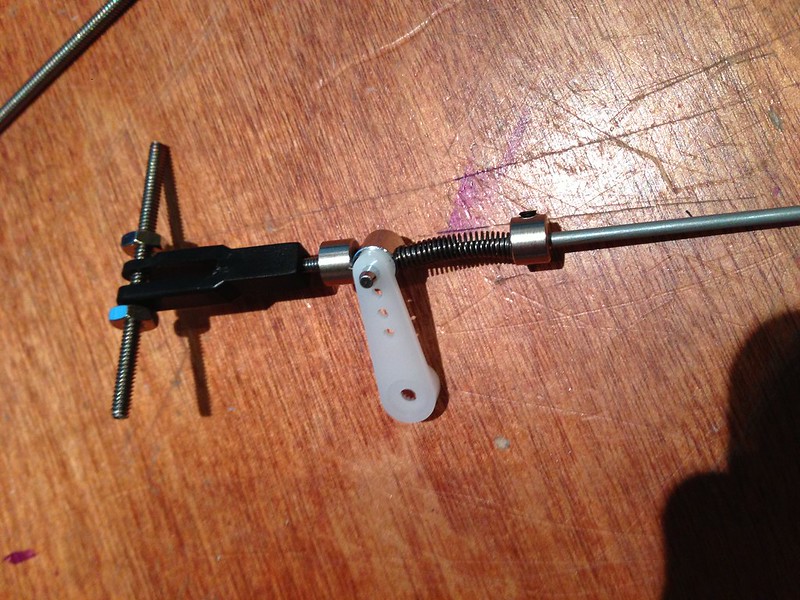

Here is the part breakdown. If your interested in using the same linkages. 
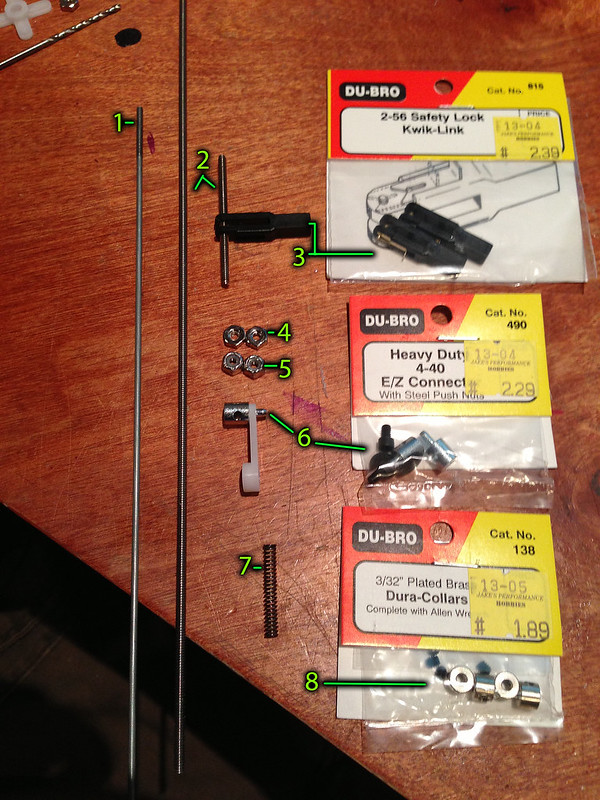
1. 2-56 Threaded Rod ---------------------------------------------------------------------$1.20
2. 4-40 Threaded Rod ---------------------------------------------------------------------$1.20
3. 2-56 Safety Lock Kwik -Link Linkages DU-BRO #815---------------------------------$2.39
4. 4-40 Nut---------------------------------------------------------------------------------$0.02
5. 4-40 Lock Nut---------------------------------------------------------------------------$0.10
6. DU-BRO heavy duty 4-40 E/Z Connect  #490-------------------------------------------$2.29
7. Spring from assorted spring pack from home depot (one box will do whole dome---------$4.40
8. 3/32 Plated Brass Dura-Collars #138----------------------------------------------------$1.89

Instructions:
-Cut the threaded 4-40 Rod so that a nut will fit outside of the hinge.
-Remove the pin and lock from the 2-56 Safety lock kwik-links and drill the hole larger to fit the 4-40 make it kinda snug.
-Expand the hole in your servo arm just big enough to fit the E/Z Connects  through.
-Assemble rest as seen here.  Trim off the extra 2-56 rod.
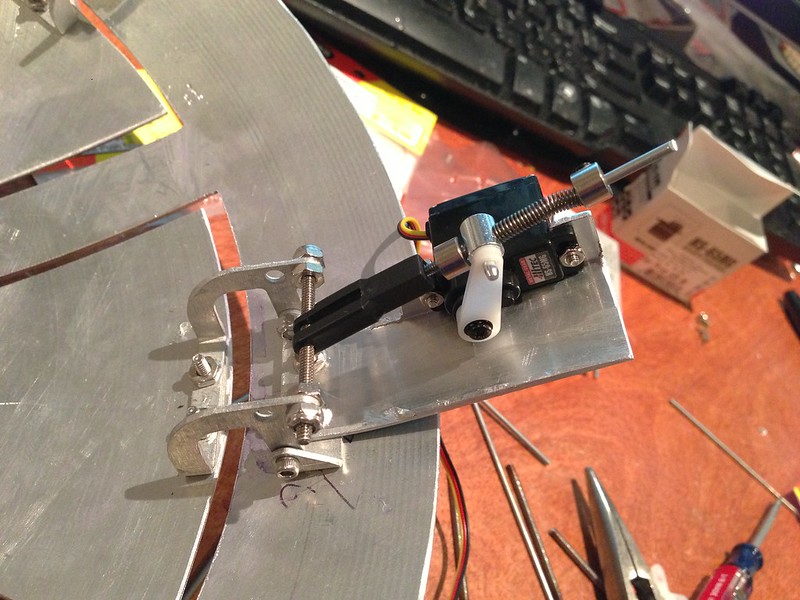
Here's a couple vids with some test movement.


Dome Sanding and Polishing

I thought i liked the spin lines on my dome until i saw some other Bay area Droids, Specifically Capodimusica's and Chris's.

This made me wanna sand out those spin lines. This wasnt too fun i must confess but heres how i did it.


I used 220 grip sandpaper on an orbital sander and this quickly removed the spin lines. Probably 5 minutes for the whole dome. I sanded it on the frame so i could spin it on the rockler bearing. I also used a plastic bag over the inner dome to keep all the gunk out of it.


220 Orbital Sander


Next i hit it with 320 Grit on the Orbital Sander. This was pretty quick as well.


After this i moved to 400 grit wet dry and went in circular patterns. I used the pie panels as reference where i started and did one "pie" section at a time. I used 1/4 of a sheet for each section.


Next the same but with 600 Grit


Then 1200 and one more time at 2000 Grit


Once this is done i took some Mothers Mag aluminum polish and a cheap harbor freight buffer and buffed the dome. Once the polish starts turning black you then just buff it off with an old tshirt etc. The more you buff the shinier it will get.

Looks a bit different in person, ie a little less shiny, but here's the result. I think just the right amount of shine.


Now i gotta do the panels ugg...Also what mess...

Sunday, June 23, 2013

Magic Panel!

This is called the magic panel because it "magically" lights up in a couple scenes when r2 gets shocked etc. It looks like a regular aluminum panel but glows red at times.

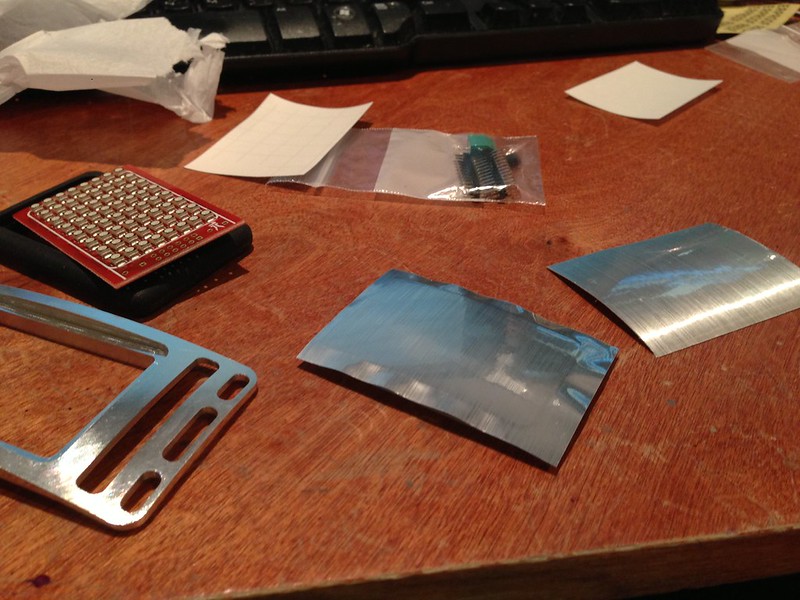
Mcwhrl designed and made these really awesome kits!. Its a combo of aluminum, rubber, clear plastic with an aluminum sticker and a cool pcb with a ton of led's on it.

I'll have to get pics of it working later because it really is magic.

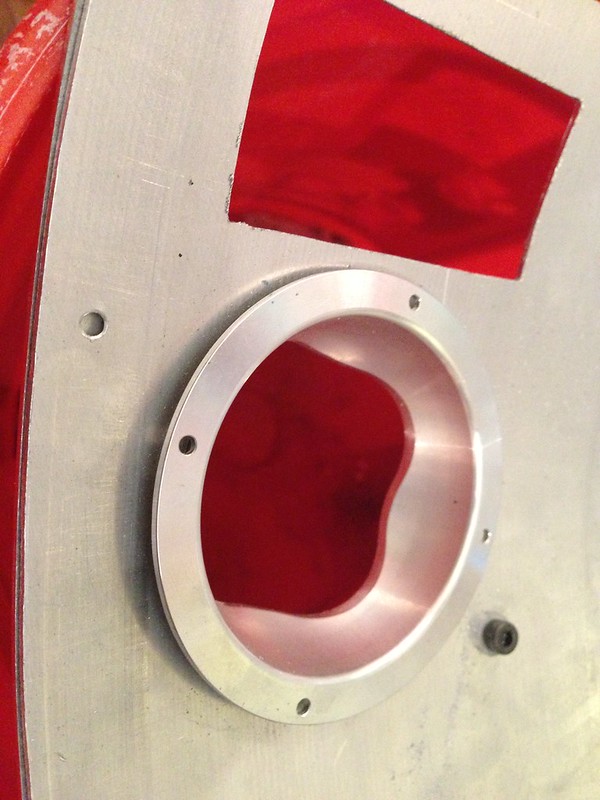
Here is the kit.

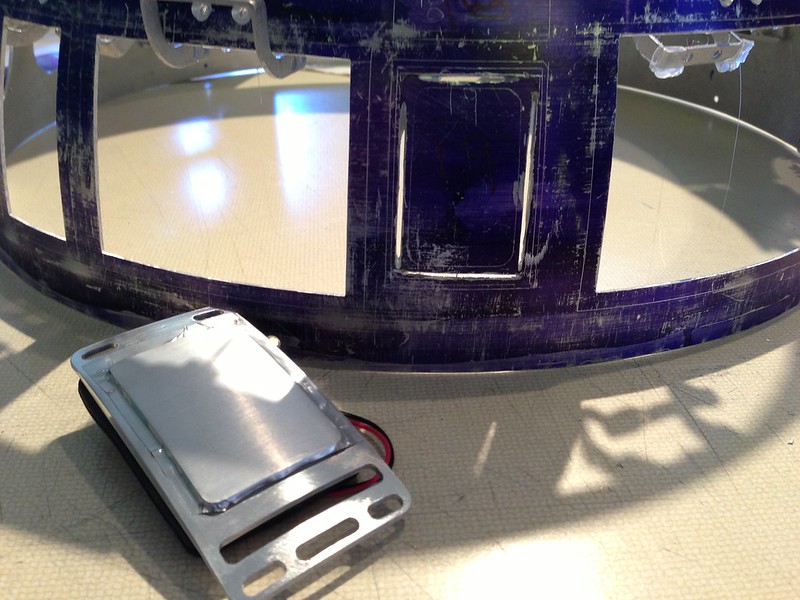
Assembled and started cutting the hole for it. 

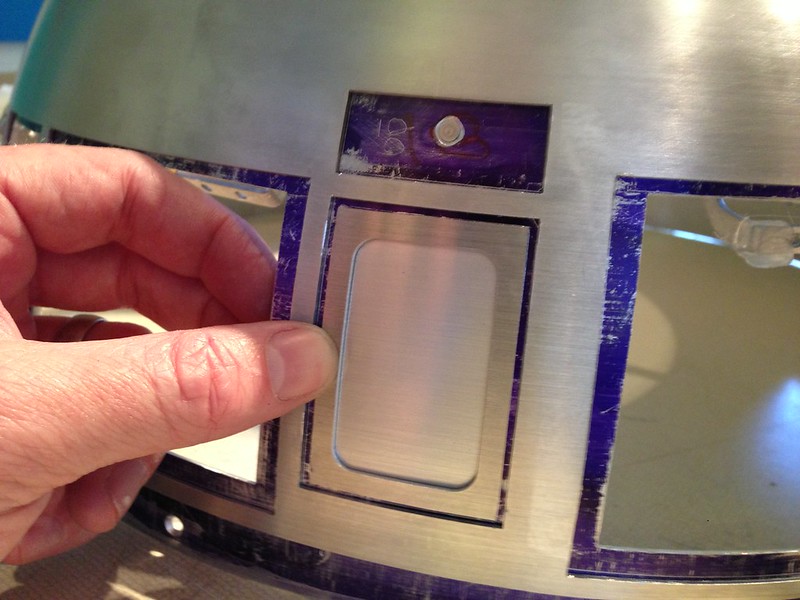
And it mounted.


Saturday, June 22, 2013

PSI

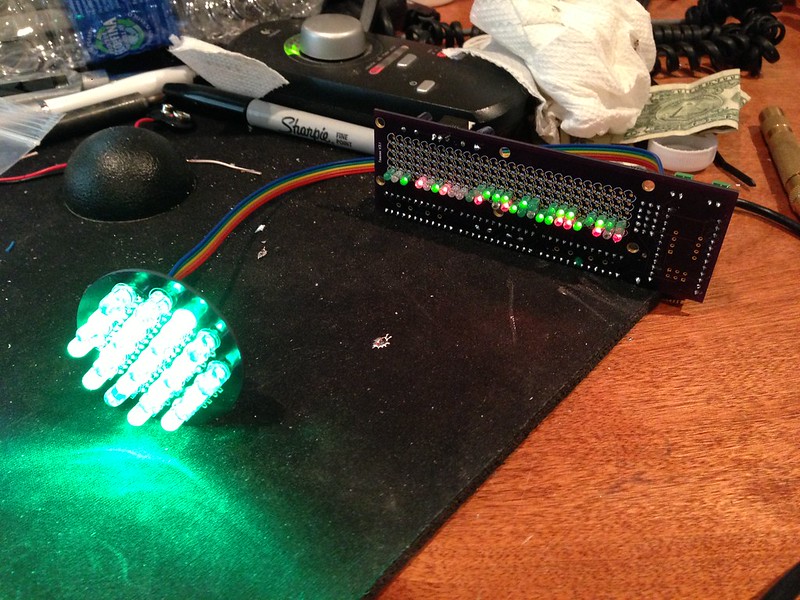
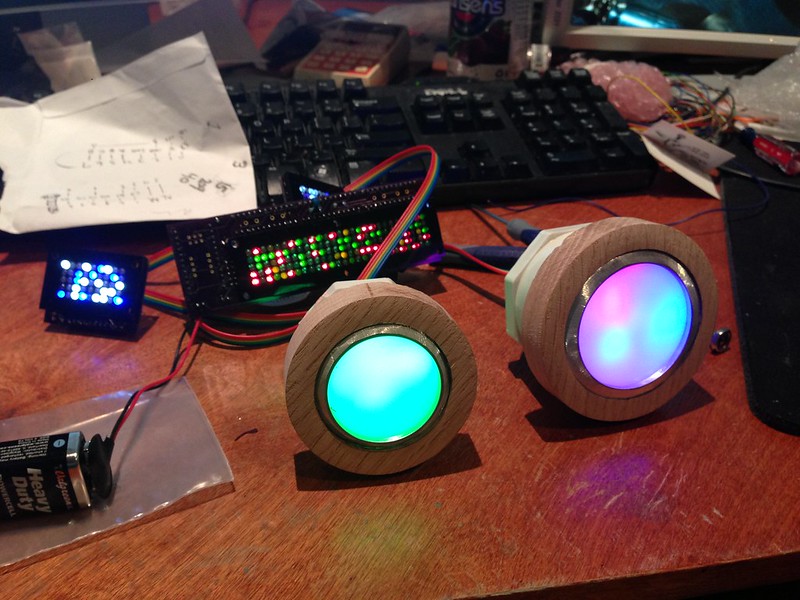
Well r2 needs lots of lights. I didnt take many pics way back when i started the electronics. But here are a couple of shots of building the Teeces 3.1 boards. Wow thats a lot of soldering!


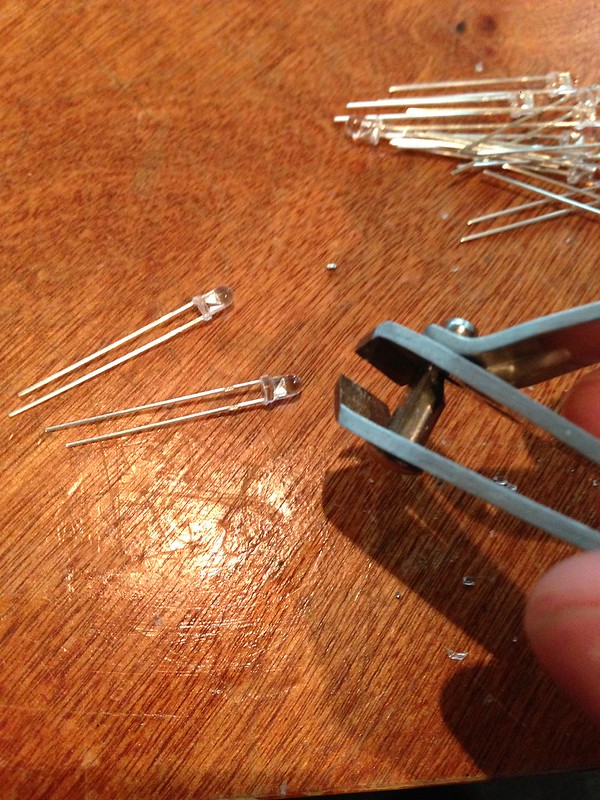
I didnt know where to get the "flangless" LED's so had to use a nail clipper and cut all of the flanges off of hundreds of LEDs ... uggg.. wanst too bad actually.

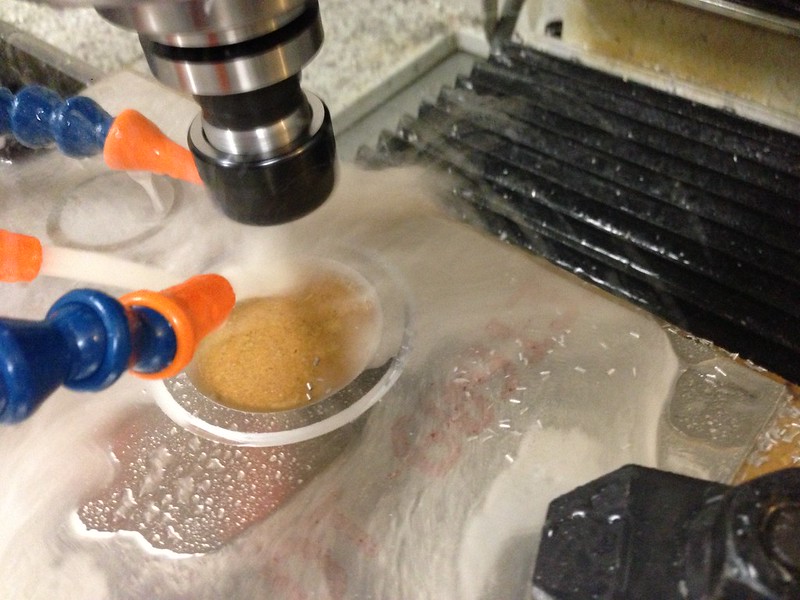
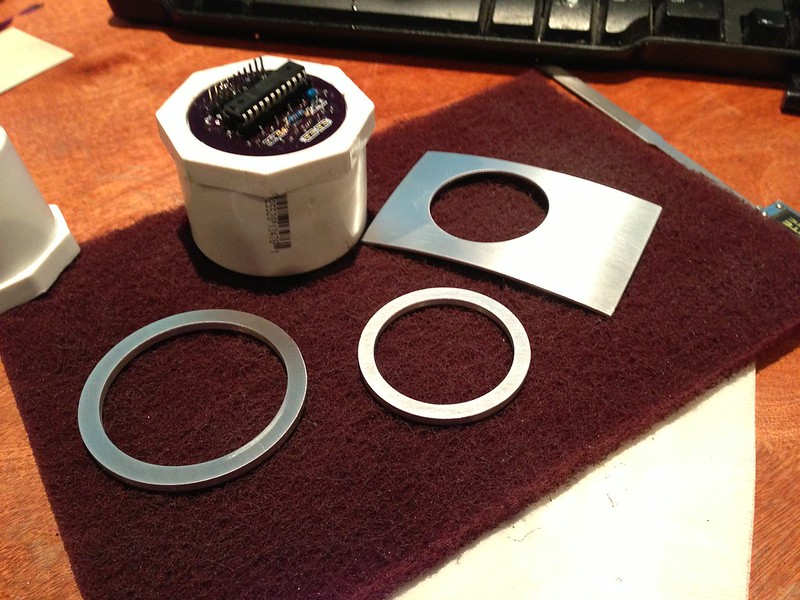
Next i needed a way to mount them. I first milled out some PSI spacers from 1/8" aluminum. 

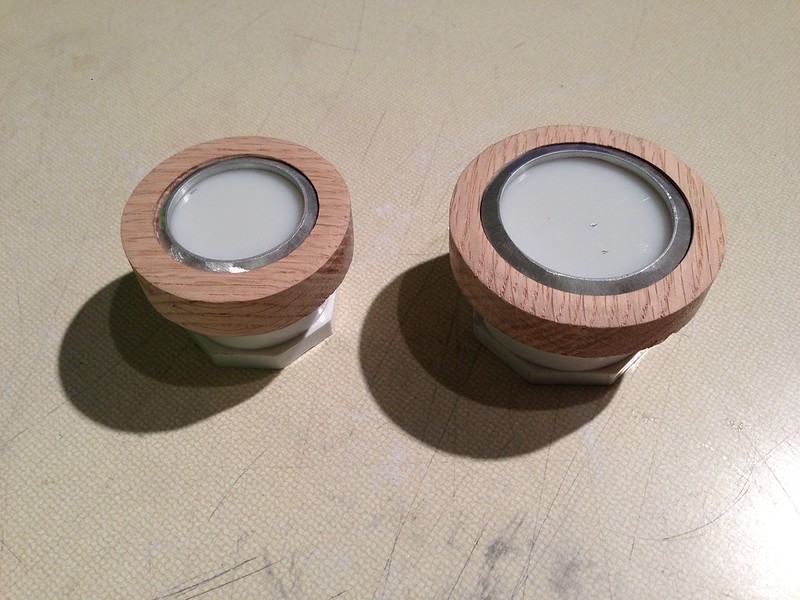
Next i got a couple properly sized pvc fittings for the housing. 

and last cut some oak rings and sanded a taper on the rings so they fit very tightly with the curve of the dome. 

Here it is turned on. As you can see i need some more diffusing so the lighting is more even.

Hinges!!!!

Woohoo hinge time!!!

I want every panel to open and close on this little guy. Due to the shape of dome with all its curves its acutally very hard to hinge the doors. The hinges are specially designed to not bind. Here is how i installed them.  First had to put them all together.


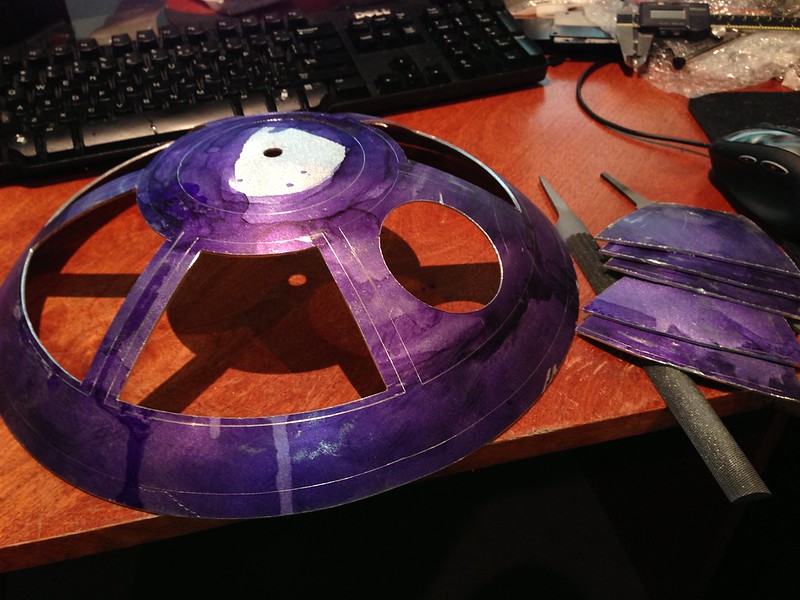
Remember back when I cut the holes for the panels. I made the hinged sided around 1/8". This is important to allow the hinge to open fully.  Next  i used hot glue to temporarily hold them in place. The placement is very unforgiving so its best to test fit it all with glue before drilling holes.

Once in place I then glued the outer pie panels on  and checked for binding. Once they were all good i marked the and drilled the holes. I used the same captive screws from earlier. 

I then did the lower panels as well in the exact same way. 


HP Holes

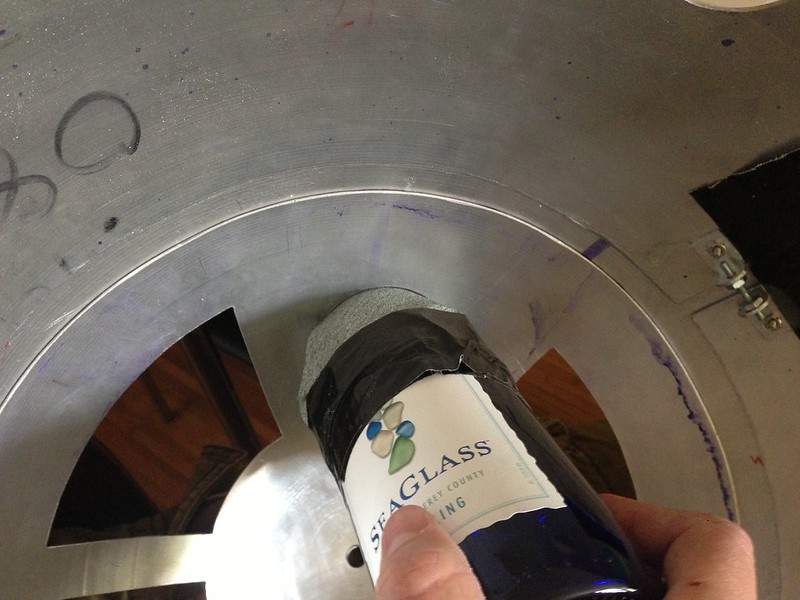
The HP's from BobC are a little larger than spec i beleive.. You'll need to enlarge both the inner and outer dome holes a bit. Again use the wine bottle with sandpaper from the inside. Goes fairly fast but your arm will get tired of twisting :)


Almost there....

Did this for all 3 HPs and they all now sit flush.


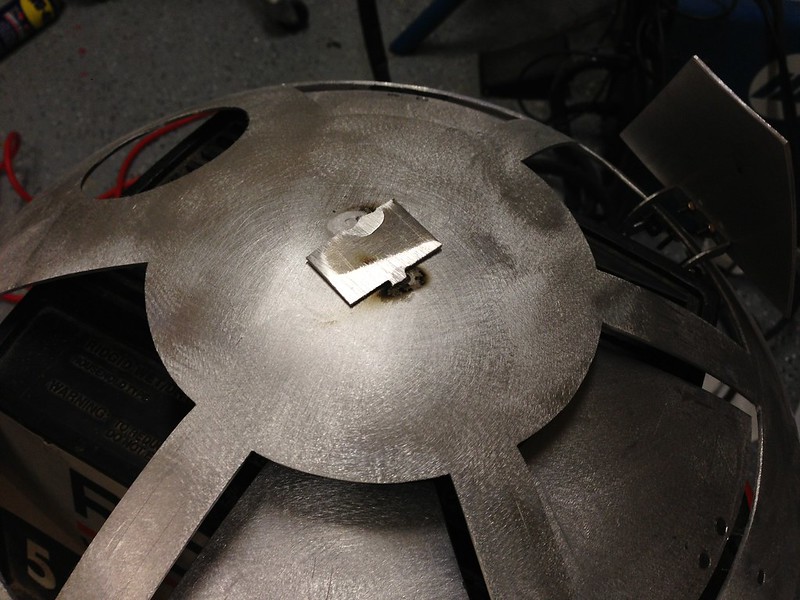
One more hole to cut.  I forgot to cut the hole in the top of the dome... I couldnt use the whole saw because there is already a small hole in the top of the dome. This hole however is not centered.


So i tig welded a little plate so i could drill a new hole centered. Then i cut it with the hole cutter.