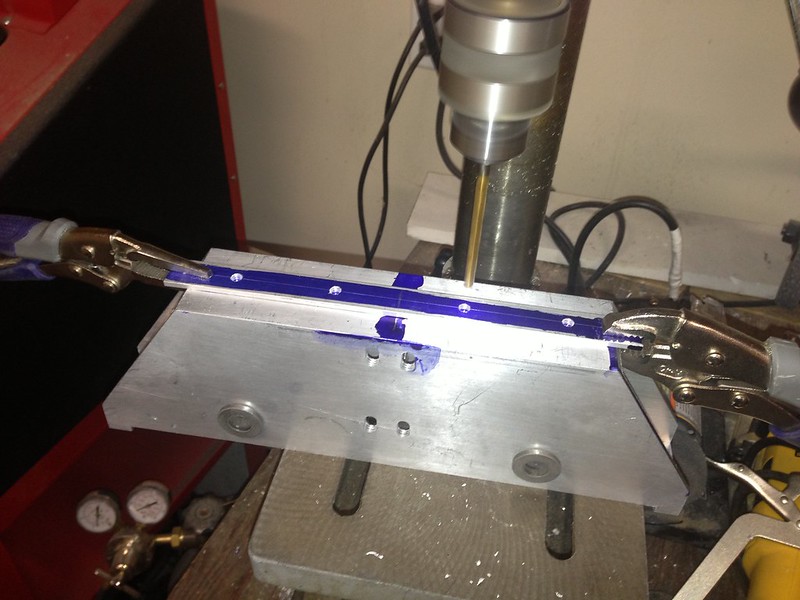
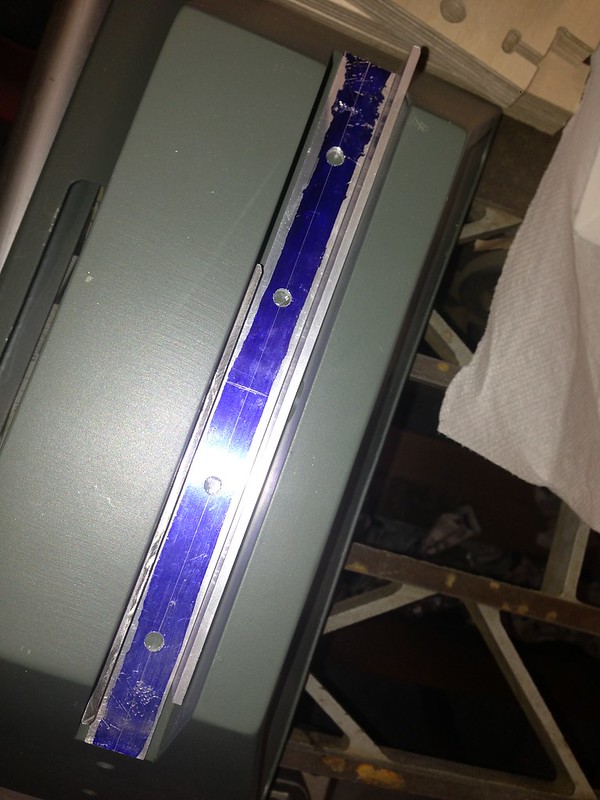
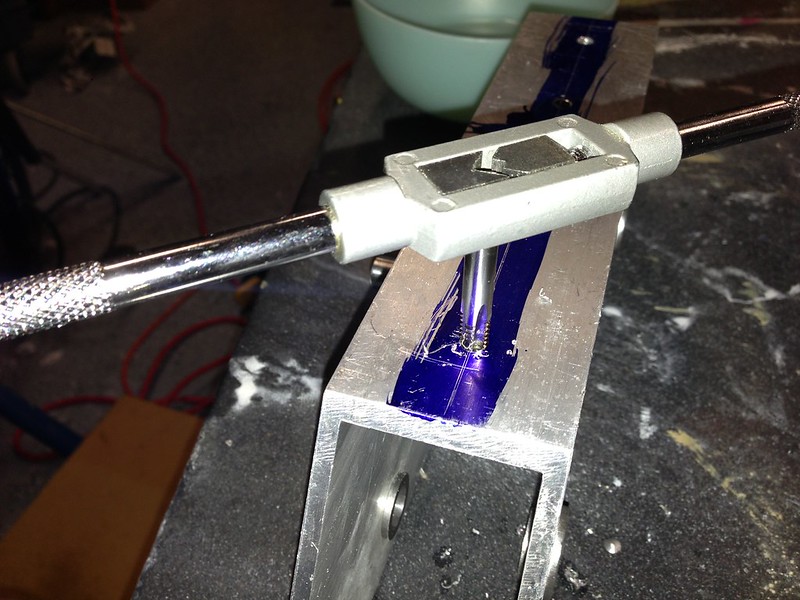
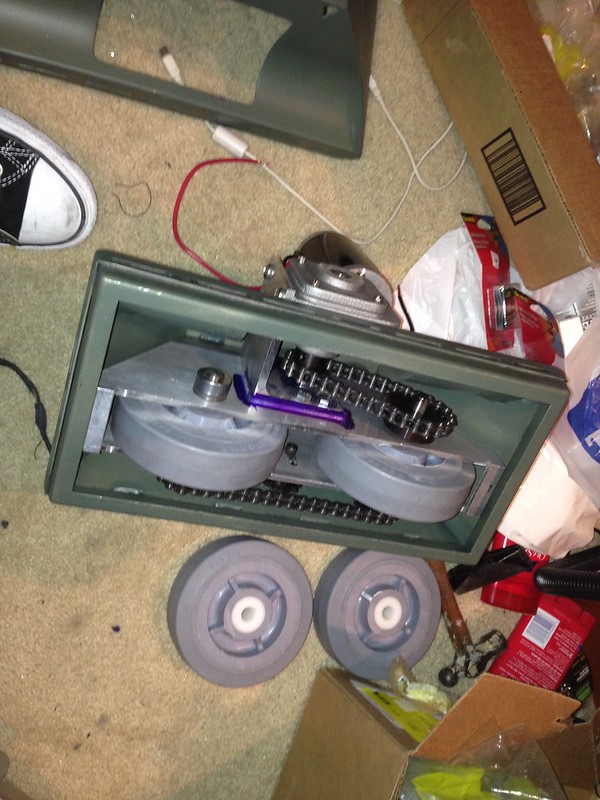
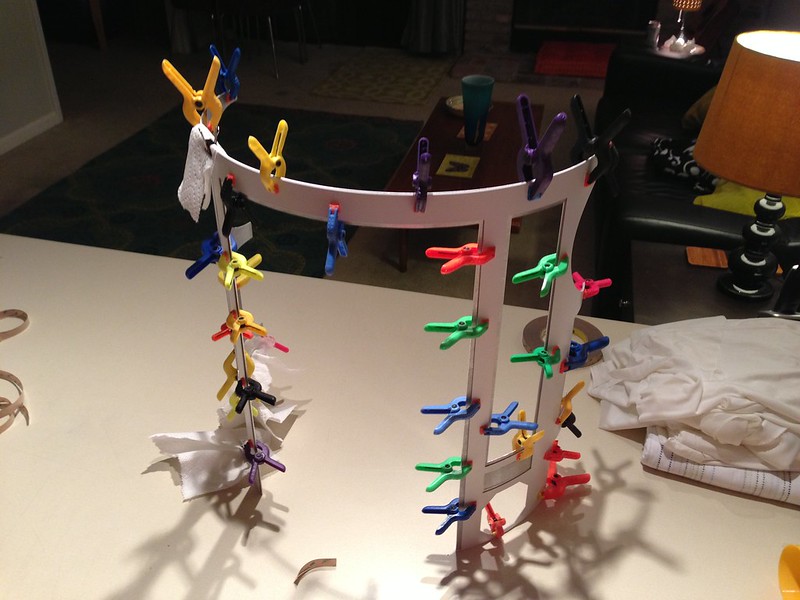
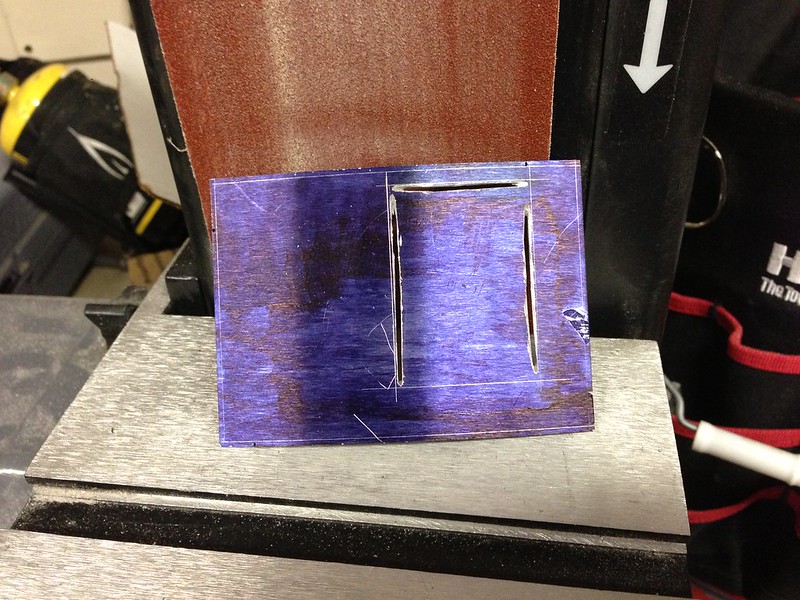
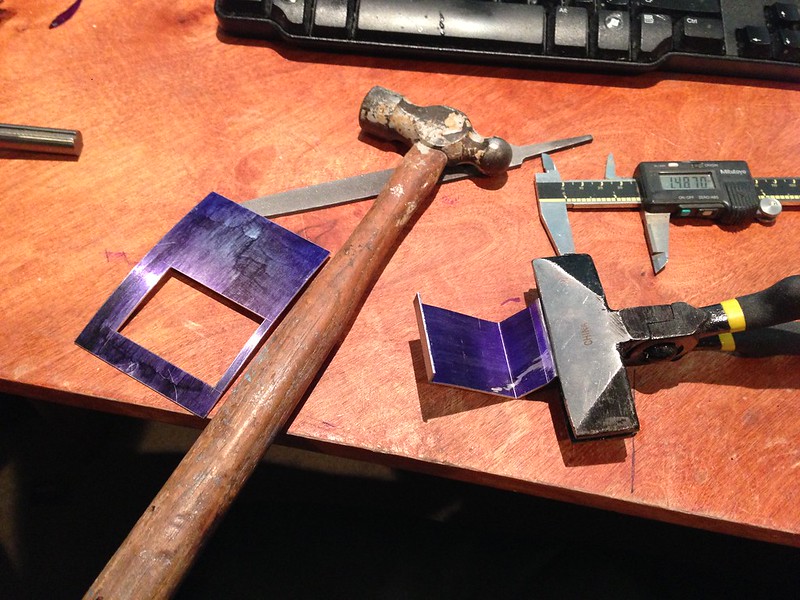
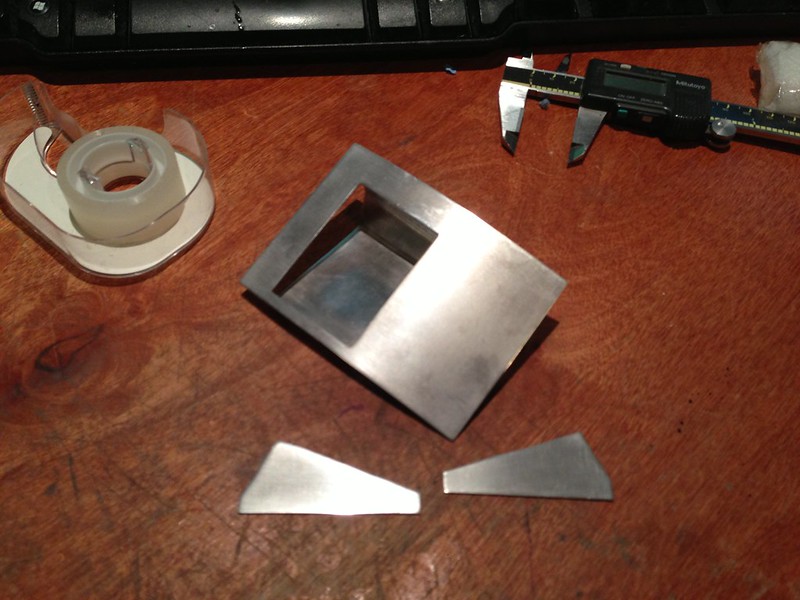
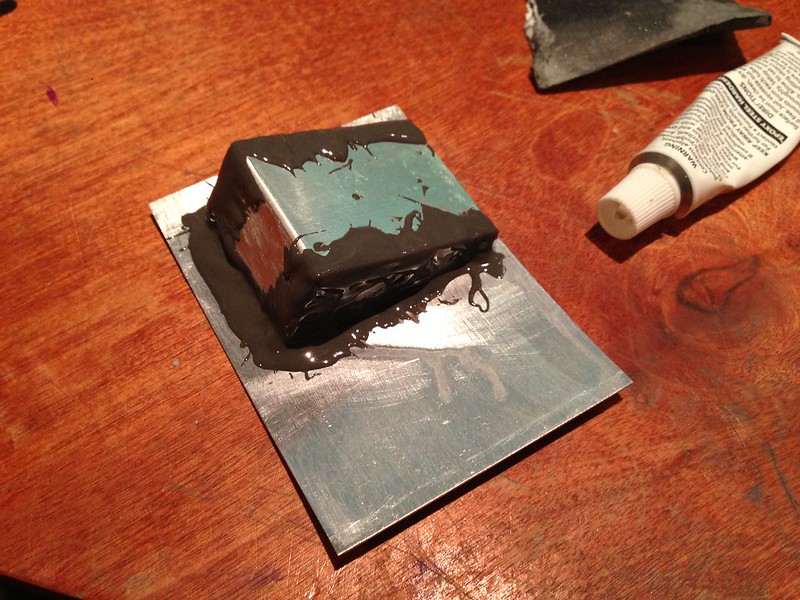
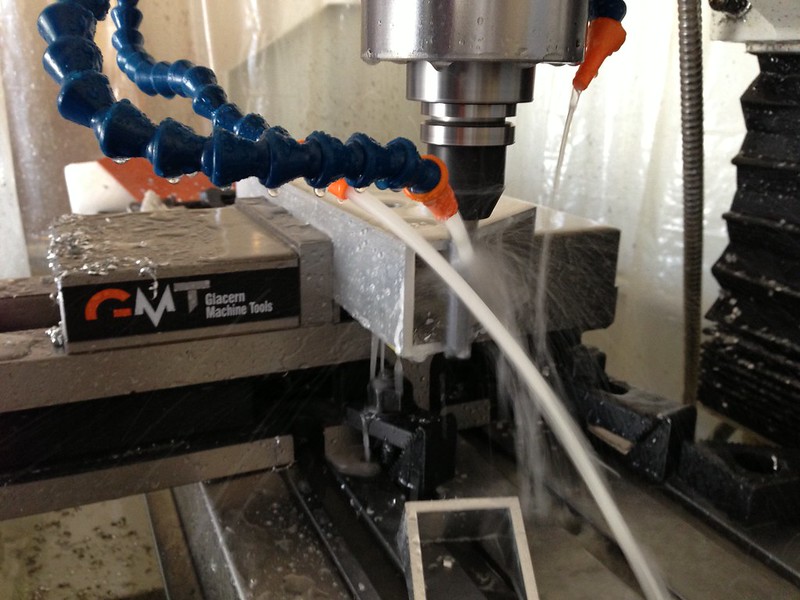
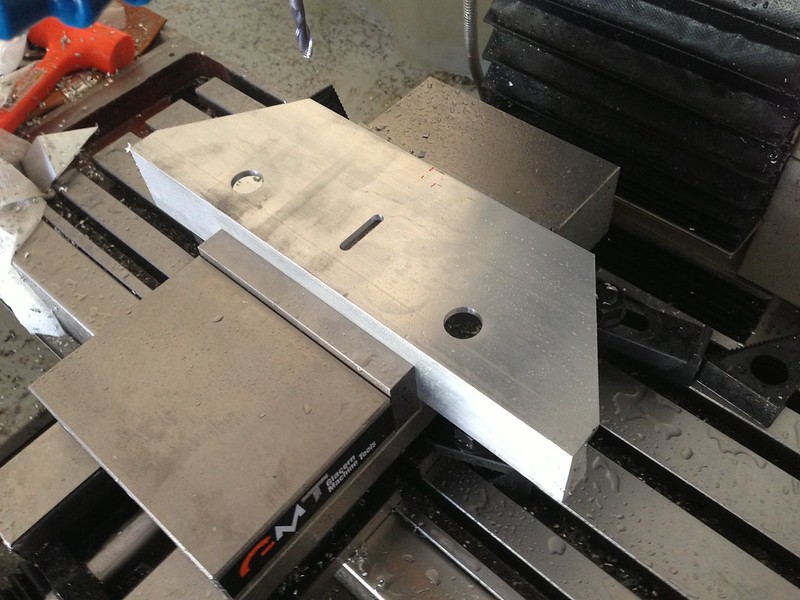
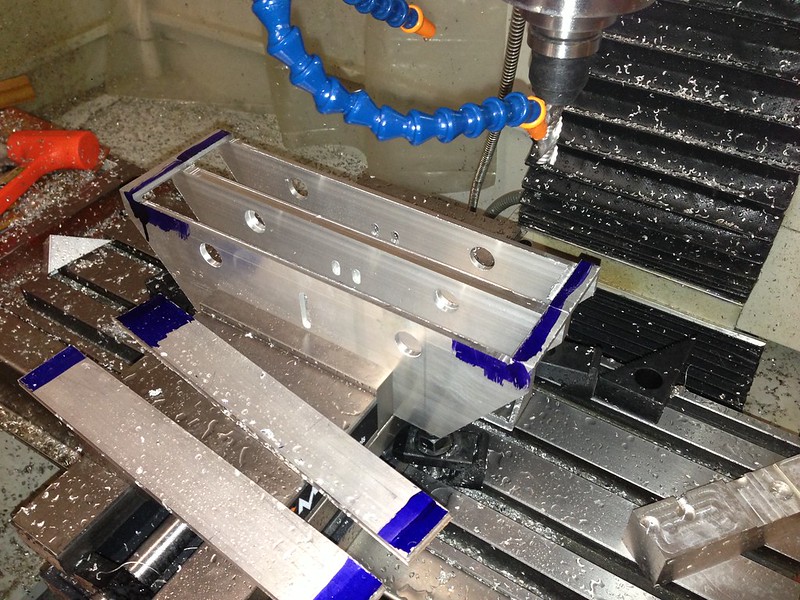
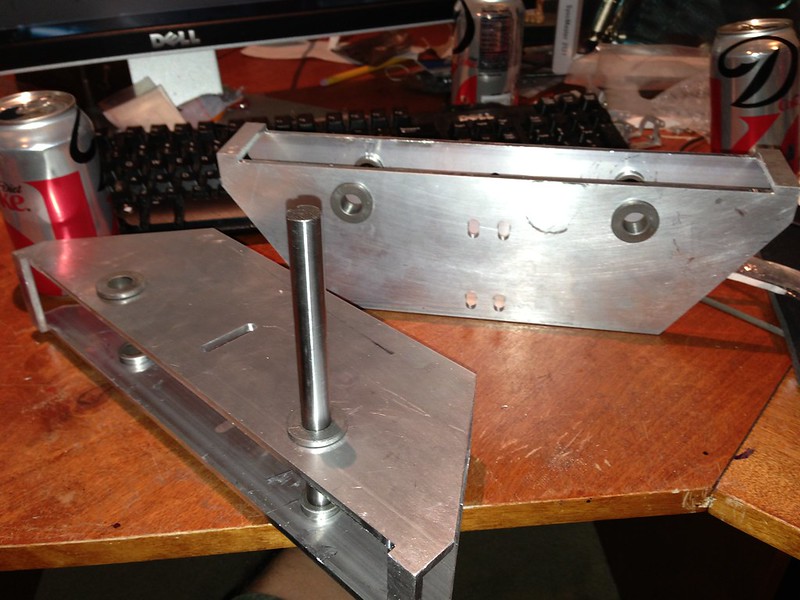
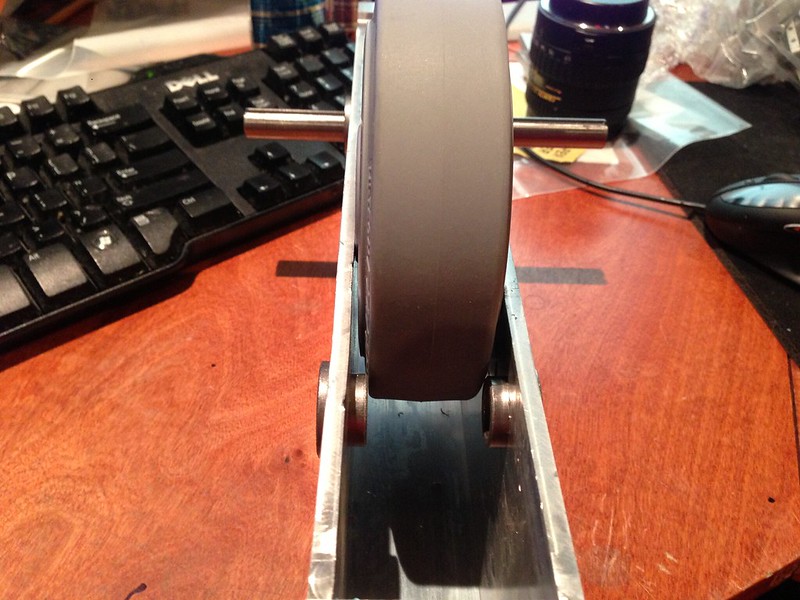
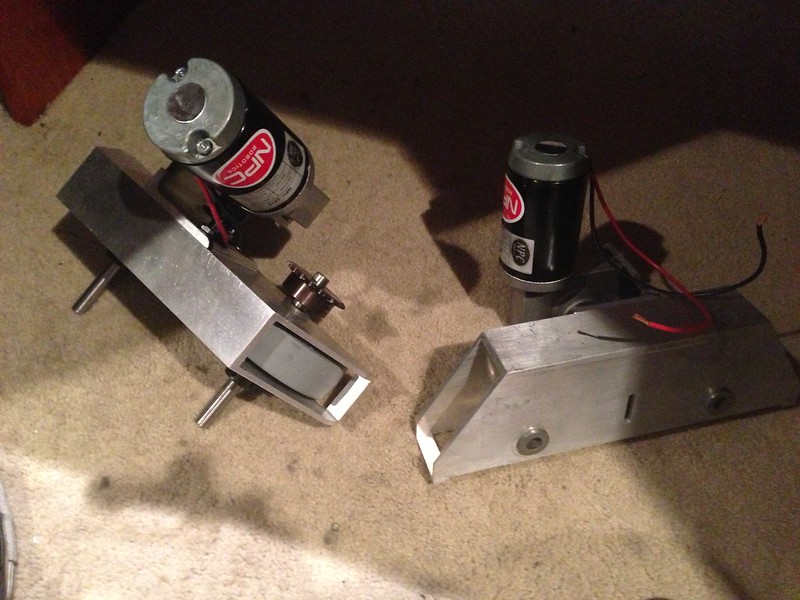
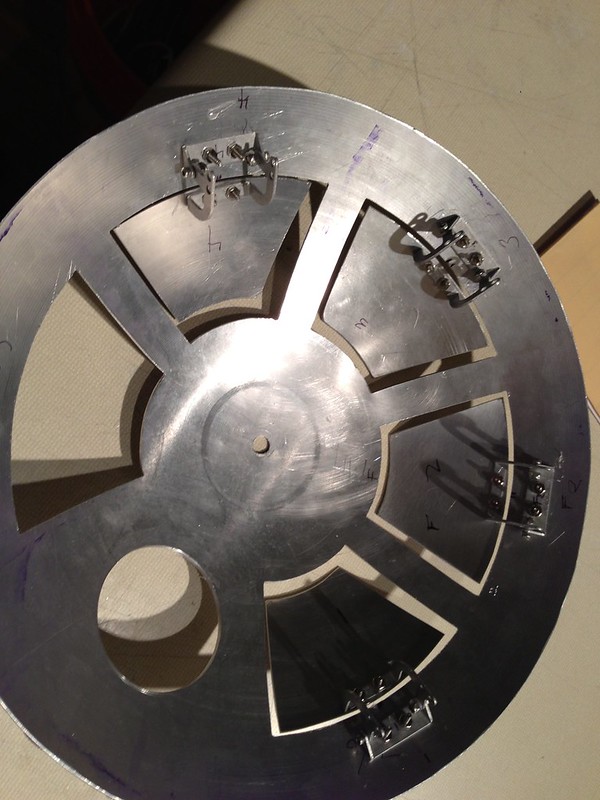
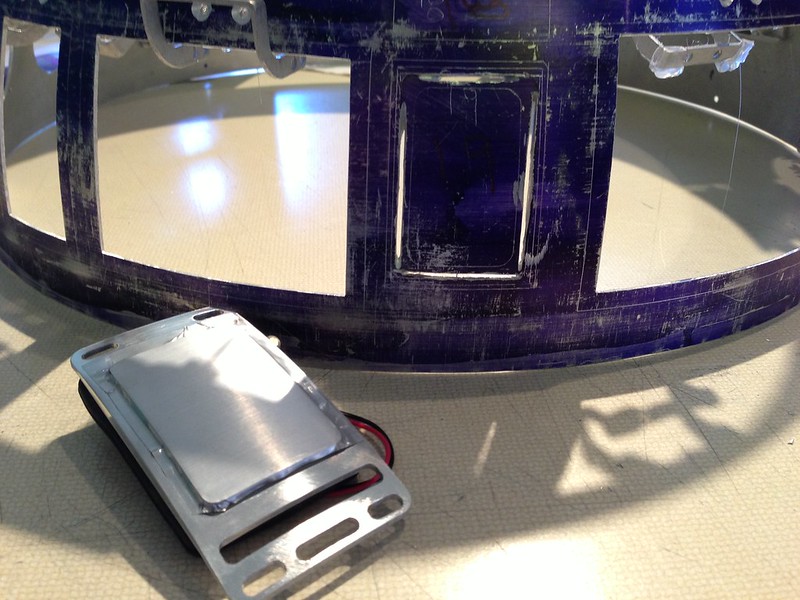
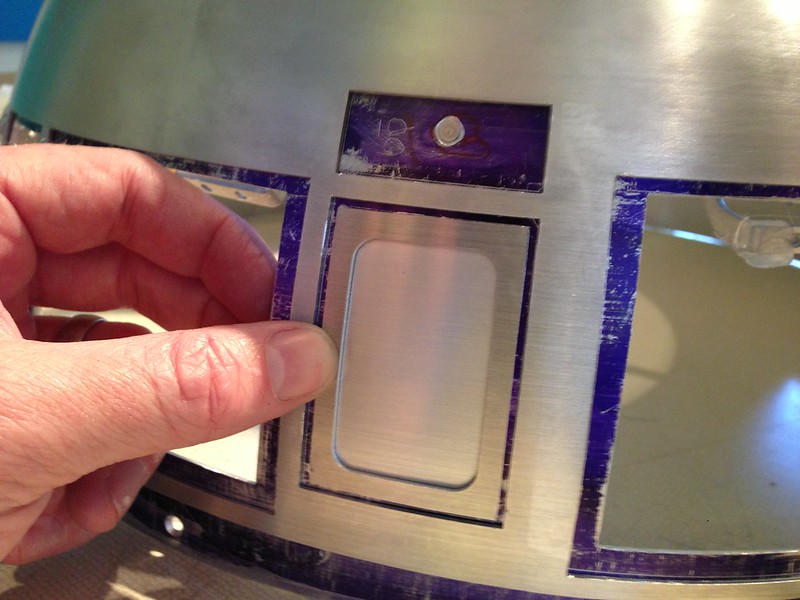
Well now its time to mount the drives to the foot shells. To do this i decided to use 1/4 - 20 screws. In order to make sure they lined up correctly i made a template. I used some vice grips to secure it for drilling.
Next I used a little vhb tape to secure the template to the foot shell and drilled them out.
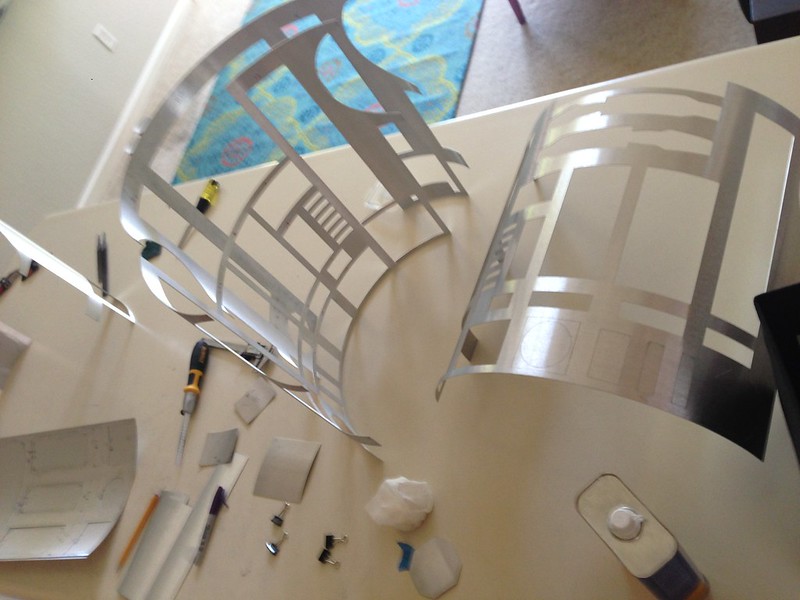
First step is to mark and cut out all the panels. I used a hacksaw blade for all the easy to access panels and a sharp chisel for the really tight panels. Thanks for the tip guys!
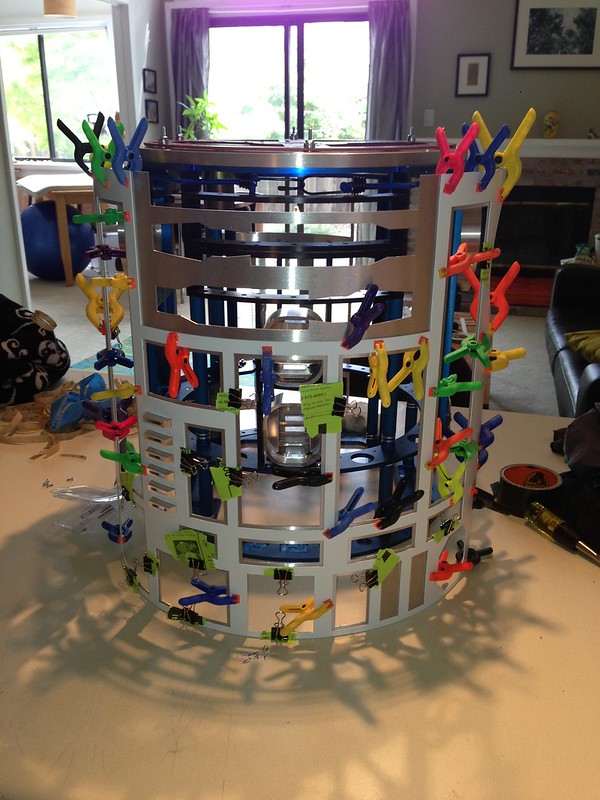
Here is a shot of the skins as panels are being cut. Make sure to number all the panels first.
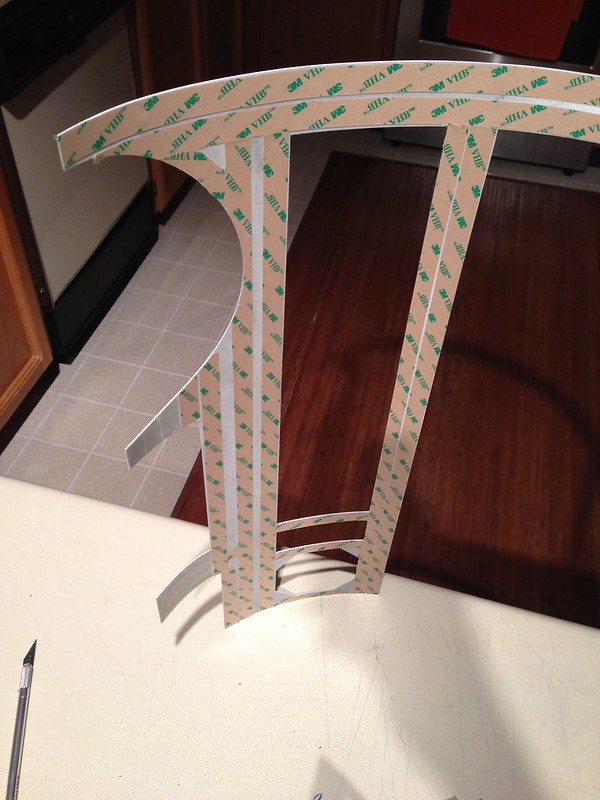
Next i had to bond all the panels together. I used 3M VHB tape. I did a tutorial on this as well and ill link the video here. Its a bit boring :)
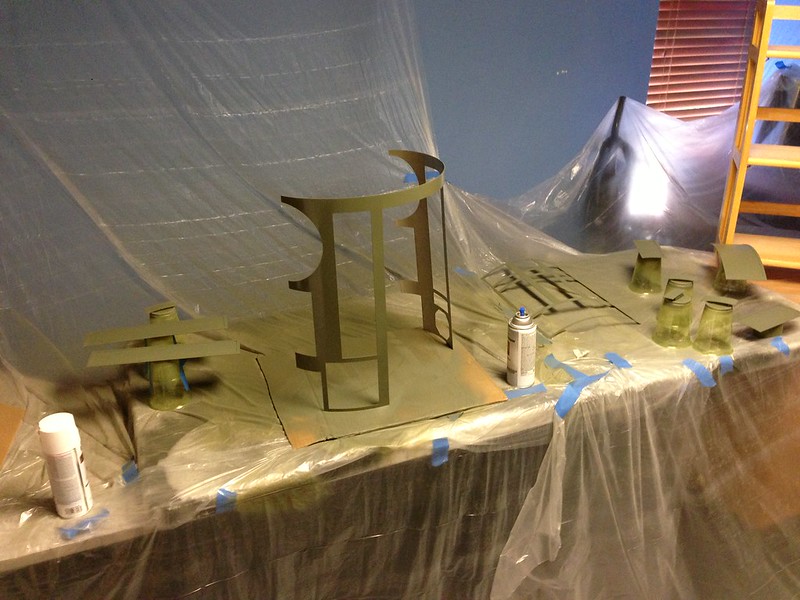
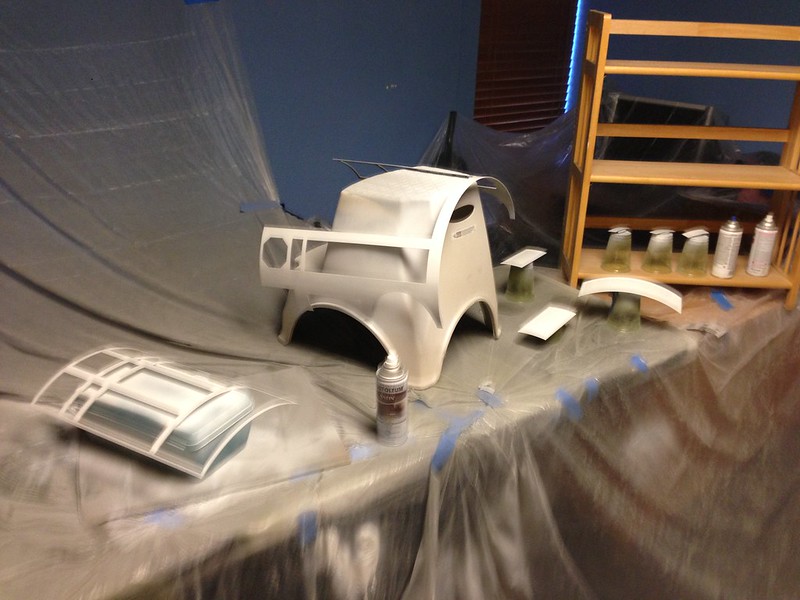
Next i prepared my Dexter set for some painting. First like many other members, i started with Duplicolor self etching primer. I did about 2 - 3 coats.
Then about 3 or so coats of rustoleum auto primer and last i did 4 coats of Rustoleum Satin White. Its important to read the can. You can do a second coat within 1 hour or AFTER 48 hours. If you dont follow you'll get orange peal.
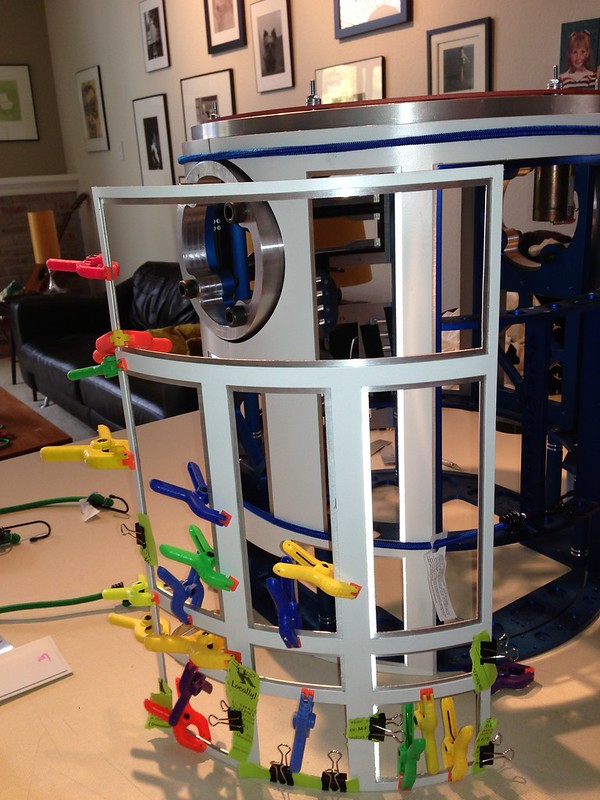
Once that fully dried it was time to bond the skins together. I was nervous but decided to just go for it. I used 5mil 3M VHB tape for this as well. I didnt want to try to clean a mess of jb weld or silicone off the nicely painted skins.
I tried lining them up as best i could. This would be easier with 2 people. My back skins were a tiny off but nothing noticeable. I pressed them tight and held them with cheap clams from Harbor Freight.
Same for the front panel. This was a lot easier to line up because you can use the coin slots as a jig to hold them true.
Lastly the back door. I didn't cut my inner skins properly. I had to do a lot of filing to get it to fit :) But its all good now.
I was excited to automate the dome panels for a while. I already had the panels all cut and the hinges mounted.
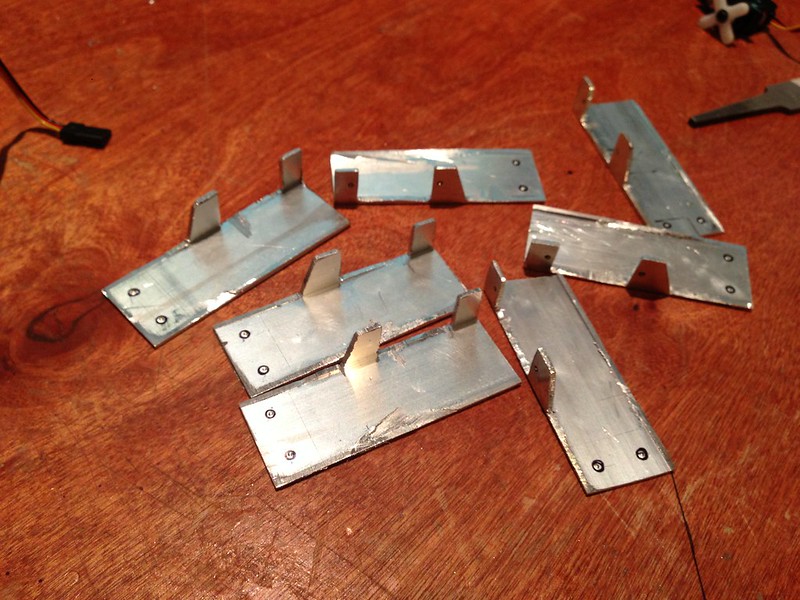
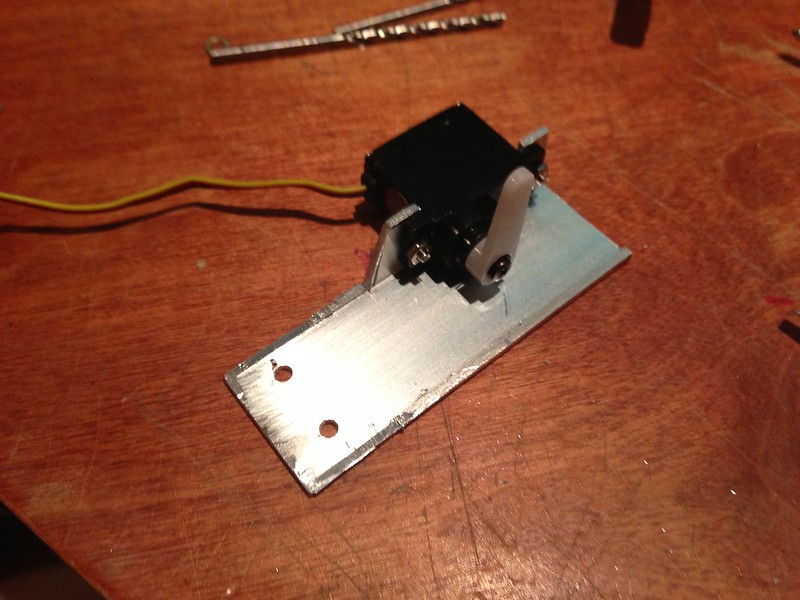
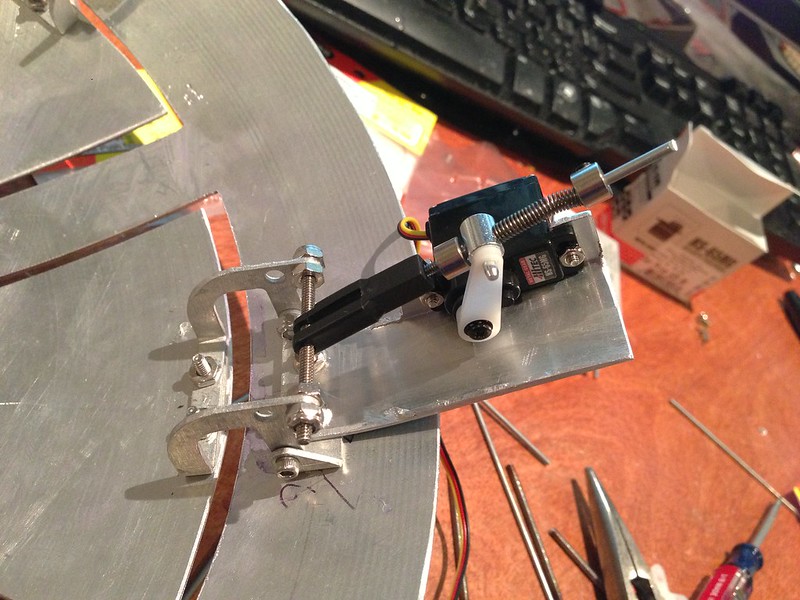
The next step was to mount the servos securely. Since i cut my dome in 2 pieces, there wasn't really a way to just stick the servo to the inner dome. I saw on Chris's blog over at http://www.artoo-detoo.net that he made little servo mounts from angled aluminum. I basically used the same idea but i only had square tube in hand. I just hacked it in half and made some angle out of it. A little ugly but works.
And with a servo mounted. I'm using HS-65 MG servos. These are sub micro with metal gears and the seem pretty good.
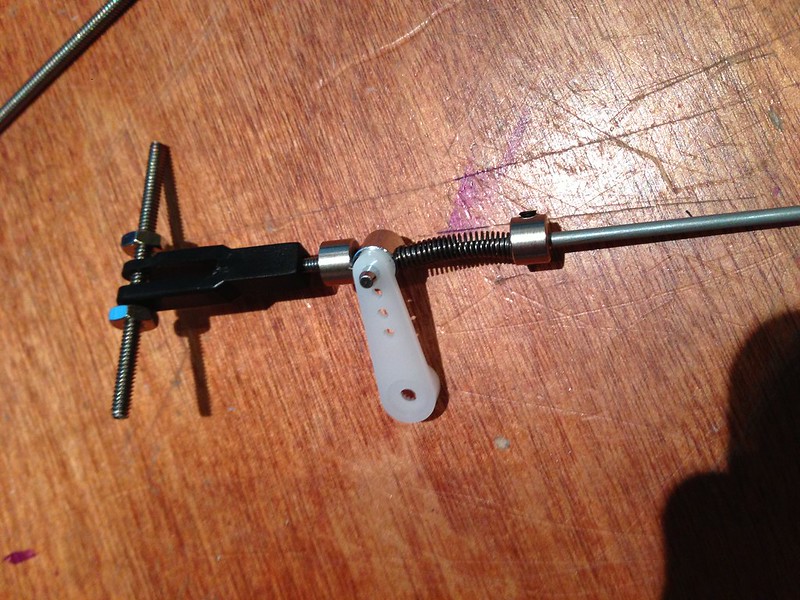
Next I had to build the linkages. This was pretty easy i just bought some parts on hand at the local RC car shop.
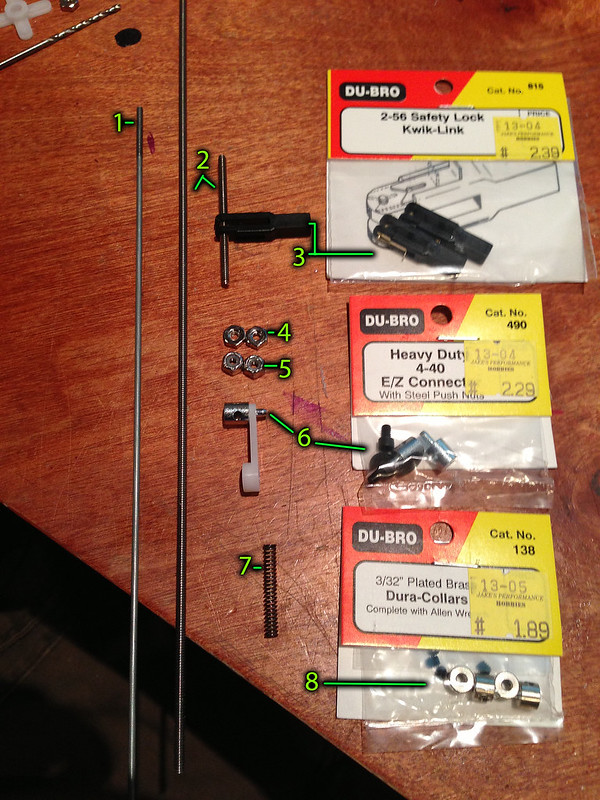
Here is the part breakdown. If your interested in using the same linkages.
1. 2-56 Threaded Rod ---------------------------------------------------------------------$1.20
2. 4-40 Threaded Rod ---------------------------------------------------------------------$1.20
3. 2-56 Safety Lock Kwik -Link Linkages DU-BRO #815---------------------------------$2.39
4. 4-40 Nut---------------------------------------------------------------------------------$0.02
5. 4-40 Lock Nut---------------------------------------------------------------------------$0.10
6. DU-BRO heavy duty 4-40 E/Z Connect #490-------------------------------------------$2.29
7. Spring from assorted spring pack from home depot (one box will do whole dome---------$4.40
8. 3/32 Plated Brass Dura-Collars #138----------------------------------------------------$1.89
Instructions:
-Cut the threaded 4-40 Rod so that a nut will fit outside of the hinge.
-Remove the pin and lock from the 2-56 Safety lock kwik-links and drill the hole larger to fit the 4-40 make it kinda snug.
-Expand the hole in your servo arm just big enough to fit the E/Z Connects through.
-Assemble rest as seen here. Trim off the extra 2-56 rod.
I thought i liked the spin lines on my dome until i saw some other Bay area Droids, Specifically Capodimusica's and Chris's.
This made me wanna sand out those spin lines. This wasnt too fun i must confess but heres how i did it.
I used 220 grip sandpaper on an orbital sander and this quickly removed the spin lines. Probably 5 minutes for the whole dome. I sanded it on the frame so i could spin it on the rockler bearing. I also used a plastic bag over the inner dome to keep all the gunk out of it.
220 Orbital Sander
Next i hit it with 320 Grit on the Orbital Sander. This was pretty quick as well.
After this i moved to 400 grit wet dry and went in circular patterns. I used the pie panels as reference where i started and did one "pie" section at a time. I used 1/4 of a sheet for each section.
Next the same but with 600 Grit
Then 1200 and one more time at 2000 Grit
Once this is done i took some Mothers Mag aluminum polish and a cheap harbor freight buffer and buffed the dome. Once the polish starts turning black you then just buff it off with an old tshirt etc. The more you buff the shinier it will get.
Looks a bit different in person, ie a little less shiny, but here's the result. I think just the right amount of shine.
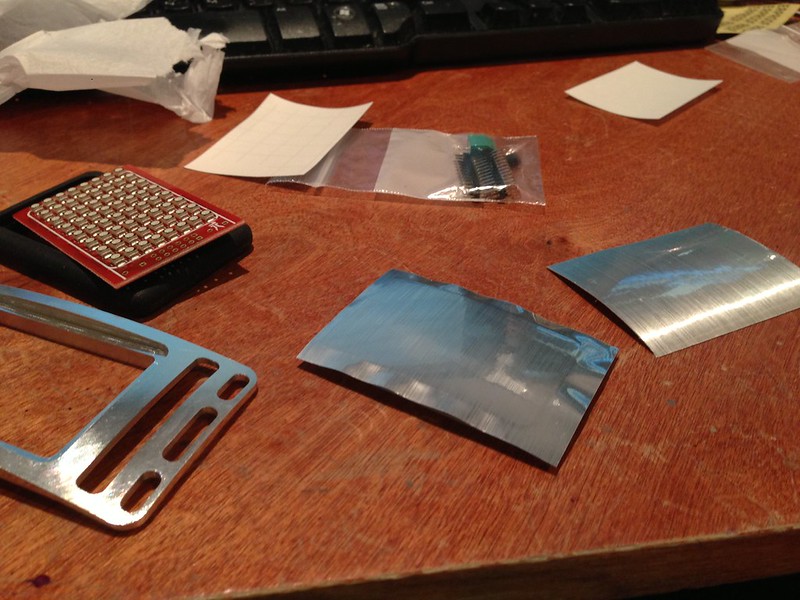
This is called the magic panel because it "magically" lights up in a couple scenes when r2 gets shocked etc. It looks like a regular aluminum panel but glows red at times.
Mcwhrl designed and made these really awesome kits!. Its a combo of aluminum, rubber, clear plastic with an aluminum sticker and a cool pcb with a ton of led's on it.
I'll have to get pics of it working later because it really is magic.