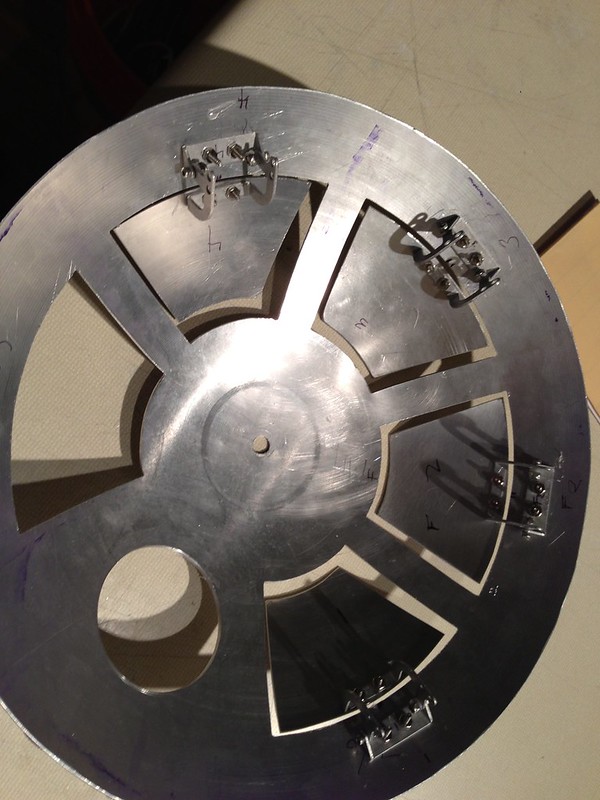
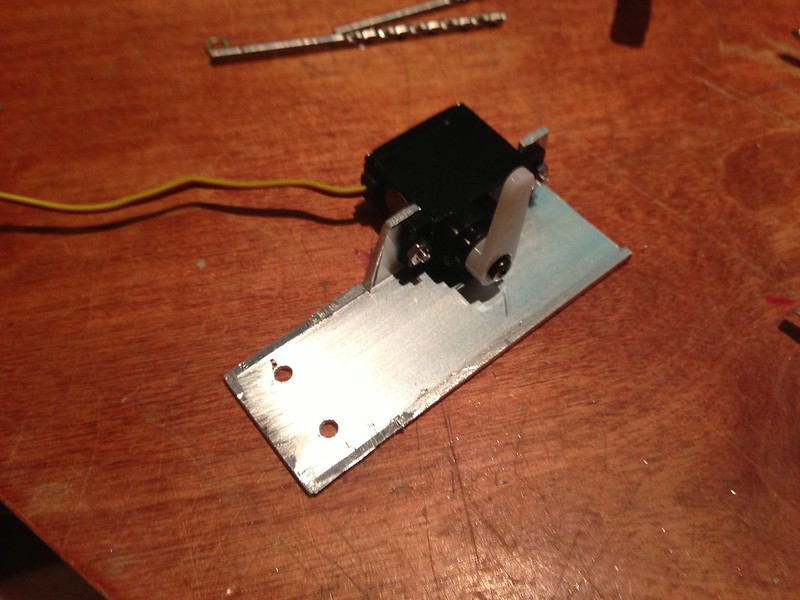
The next step was to mount the servos securely. Since i cut my dome in 2 pieces, there wasn't really a way to just stick the servo to the inner dome. I saw on Chris's blog over at http://www.artoo-detoo.net that he made little servo mounts from angled aluminum. I basically used the same idea but i only had square tube in hand. I just hacked it in half and made some angle out of it. A little ugly but works.
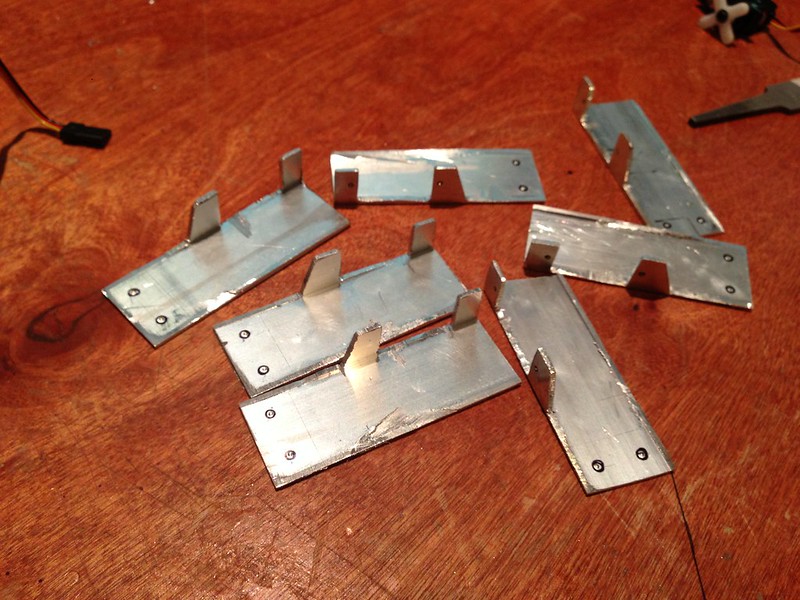
And with a servo mounted. I'm using HS-65 MG servos. These are sub micro with metal gears and the seem pretty good.
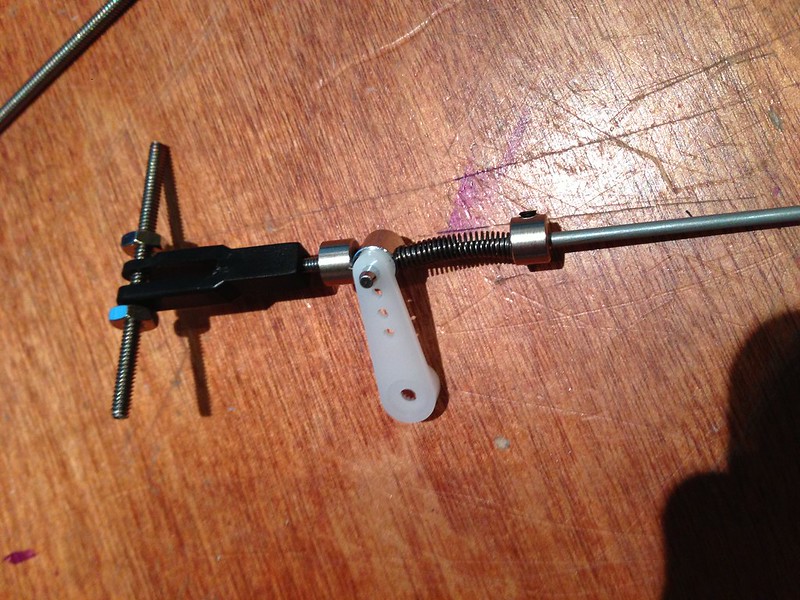
Next I had to build the linkages. This was pretty easy i just bought some parts on hand at the local RC car shop.
Here is the part breakdown. If your interested in using the same linkages.
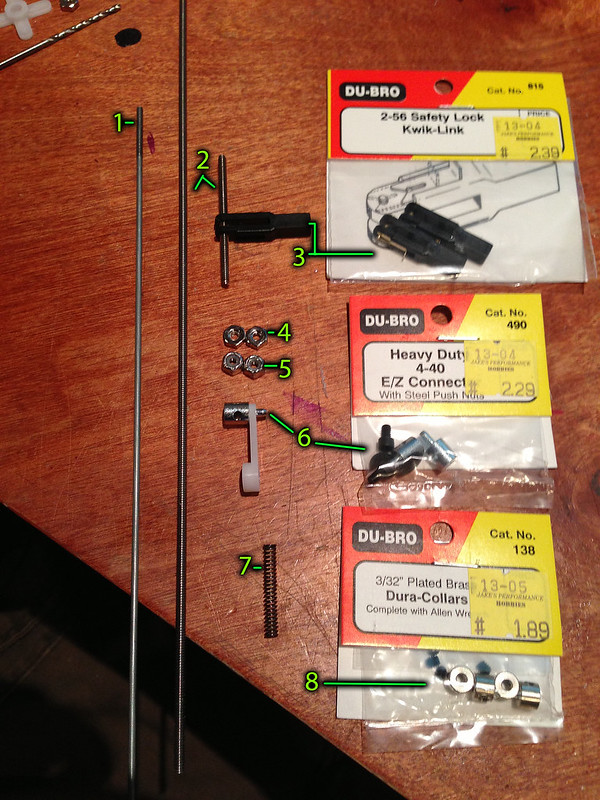
2. 4-40 Threaded Rod ---------------------------------------------------------------------$1.20
3. 2-56 Safety Lock Kwik -Link Linkages DU-BRO #815---------------------------------$2.39
4. 4-40 Nut---------------------------------------------------------------------------------$0.02
5. 4-40 Lock Nut---------------------------------------------------------------------------$0.10
6. DU-BRO heavy duty 4-40 E/Z Connect #490-------------------------------------------$2.29
7. Spring from assorted spring pack from home depot (one box will do whole dome---------$4.40
8. 3/32 Plated Brass Dura-Collars #138----------------------------------------------------$1.89
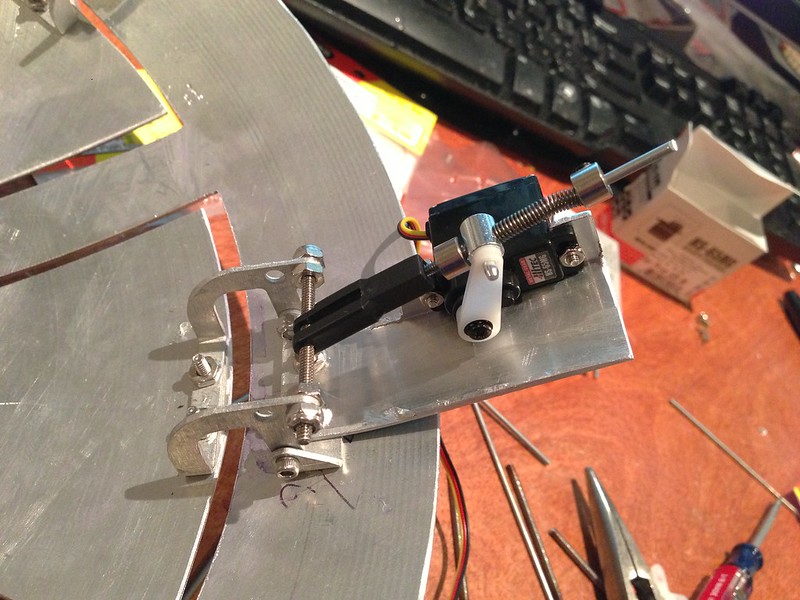
Instructions:
-Cut the threaded 4-40 Rod so that a nut will fit outside of the hinge.
-Remove the pin and lock from the 2-56 Safety lock kwik-links and drill the hole larger to fit the 4-40 make it kinda snug.
-Expand the hole in your servo arm just big enough to fit the E/Z Connects through.
-Assemble rest as seen here. Trim off the extra 2-56 rod.
Here's a couple vids with some test movement.