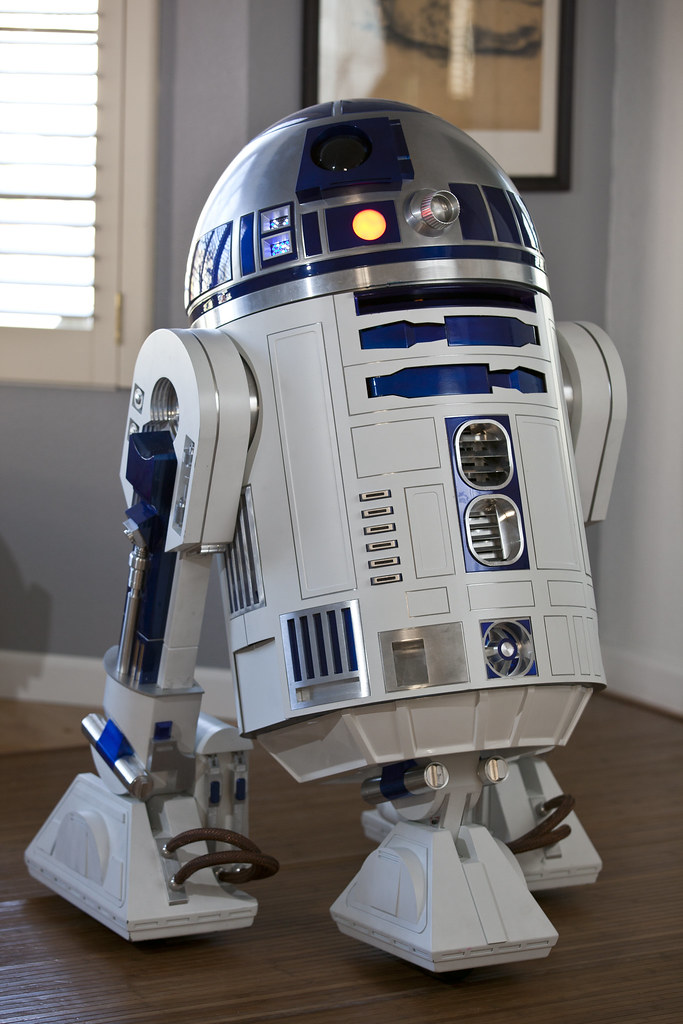
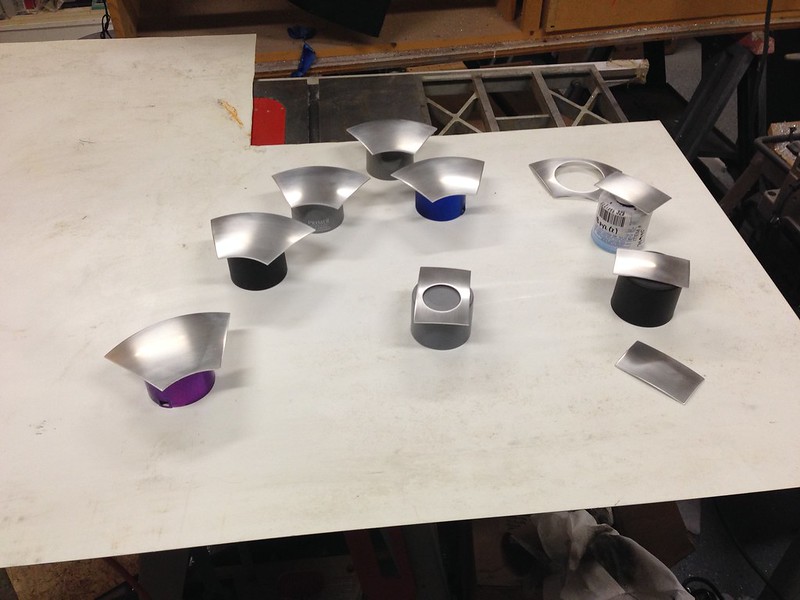
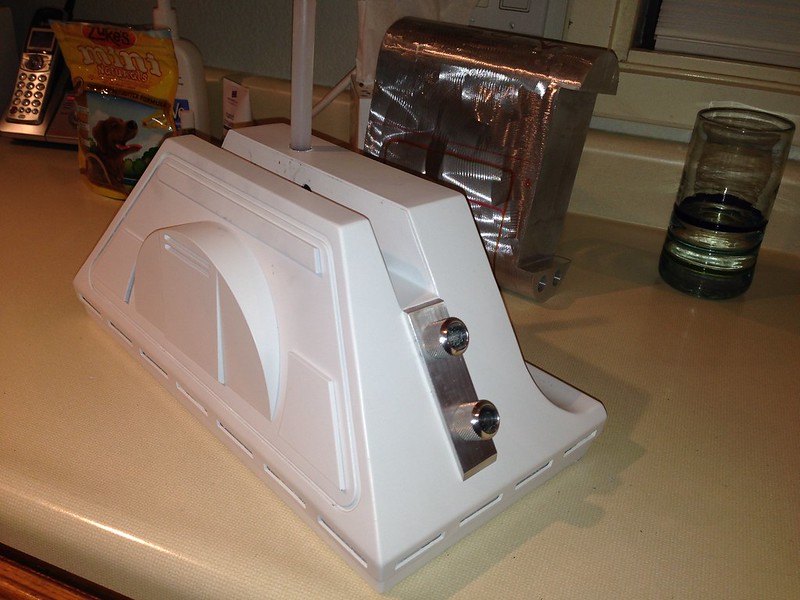
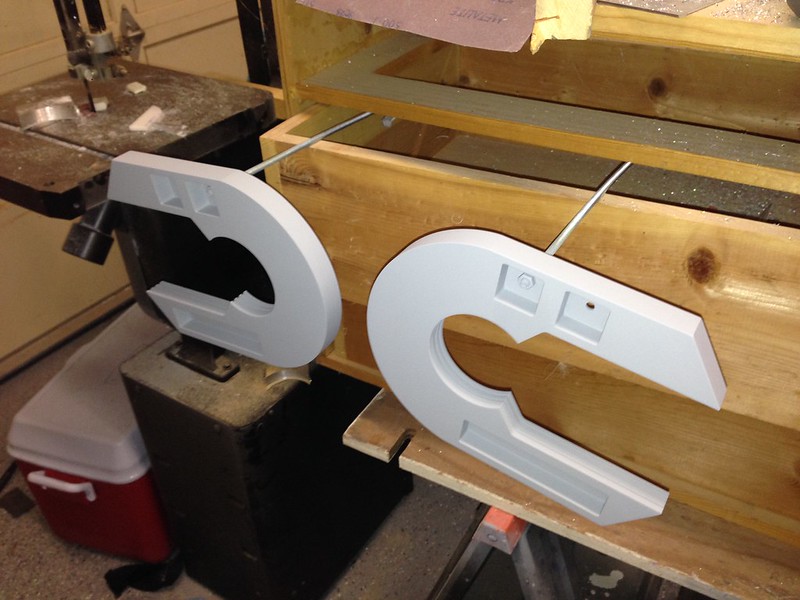
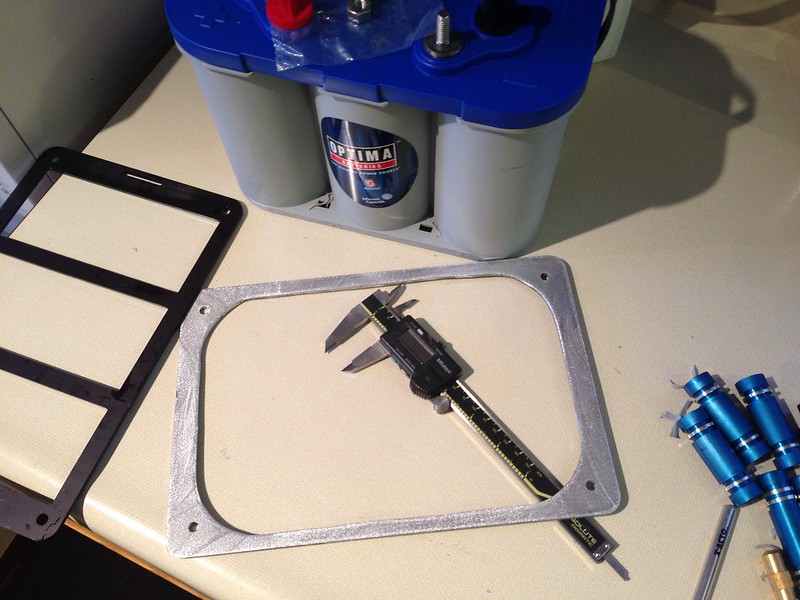
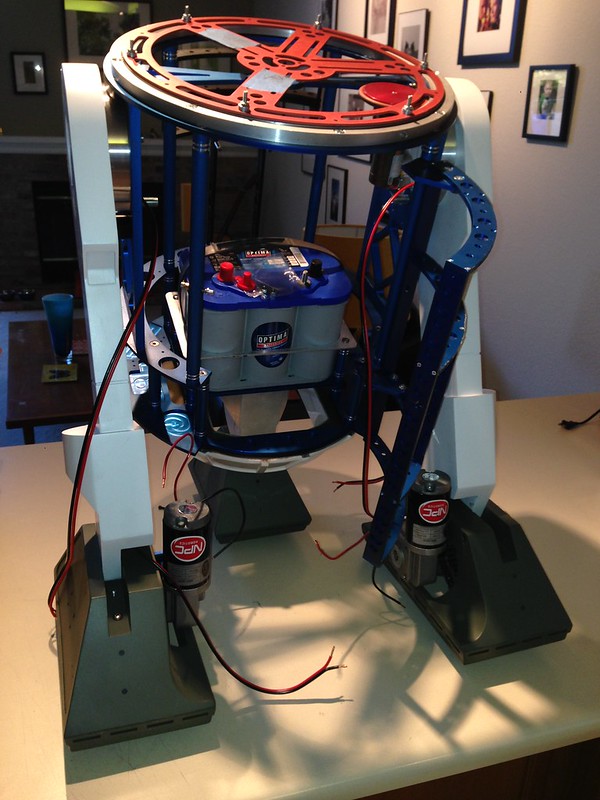
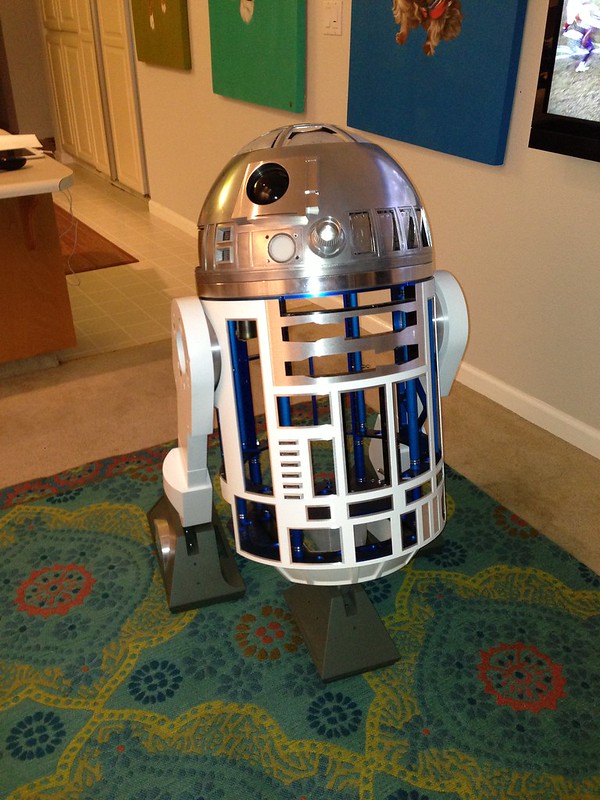
So i decided to make some aluminum battery box's... Other than the battery harnesses this is one of the last parts i need for r2. These are 8.25 Inches tall and should fit my NPC motors.
I first designed it out in cad with alibre. I ordered up my aluminum.
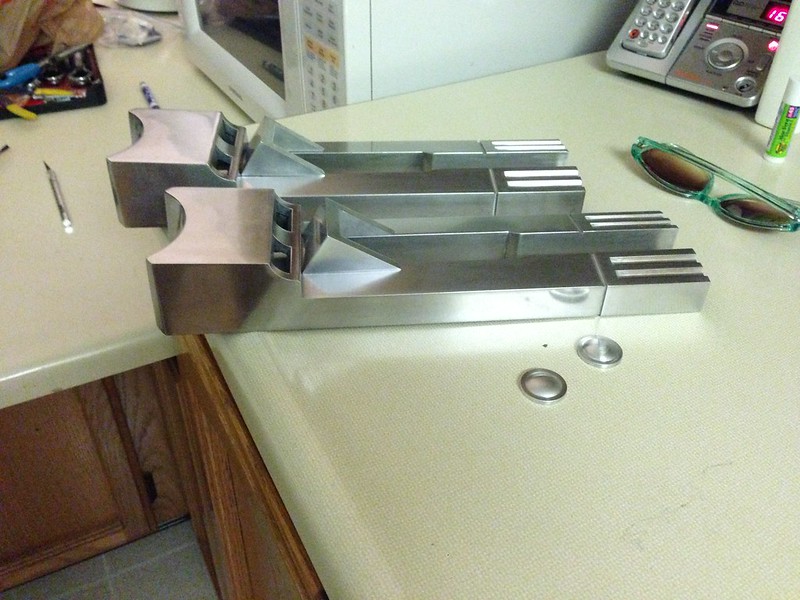
Battery box's see em? I do :)
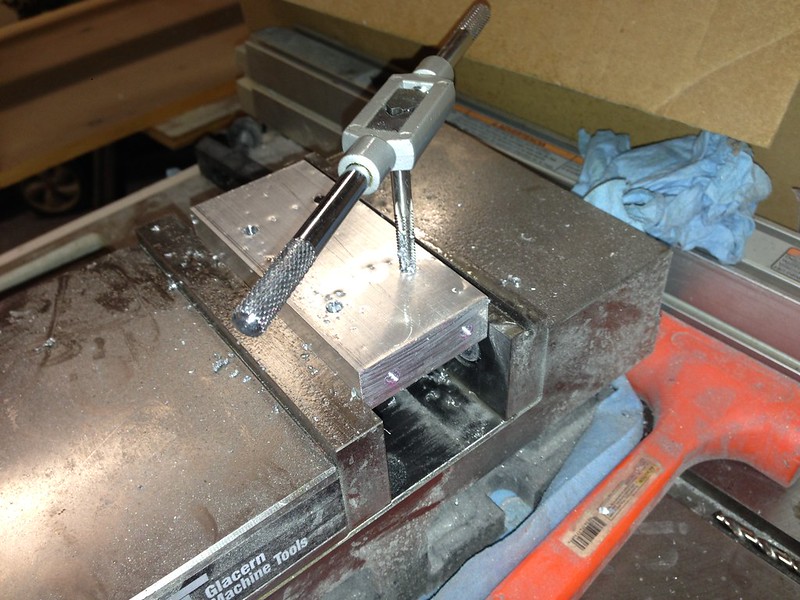
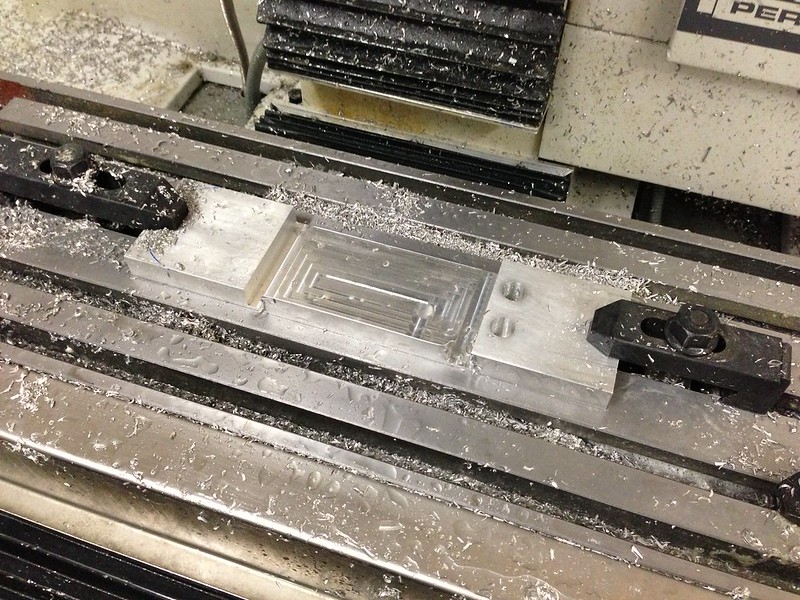
Stock clamped and ready to cut.
Makin chips.
Front done.
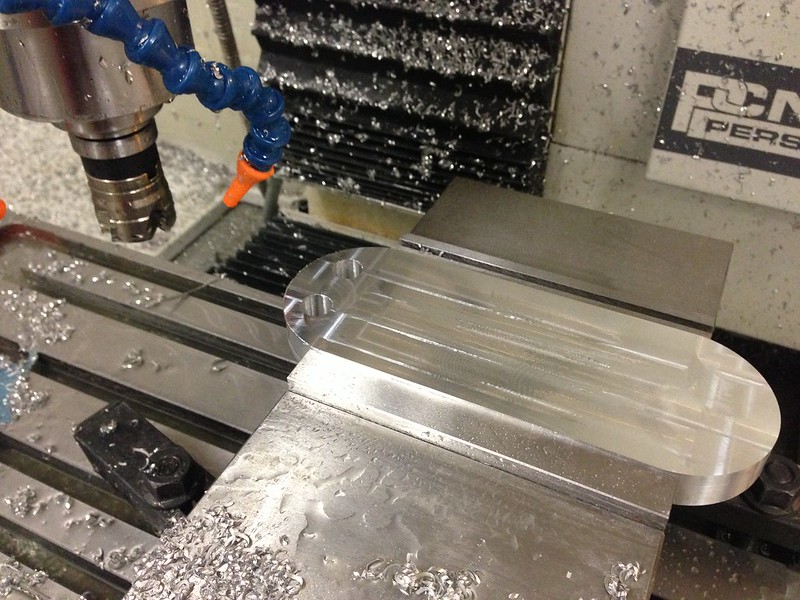
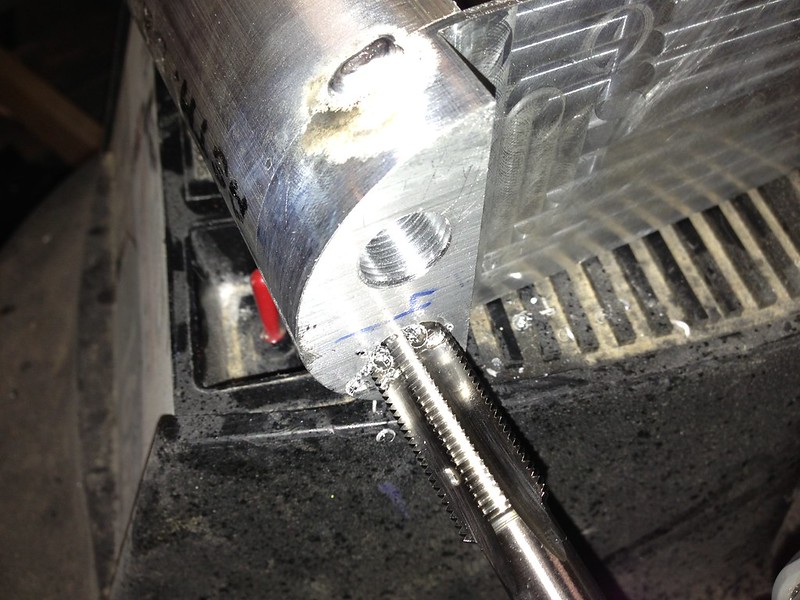
Parting the back.
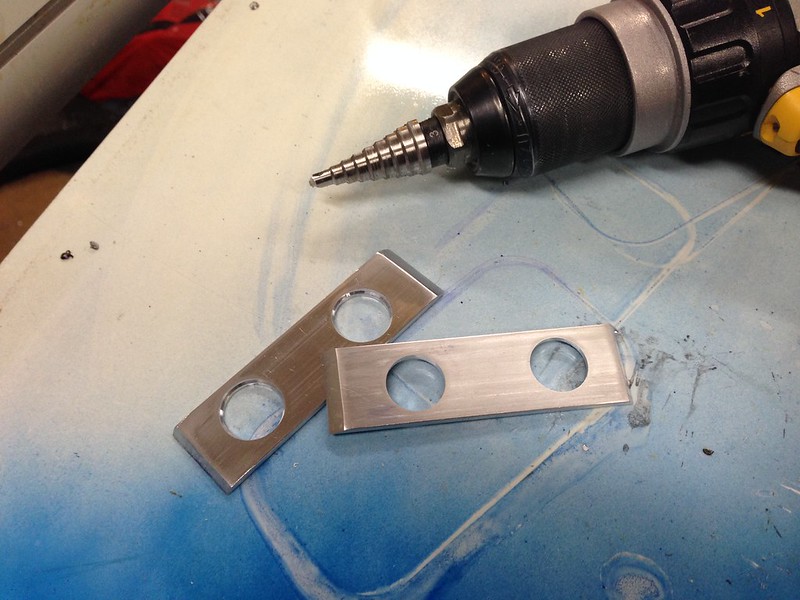
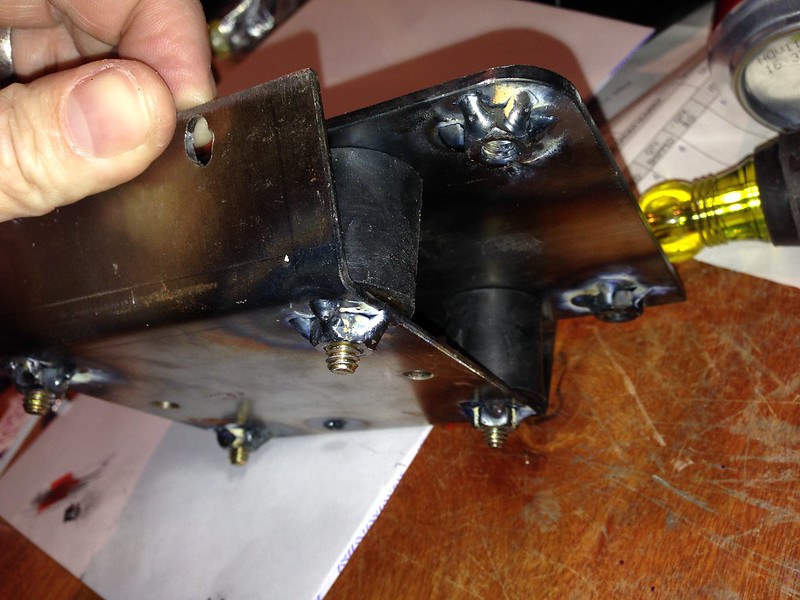
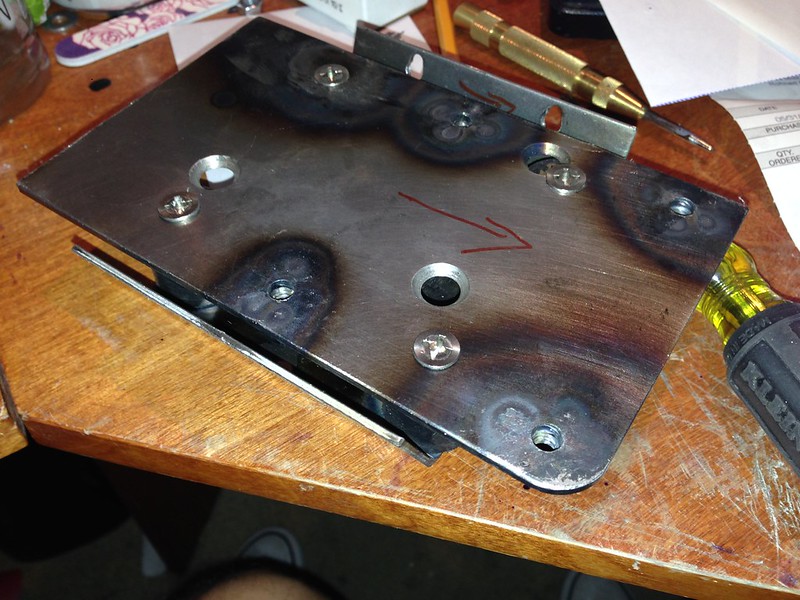
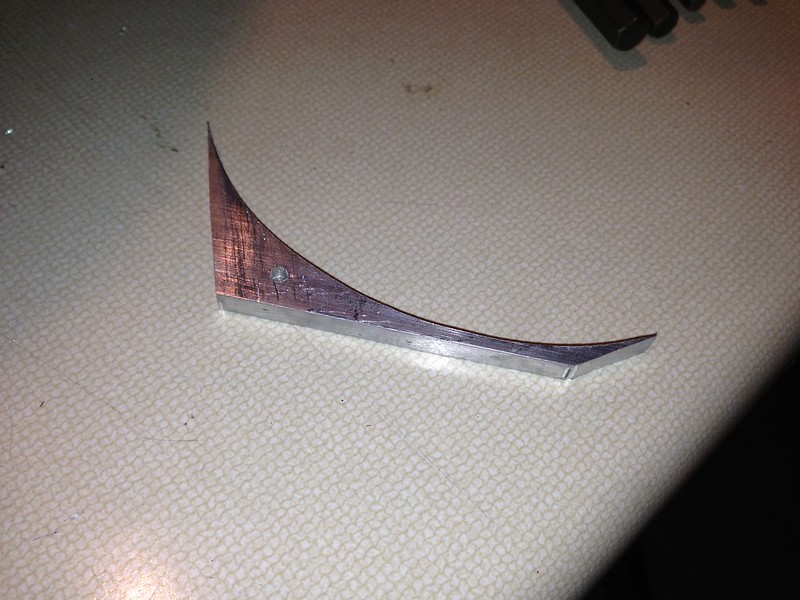
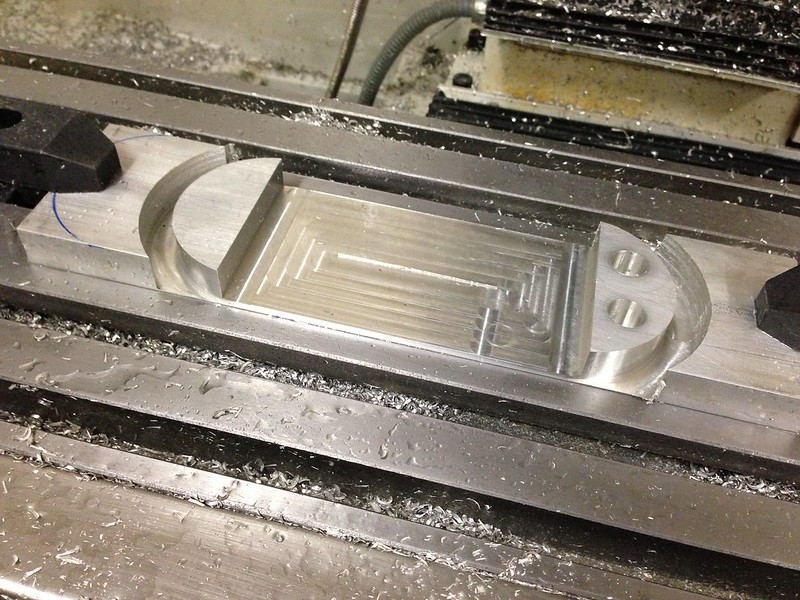
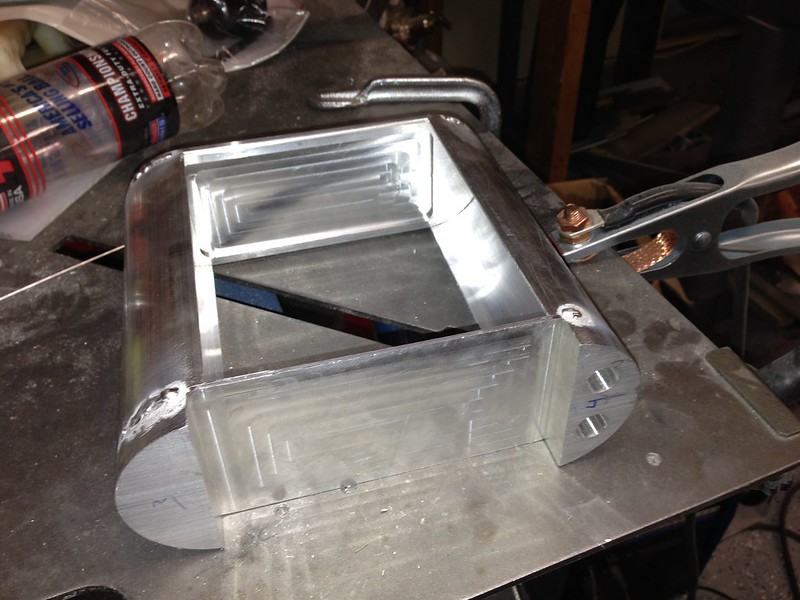
Heres the back end cap. Milled out a pocket for lightness. If you look close you can see the step around the ends. This makes it very easy to align the skins parts.
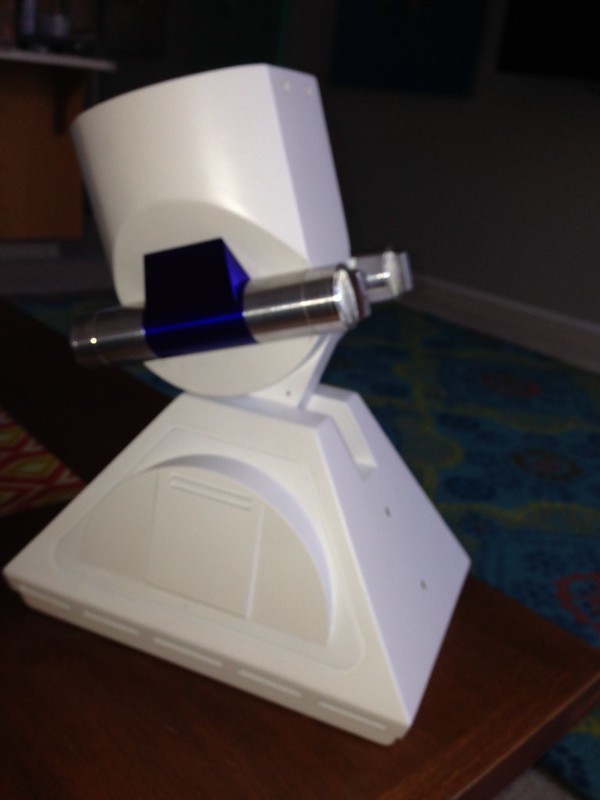
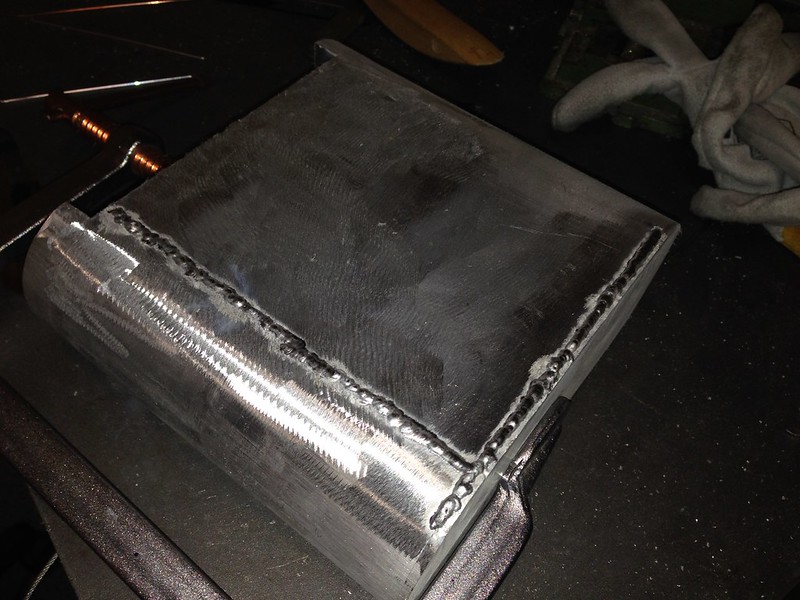
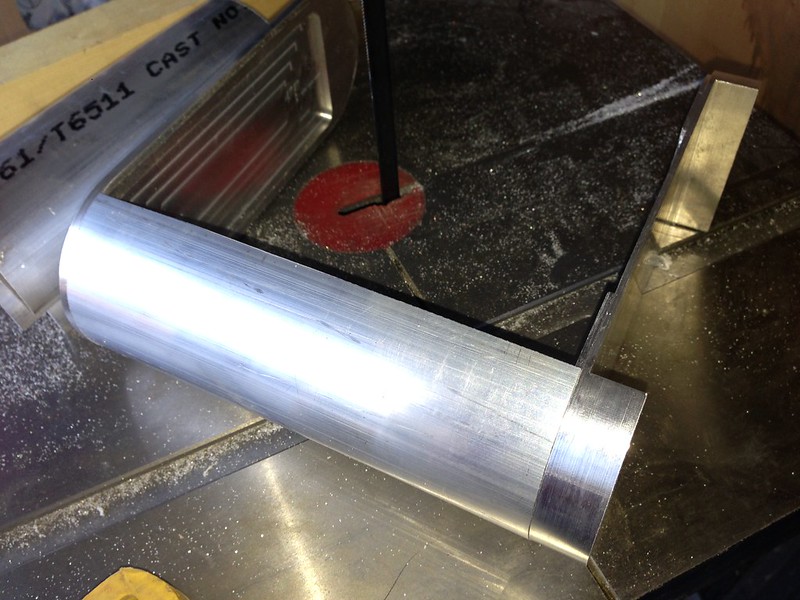
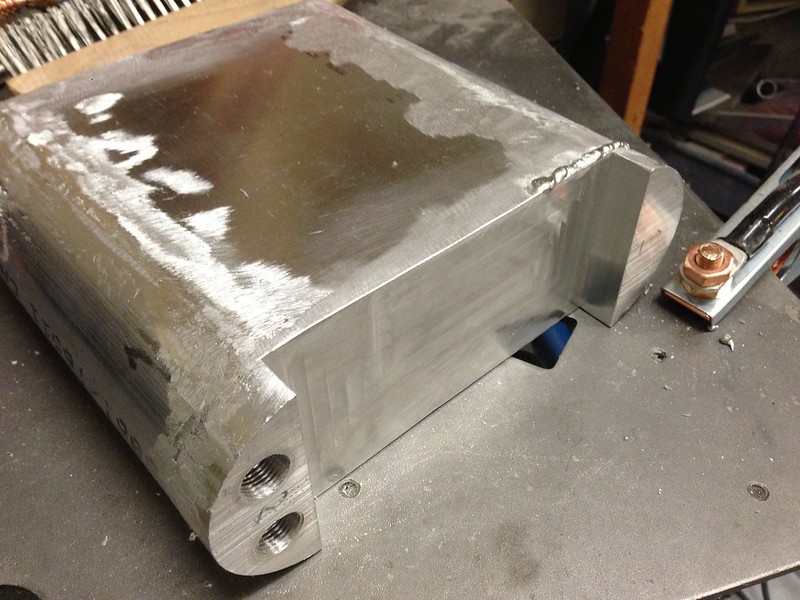
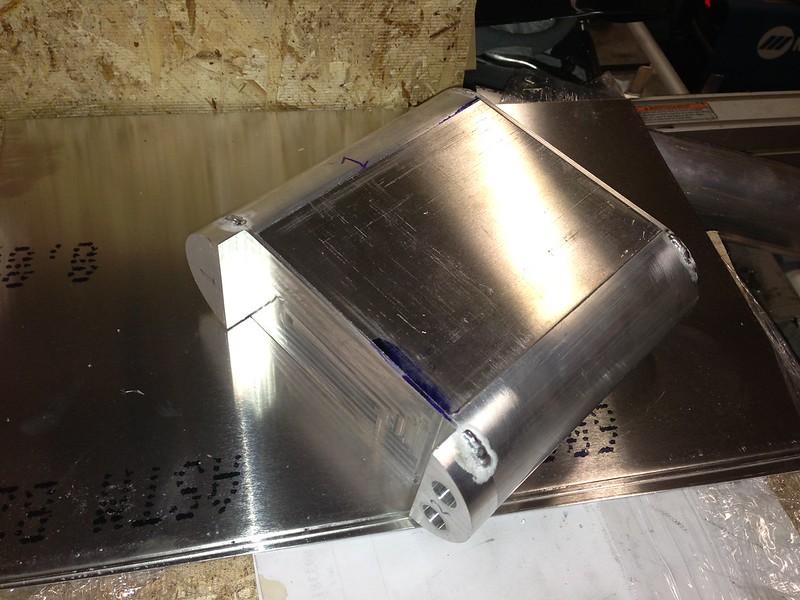
I cut the 3" aluminum tube in half for the top and bottom. Look at that perfect fit!
Now the ugly :) Im still learning to Tig Weld. Ill grind off these ugly welds once im all done and it should look nice and smooth.
I had to get some more argon gas so the rest of the welds will have to wait.