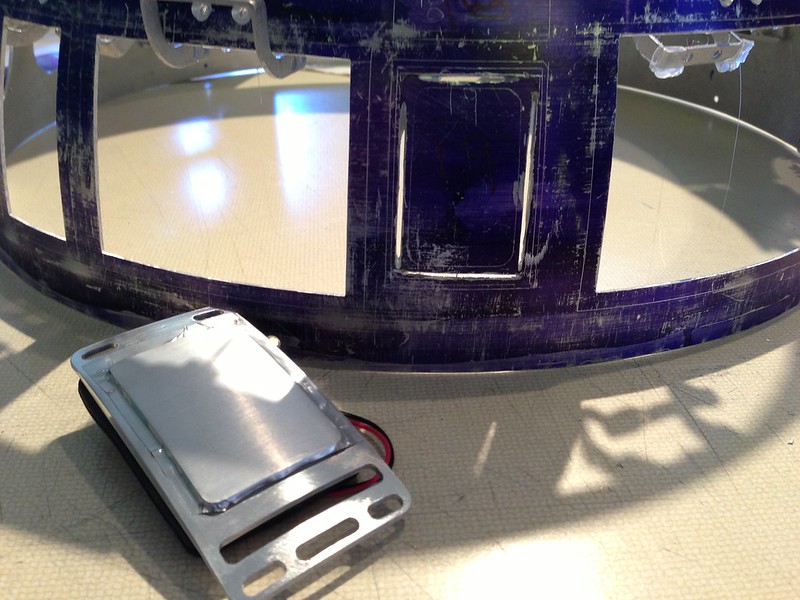
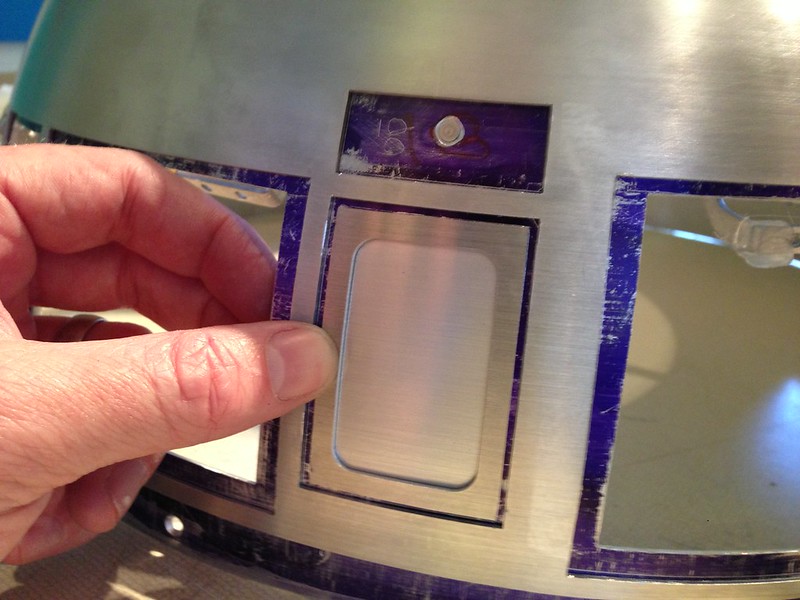
This is called the magic panel because it "magically" lights up in a couple scenes when r2 gets shocked etc. It looks like a regular aluminum panel but glows red at times.
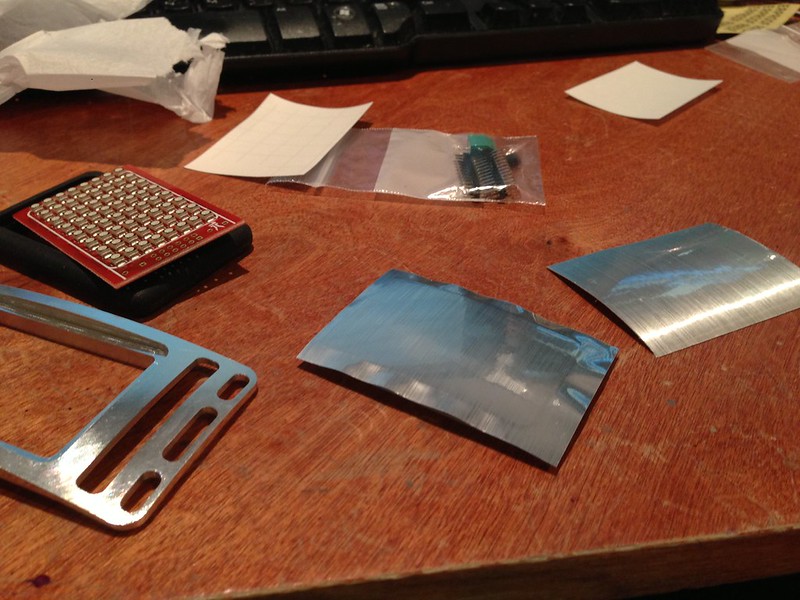
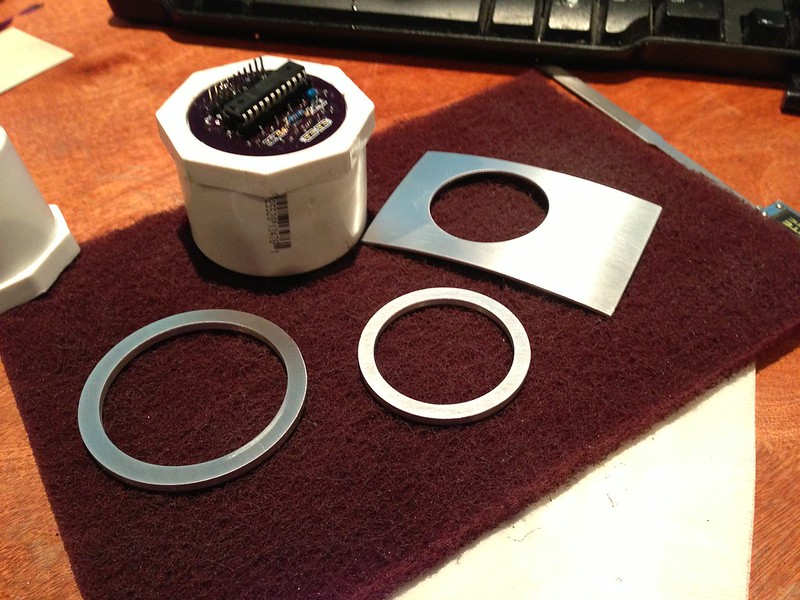
Mcwhrl designed and made these really awesome kits!. Its a combo of aluminum, rubber, clear plastic with an aluminum sticker and a cool pcb with a ton of led's on it.
I'll have to get pics of it working later because it really is magic.
Well r2 needs lots of lights. I didnt take many pics way back when i started the electronics. But here are a couple of shots of building the Teeces 3.1 boards. Wow thats a lot of soldering!
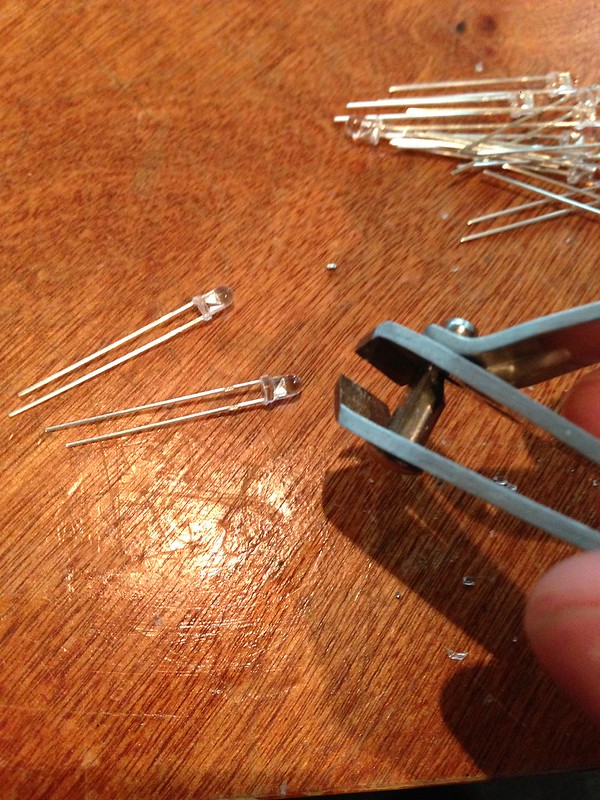
I didnt know where to get the "flangless" LED's so had to use a nail clipper and cut all of the flanges off of hundreds of LEDs ... uggg.. wanst too bad actually.
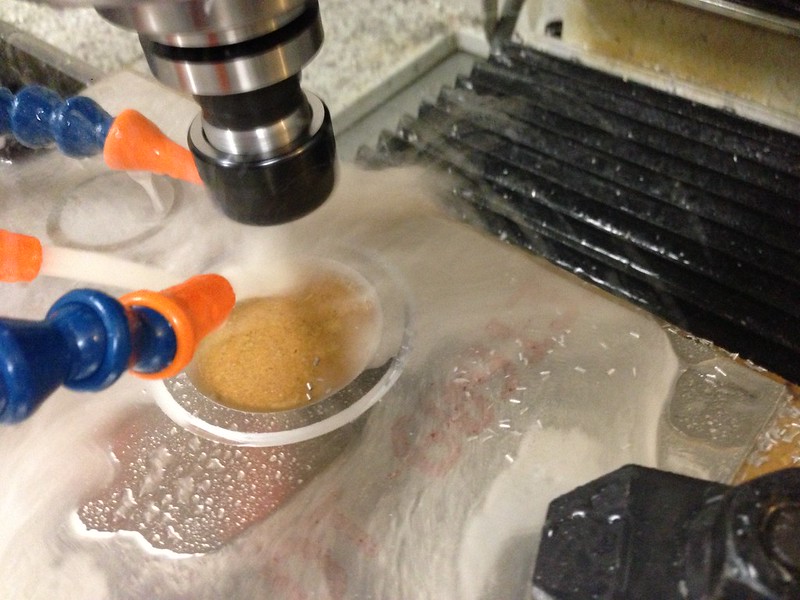
Next i needed a way to mount them. I first milled out some PSI spacers from 1/8" aluminum.
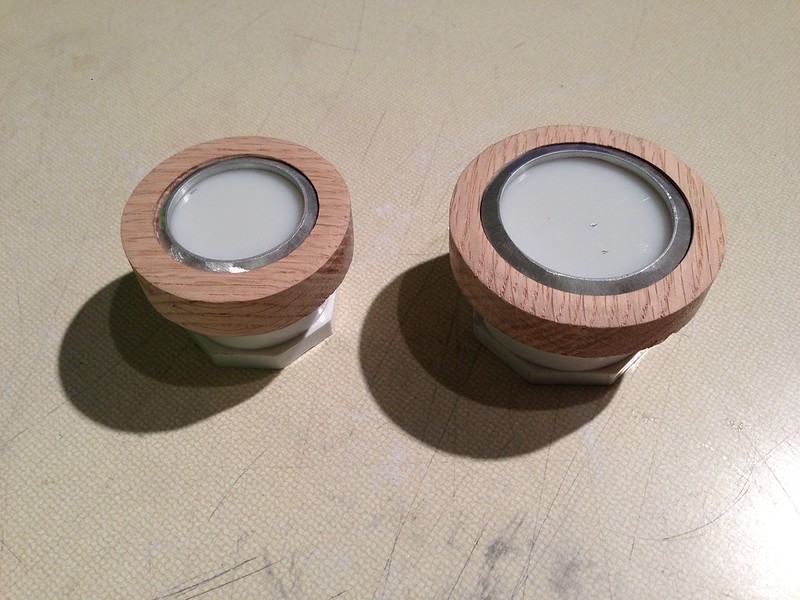
Next i got a couple properly sized pvc fittings for the housing.
and last cut some oak rings and sanded a taper on the rings so they fit very tightly with the curve of the dome.
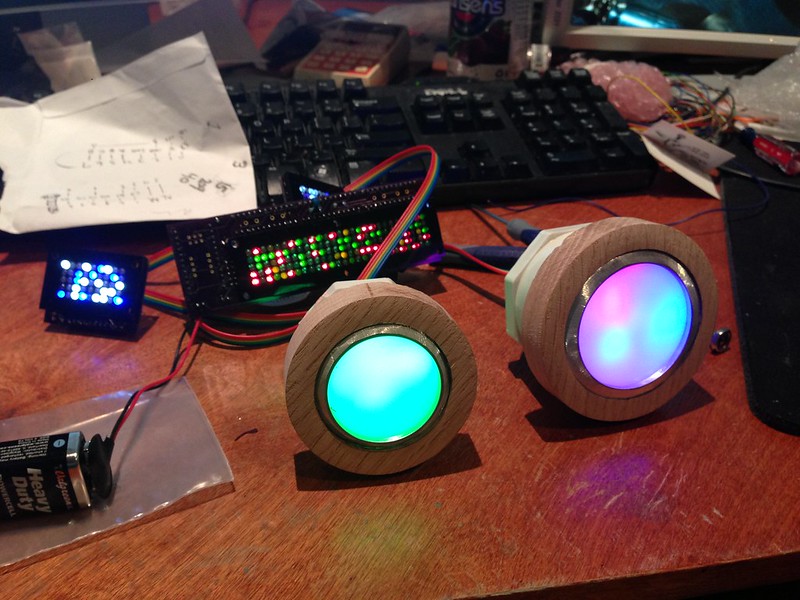
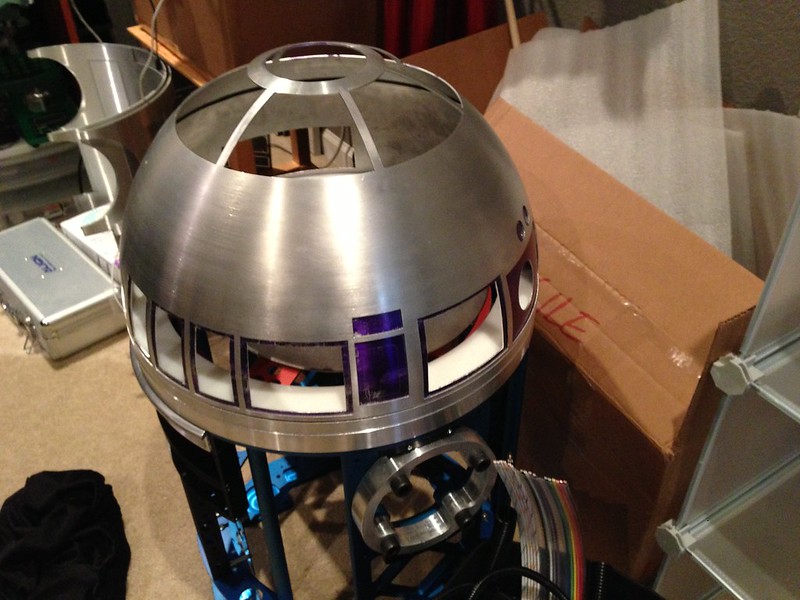
Here it is turned on. As you can see i need some more diffusing so the lighting is more even.
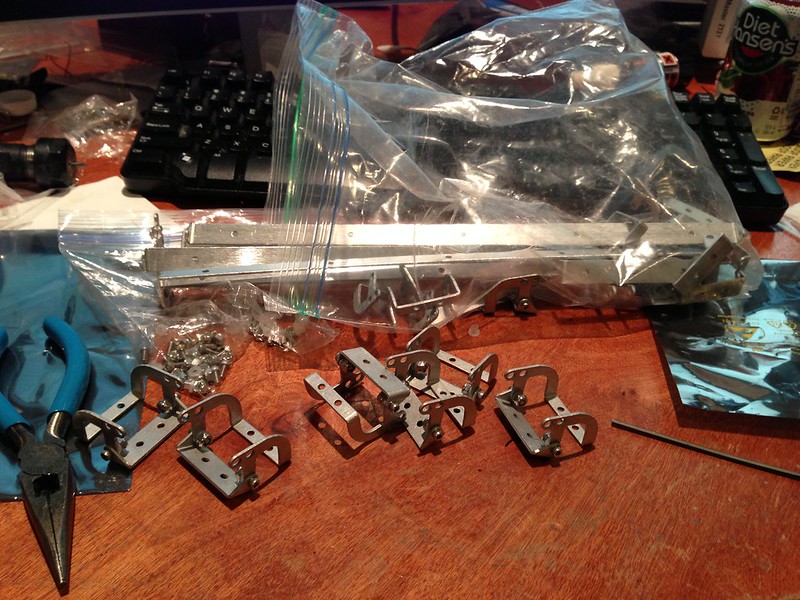
I want every panel to open and close on this little guy. Due to the shape of dome with all its curves its acutally very hard to hinge the doors. The hinges are specially designed to not bind. Here is how i installed them. First had to put them all together.
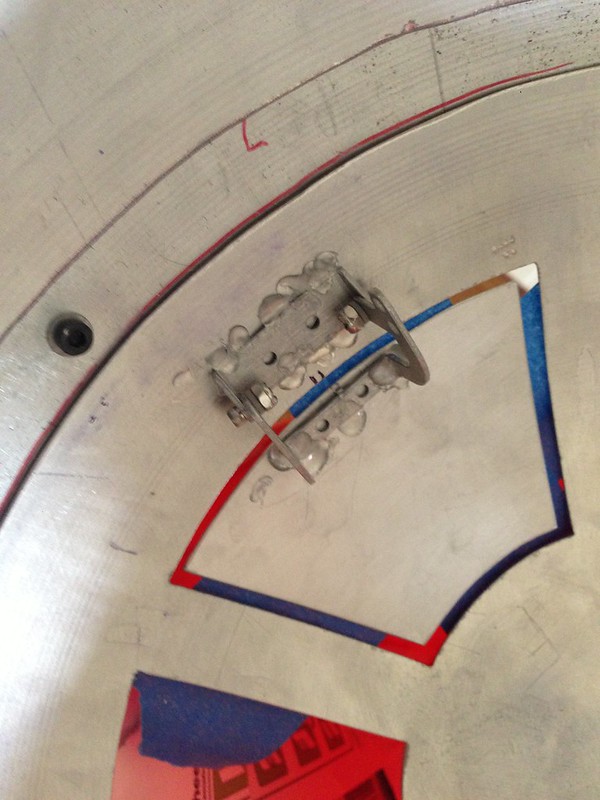
Remember back when I cut the holes for the panels. I made the hinged sided around 1/8". This is important to allow the hinge to open fully. Next i used hot glue to temporarily hold them in place. The placement is very unforgiving so its best to test fit it all with glue before drilling holes.
Once in place I then glued the outer pie panels on and checked for binding. Once they were all good i marked the and drilled the holes. I used the same captive screws from earlier.
I then did the lower panels as well in the exact same way.
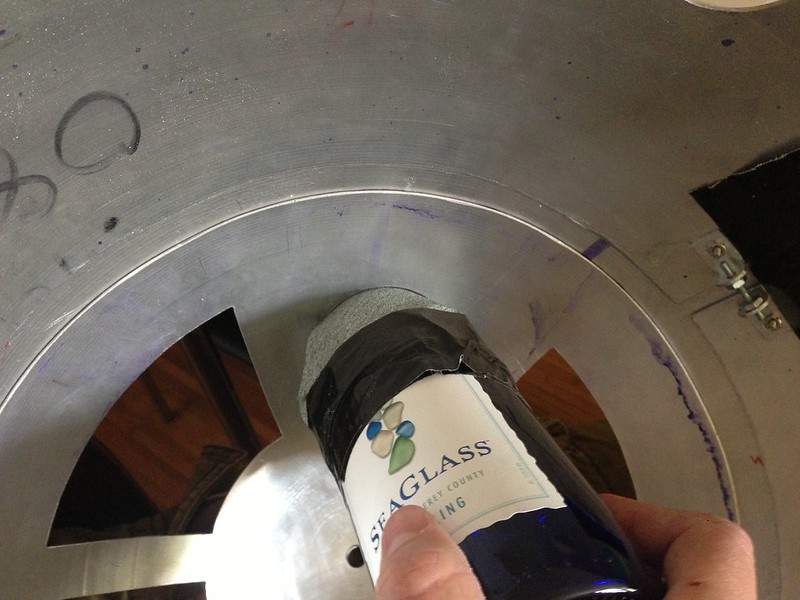
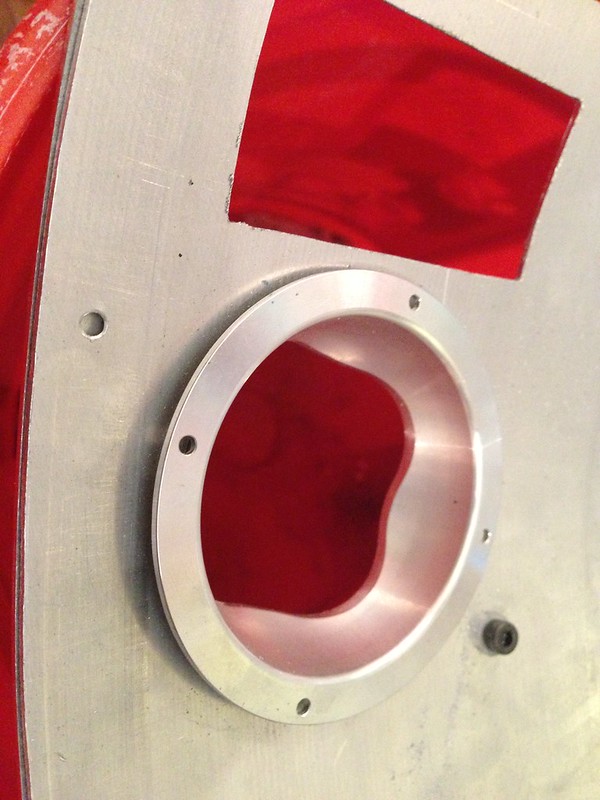
The HP's from BobC are a little larger than spec i beleive.. You'll need to enlarge both the inner and outer dome holes a bit. Again use the wine bottle with sandpaper from the inside. Goes fairly fast but your arm will get tired of twisting :)
Almost there....
Did this for all 3 HPs and they all now sit flush.
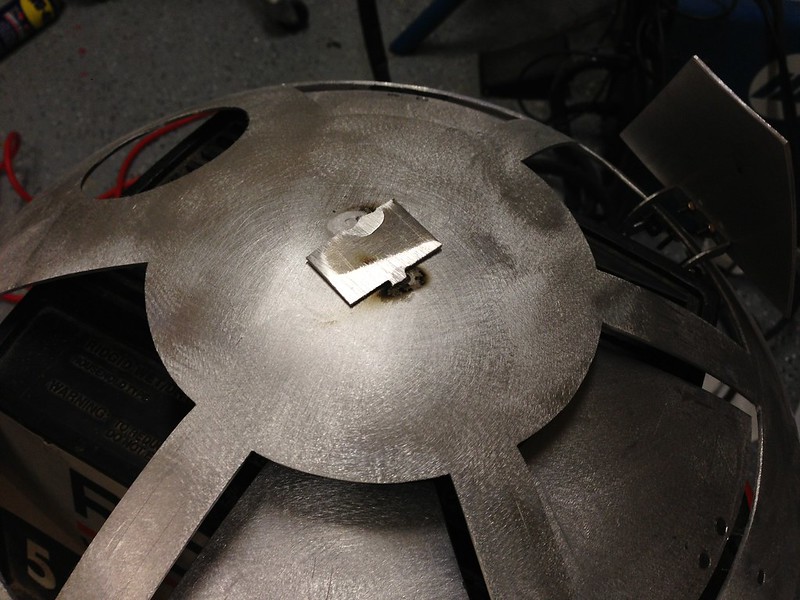
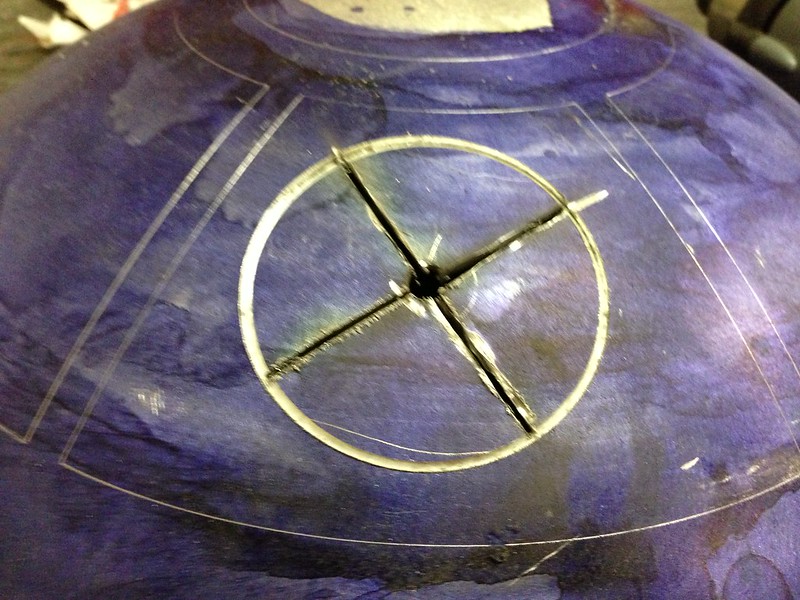
One more hole to cut. I forgot to cut the hole in the top of the dome... I couldnt use the whole saw because there is already a small hole in the top of the dome. This hole however is not centered.
So i tig welded a little plate so i could drill a new hole centered. Then i cut it with the hole cutter.
The first step to installing a radar eye is to choose a location. There are so many different placements throughout the films. I chose a position that looked best to me. Kind of an average. I just held it up and traced the position.
Next The trick is you have to transfer the the holes to the dome. To do this i followed some suggestions from the club. Just break off little pieces of a sharpie and stick them in the holes. Then line up the eye with the marks from the earlier step and press. Then just cut the holes.
Then i drilled the holes and temp mounted it. I traced the main eye hole and cut it the same as the other round holes.
Ok so now its on to the lower section of the inner dome. First off it needs to be sliced vertically so it can be expanded some. This is pretty easy i just used the jig saw and cut right through the center where the Holoprojector near the dome bumps is.
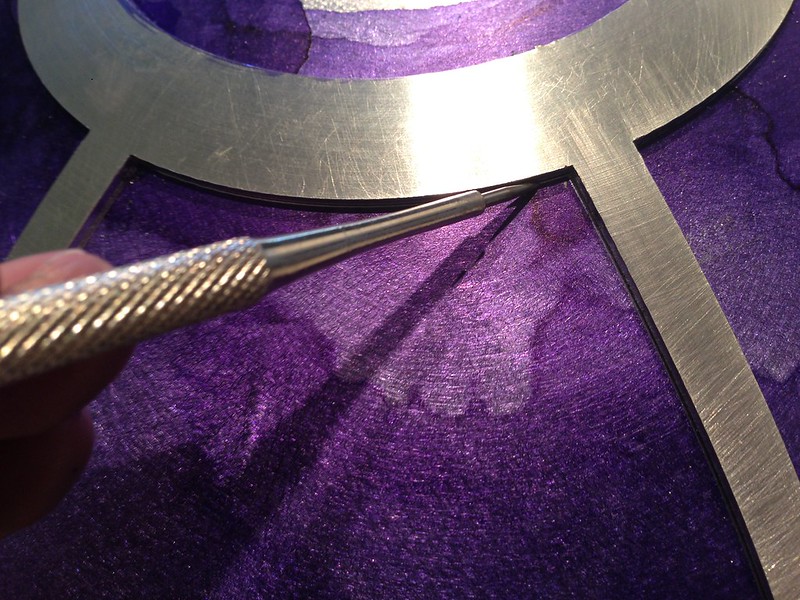
Next i just took a piece of angled aluminum and cut a few L shaped peices to use as a spreader. This pushes out on the inner dome removing the gaps. They are secured to the inner dome using Captive Screws from http://www.mcmaster.com.
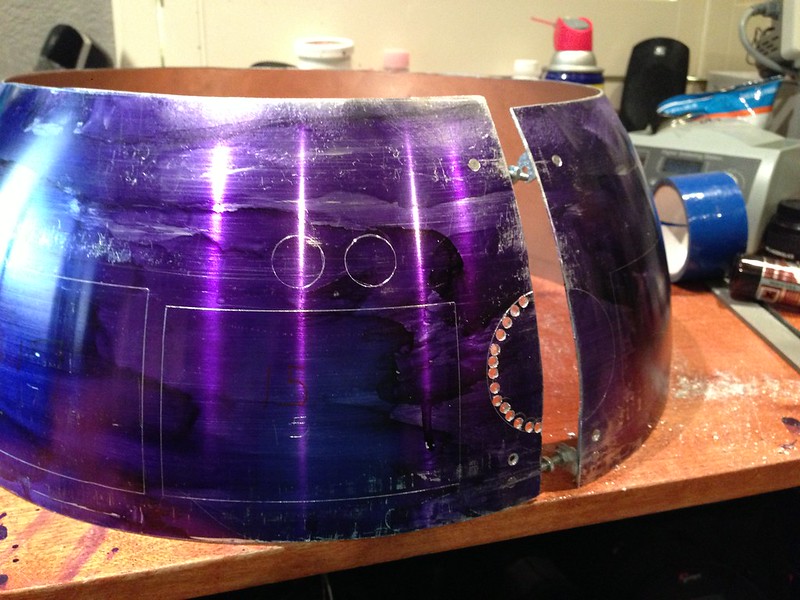
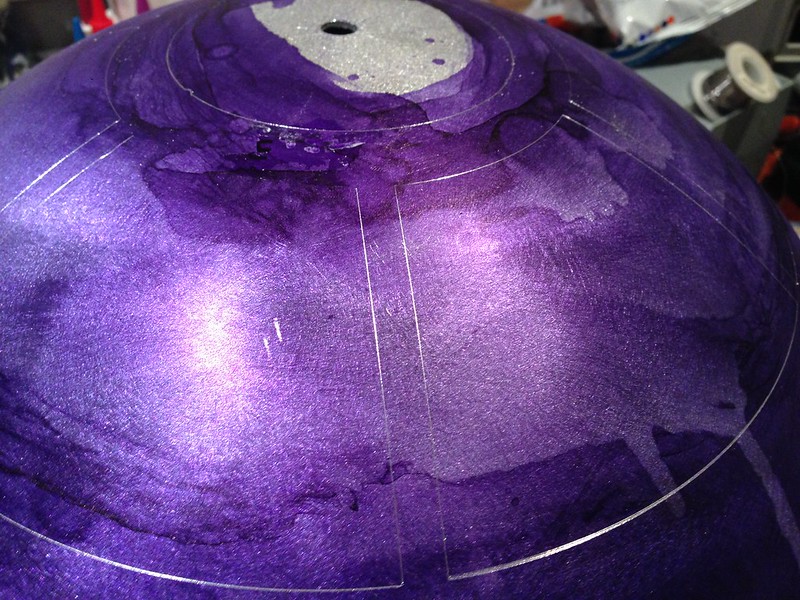
Once this was done i marked all of the panels that needed to be cut and then began cutting.
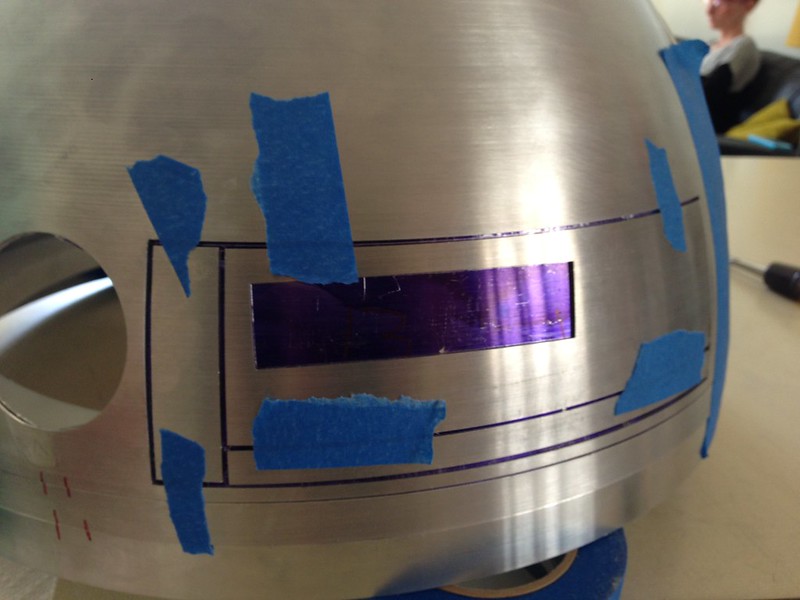
Here i temp taped some of the panels in place so i had a clear view where the front logic display would be mounted.
More holes cut the same way i did for the top holoprojector.
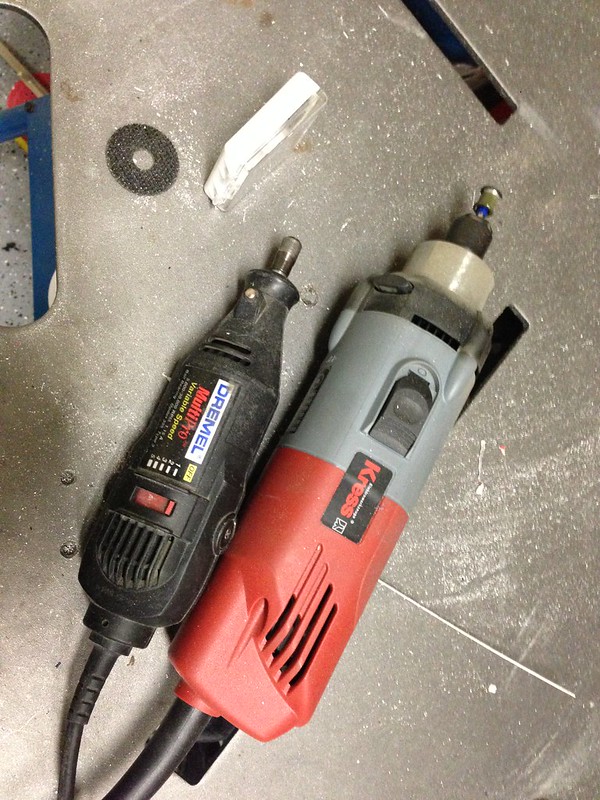
Here I actually feel i can give some good information. Most builders suggest using a dremel to cut your panels out. This for me was an incredible pain. I used the quick change reinforced cutoff wheels like everyone suggests. They are very handy when switching wheels. However i had some issues.
First using my dremel was taking forever and the dremel was getting VERY hot. It would slow down when overheated. It would take like 10 minutes a panel. I happen to have a really powerful Kress Die Grinder for use with my milling machine and decided to give it a go.. Wow it cuts like butter BUT and a big BUT... The wheel lasts like 20 seconds! They are not cheap either!!!
Now!! What i found works like a damn charm is a jig saw! Just use the dremel to start a slot allowing you to fit the jig saw in and bam... easy cutting. Just be careful as the saw could bend the dome if you are not careful. Here is a clip showing how easy it is. I'm filming this with one hand and cutting with the other.
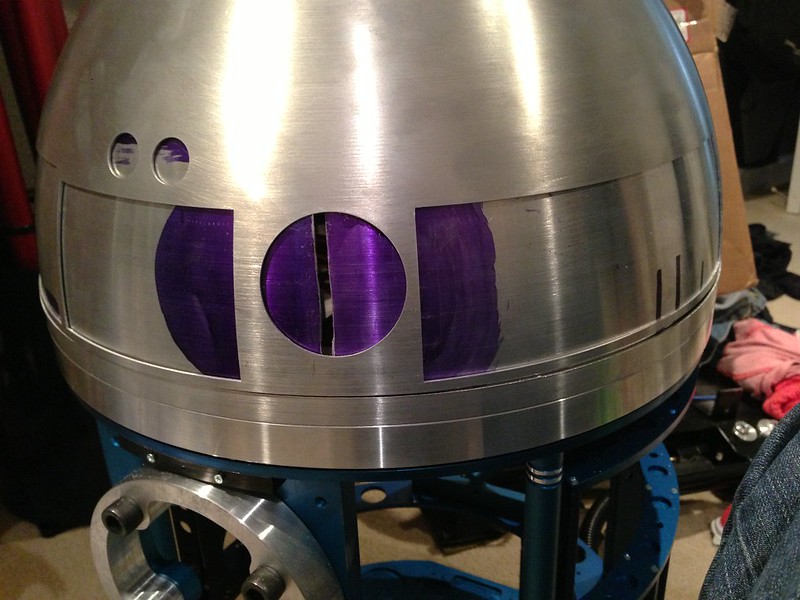
Here is the upper inner dome. As you can see you need to leave a lip for the outer pie panel to rest against. I used 1/4" lip around the top and sides and about 1/8" lip on the bottom where the hinge goes. This is required so you can have the full range of motion using hinges without any binding.
Here I used a hole cutter to cut almost all the way through for the Holoprojector.
After that i just cut a few slots and wiggled the pieces back and forth until they broke free.
I used various files to clean up the edges and get them very crisp and square. For the round hole, using a whine bottle wrapped with sandpaper seems to be the best method.
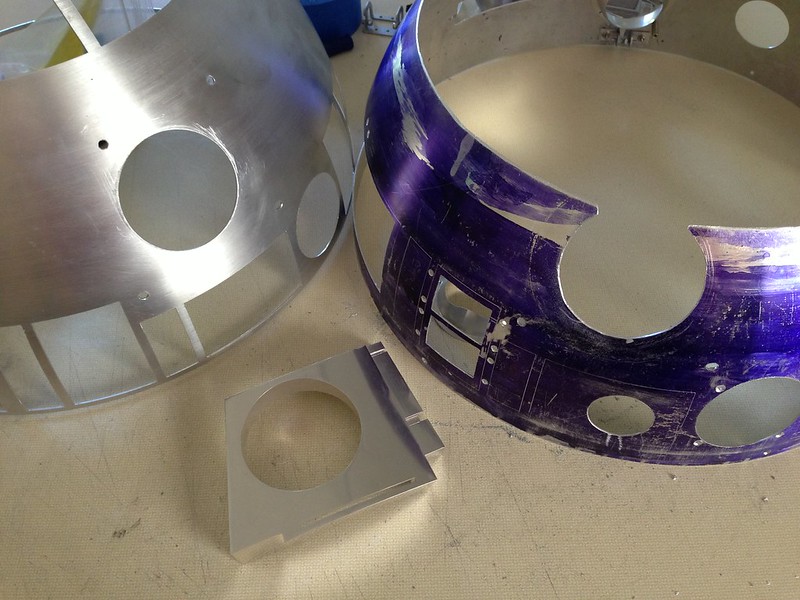
I dont have a pic of this step but like many other builders my dome did not fit well. I didnt feel like sanding for hours and hours for a good fit. Call me lazy but i first cut the top section of the dome apart from the lower section.
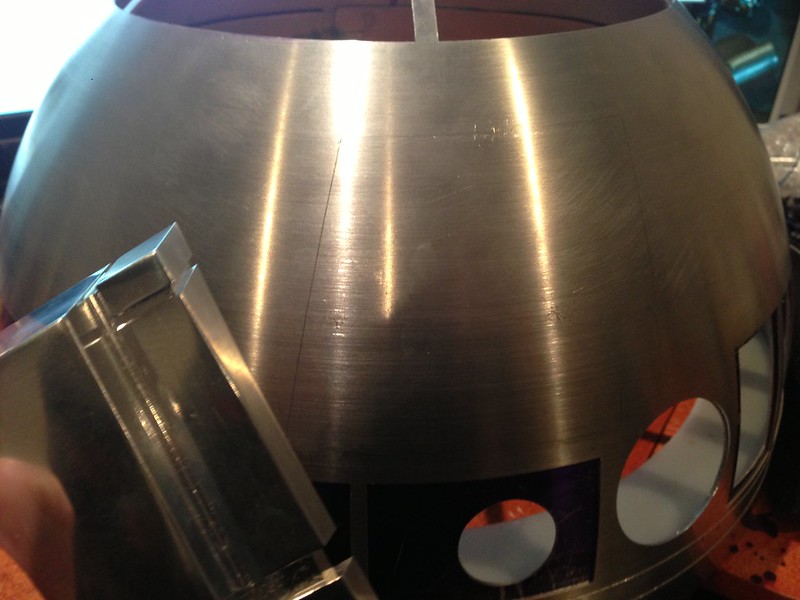
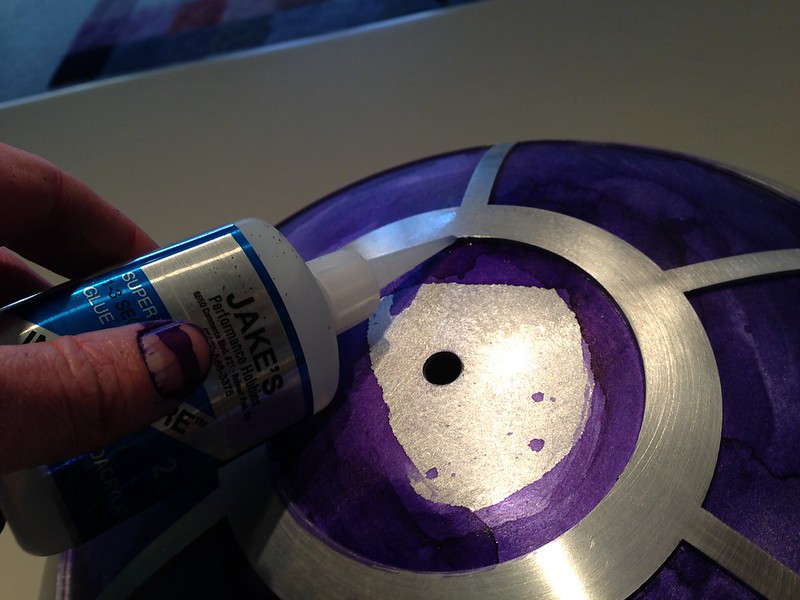
Next I used some dykem layout die on the inner dome parts so i could accurately mark the panels.
Then I held it in place and added a couple drops of thin CA glue. This holds it tightly in position and can be removed later with little force.